The final push to paint: Our S13 build enters its final phase
But before we can start banging through the gears, there’s still quite a bit of work ahead of us.
The sixth blog shows the completion of so many small jobs we unfortunately couldn’t always capture along the way. We’re now in October 2025. Right after the Monster Energy World Drift Day, we went straight into full endgame mode. My E36 and Domi’s 350Z had to wait for their refresh for the next season. Despite a blown head gasket on the BMW and a Nissan that has definitely seen better days, the S13 had to get finished now.

So we did what every ambitious project eventually needs: we locked in the deadline for paint at the end of January, and wiring and tuning for March.From now on, every free minute counts. Let’s go…
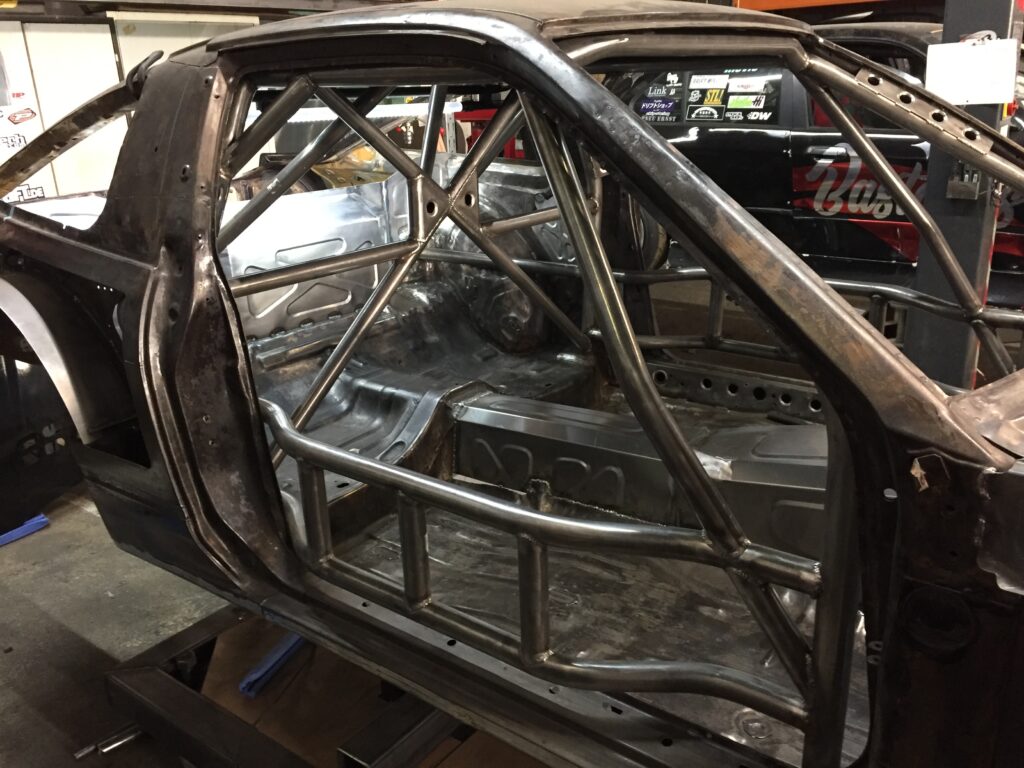
I’ve always wanted a solid solution to work comfortably at the track. From rally, rally stands found their way into drifting — which I thought was super sick. So we decided to adapt that idea for our car.
It wasn’t that easy to figure out the exact position of the support tubes. The side skirt should stay mounted on the car, and the stands just need to slide in.

We built a bracket for our tube bender out of an old stand to make sure we could drill perfectly straight. The tubes run through the entire side sill into the footwell. With 3mm steel plates, everything is tied into the cage structure.
At the end of the day, it all has to support the full weight of the car. Everything was properly welded, and on the outside of the side sill we added an additional reinforcement plate.
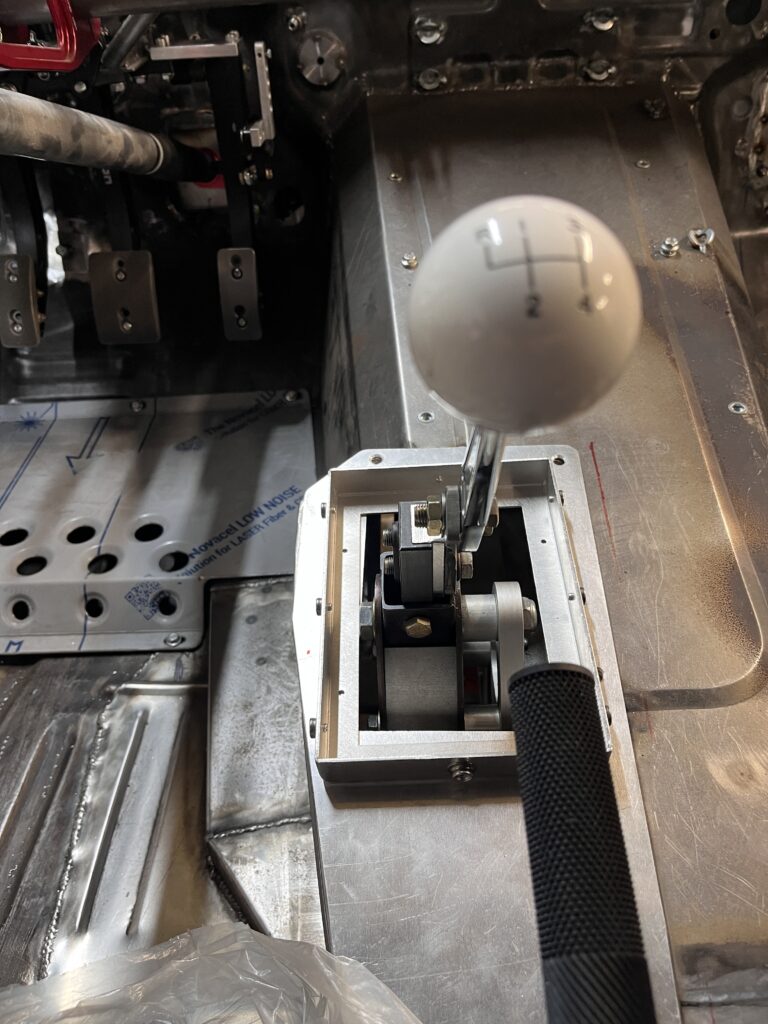
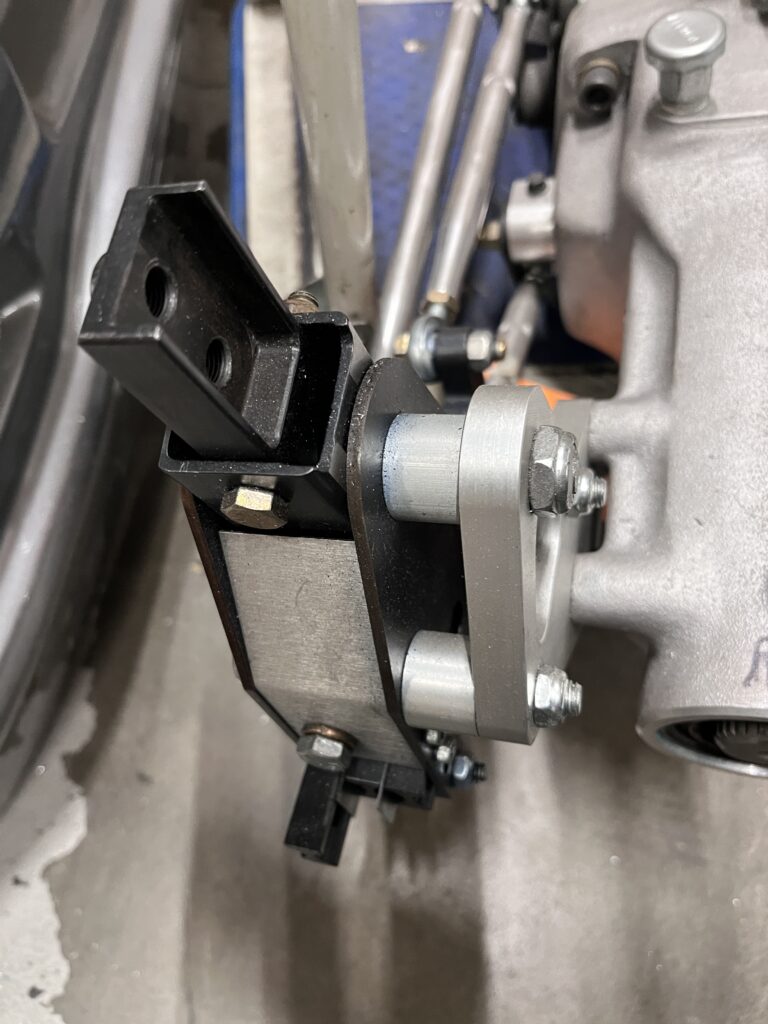
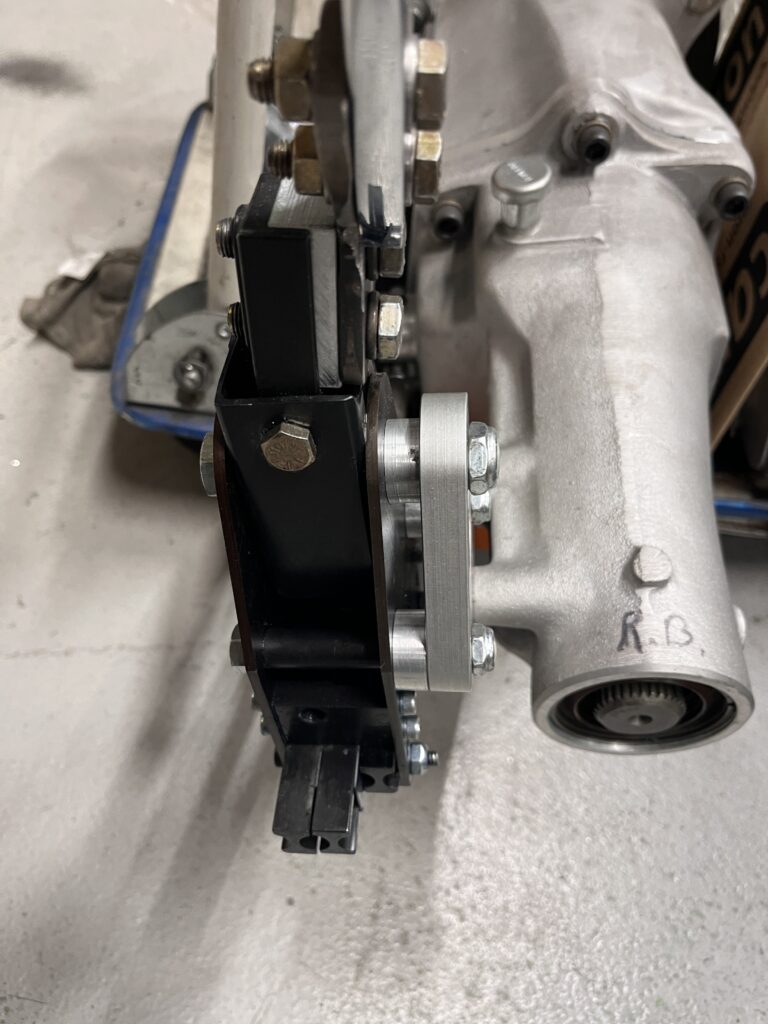
We weren’t 100% happy yet with the shifter position. In 2nd and 4th gear, the shift knob was getting way too close to the handbrake. So we shortened the spacer bushings in the shifter assembly.
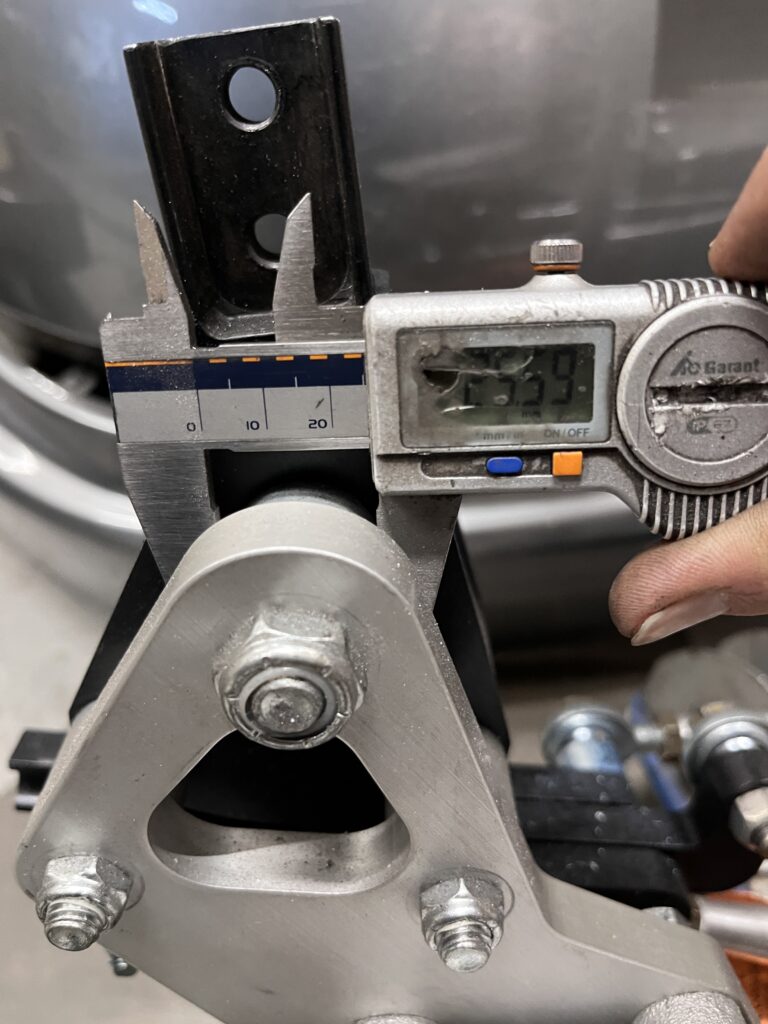
The GForce 101A shifter is slightly offset to the left, which isn’t ideal. With an additional aluminum adapter and a small angle bracket, it worked for now. Once we have more time, we’ll machine a proper custom part that not only works better but also looks the part.
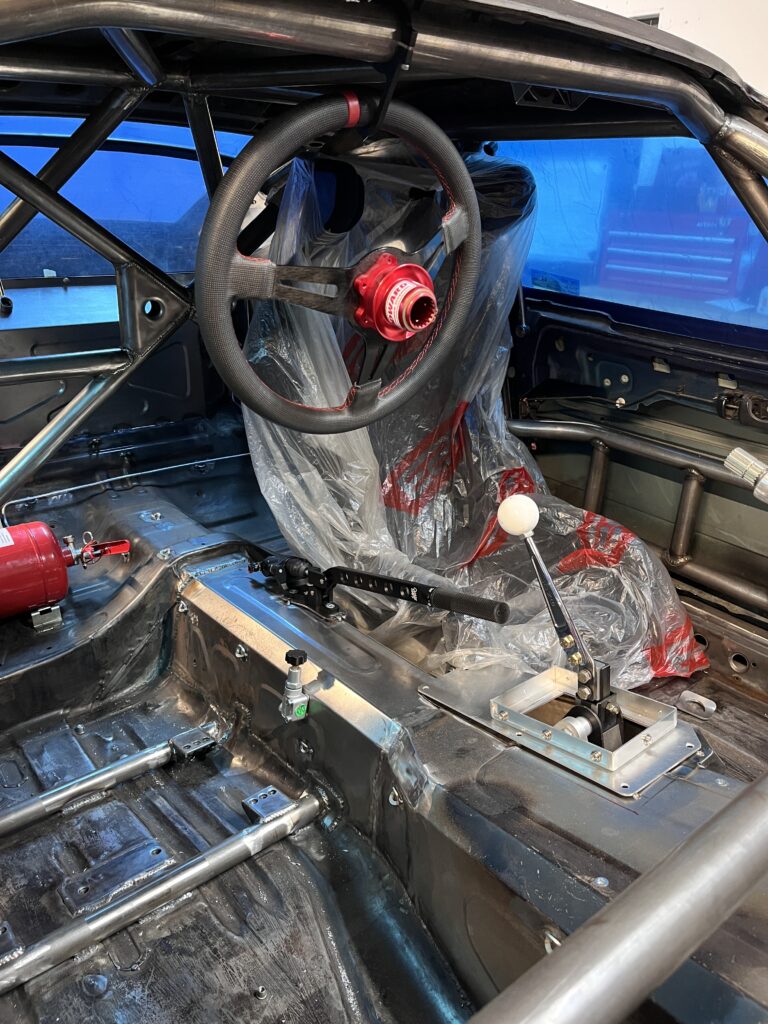
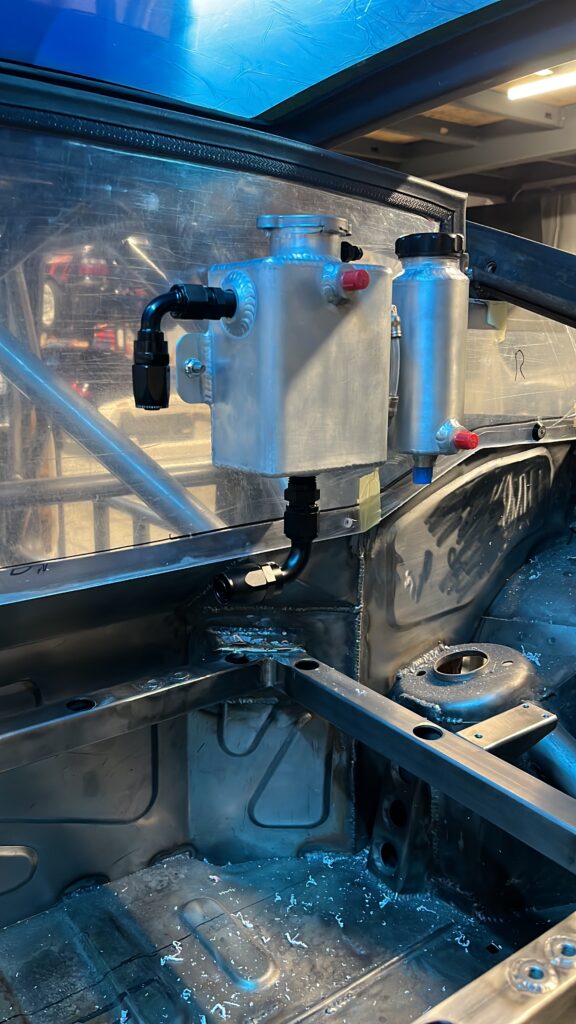
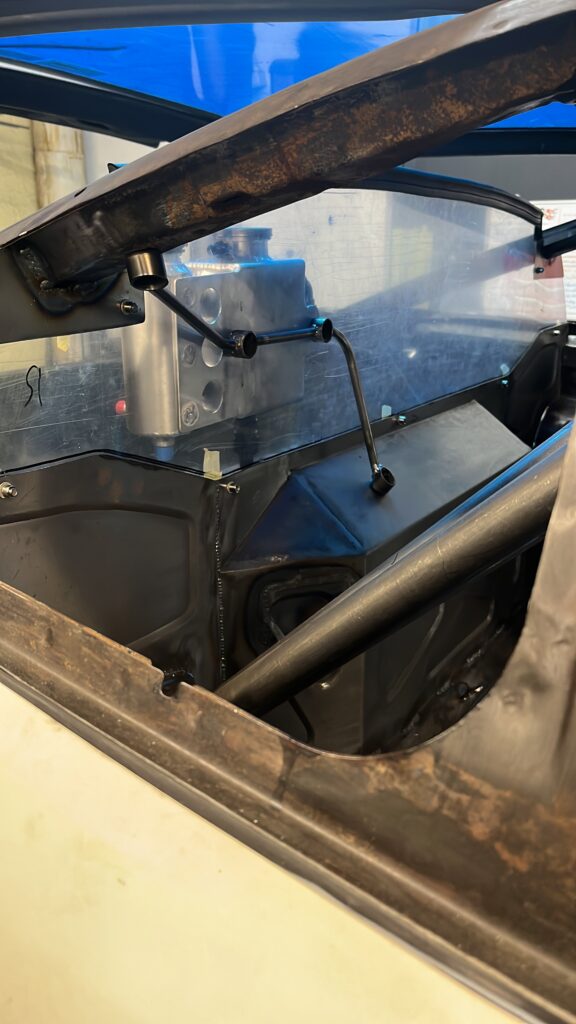
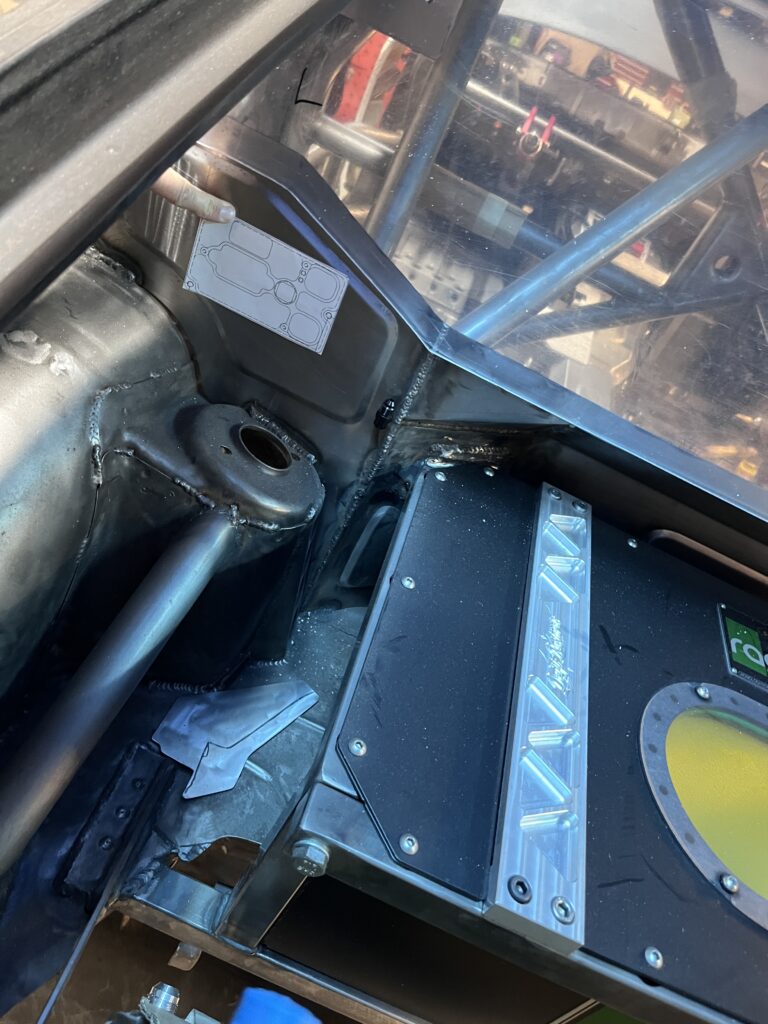
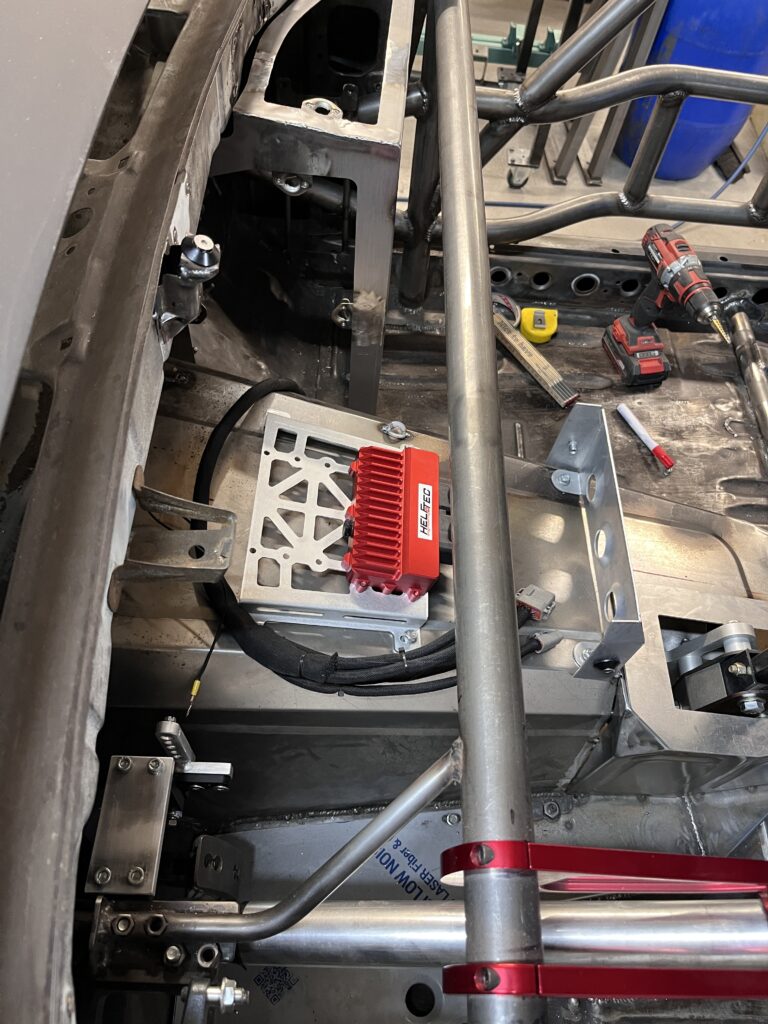
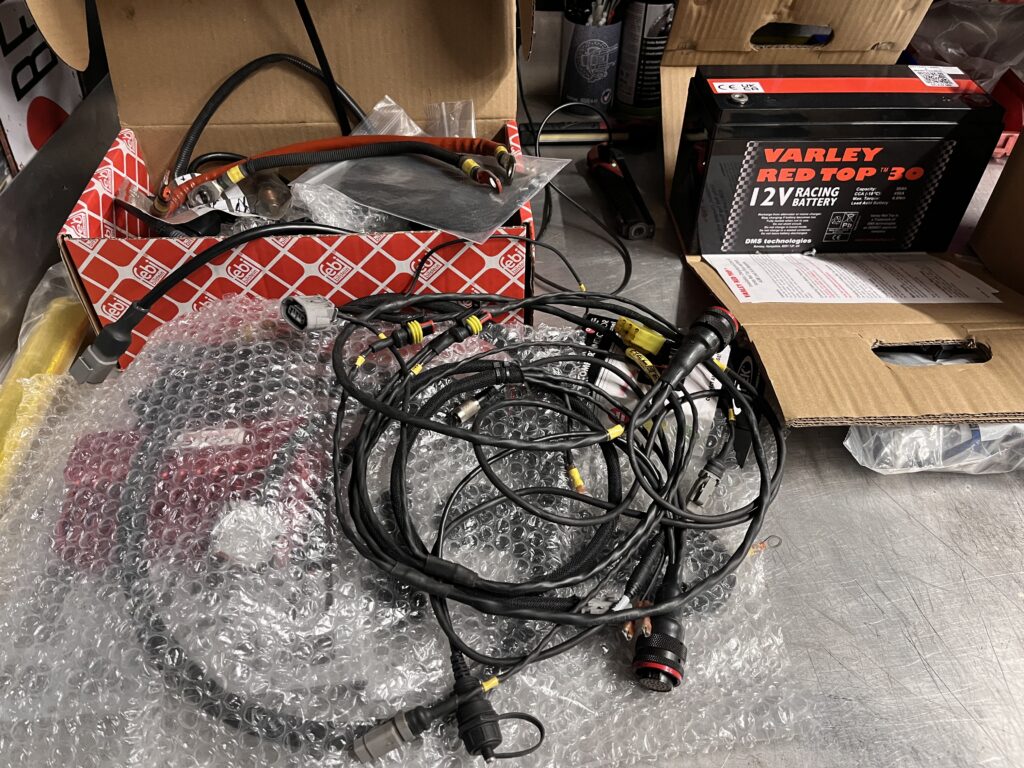
Mounts for the expansion tank, battery, the bulkhead/firewall partition behind the driver (or whatever you want to call it), as well as the PDM and ECU, could finally be ticked off the to-do list.

To stay on schedule, we pre-ordered quite a few components. The windshield, for example, isn’t something you just grab off the shelf. Glas Trösch supported us and built a custom glass panel specifically for our old Nissan.
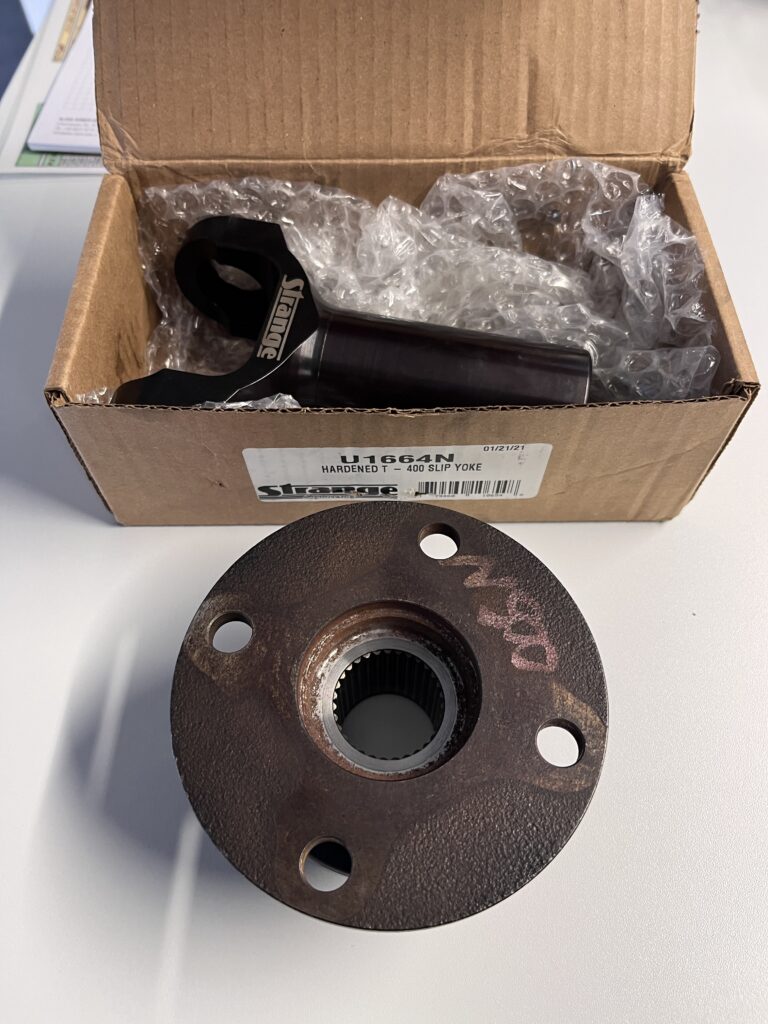
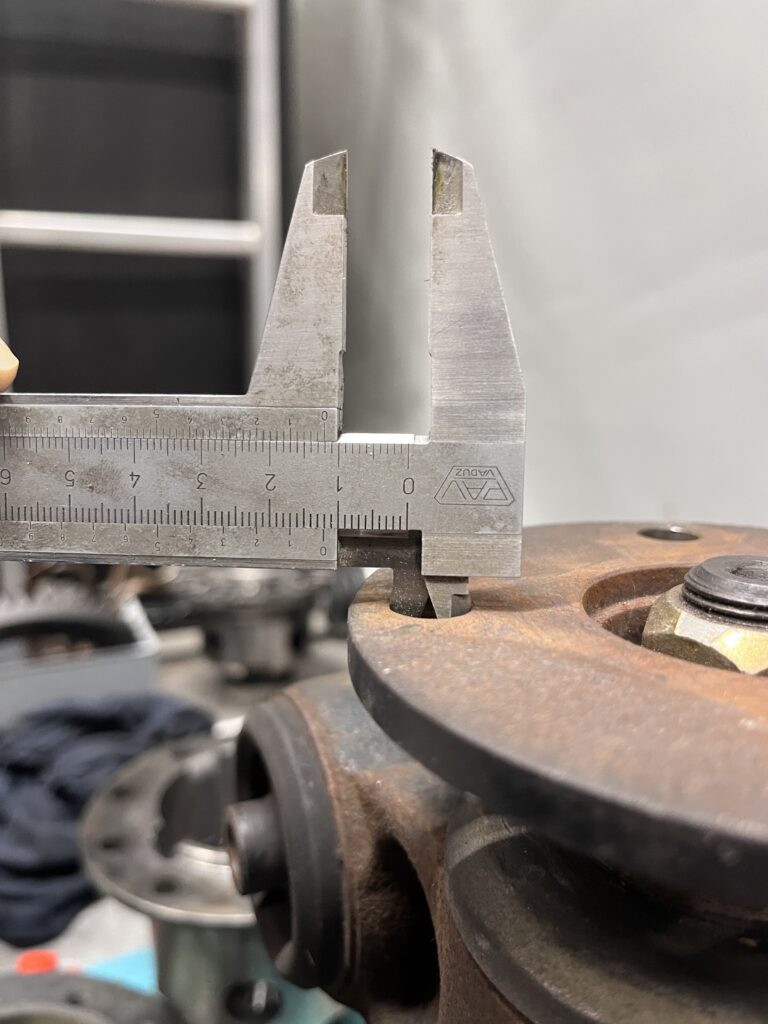
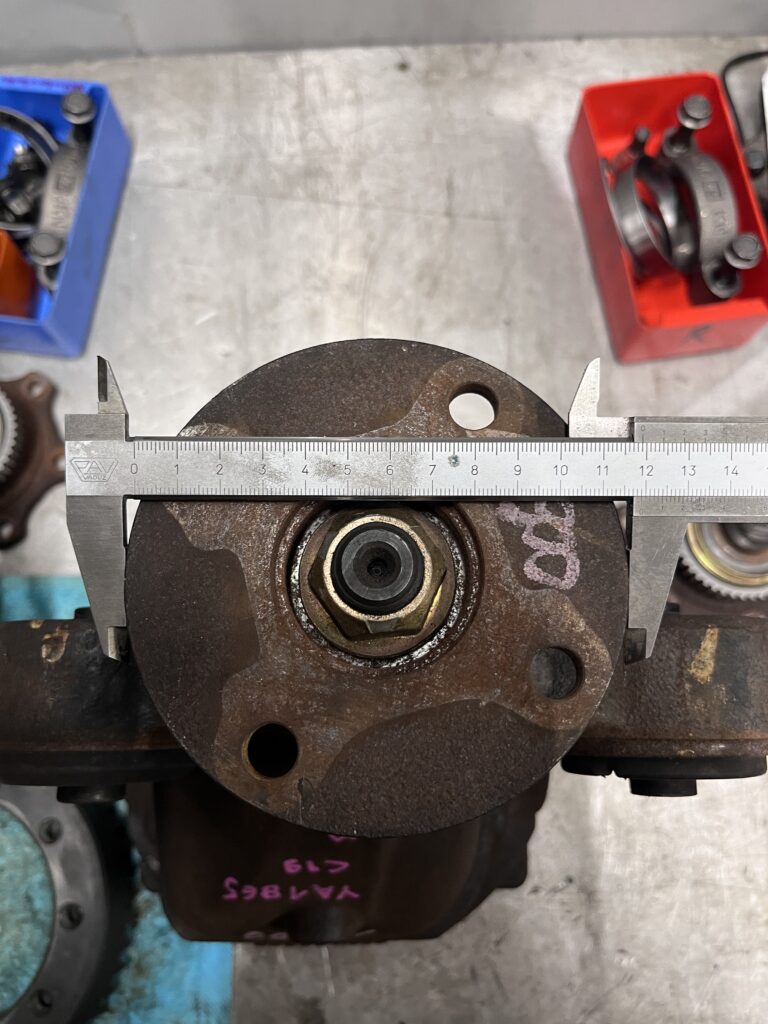
The driveshaft is also fully custom and connects the NASCAR-style transmission to the 350Z differential. Famag from Burgdorf are specialists in this kind of work and built it to exact spec. The differential adapter joints were also measured and ordered.
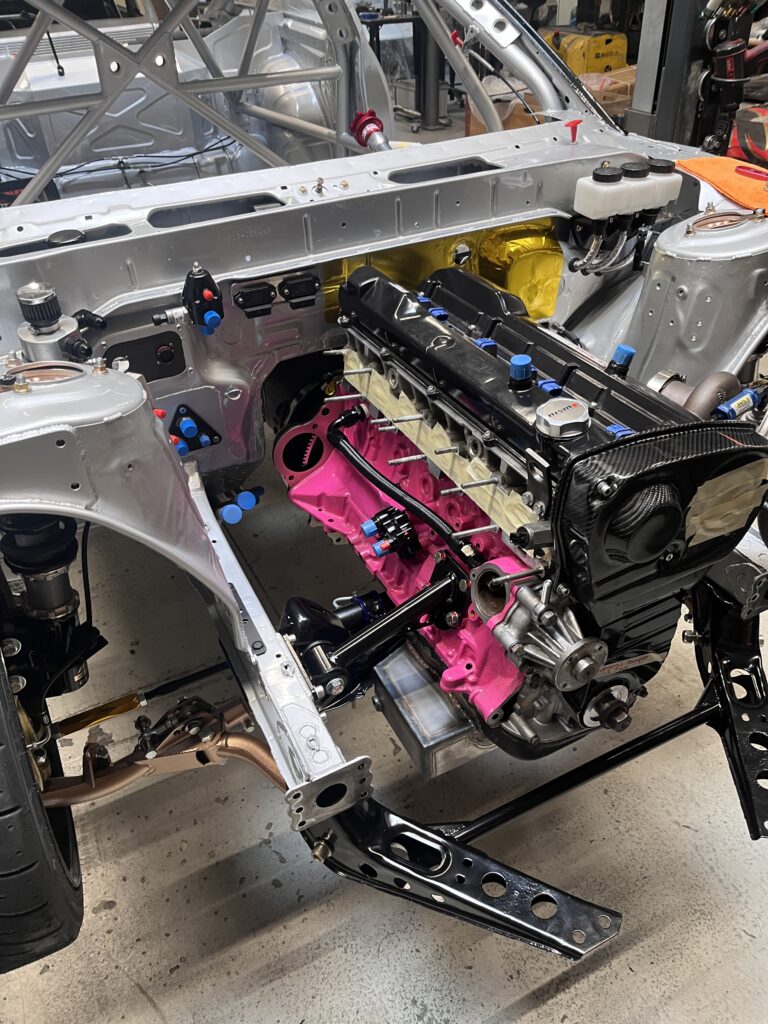
Over Christmas, we fully assembled the entire car. Everything — and I mean everything — went on. From the engine down to the smallest bracket. We also identified and fixed a few issues before paint. Even the simple stuff like special bolts or an air filter still had to be ordered.


This also helped us plan the wiring runs properly. With everything installed, we could clearly see the cleanest paths for the harness.I made it my mission to drill as little as possible into the freshly painted chassis later on. Let’s see if that plan holds up.
And just like magic, it was all back apart again. In about 3–4 hours, we stripped the entire car down completely.
A full pallet with almost 50 parts was prepared for powder coating.

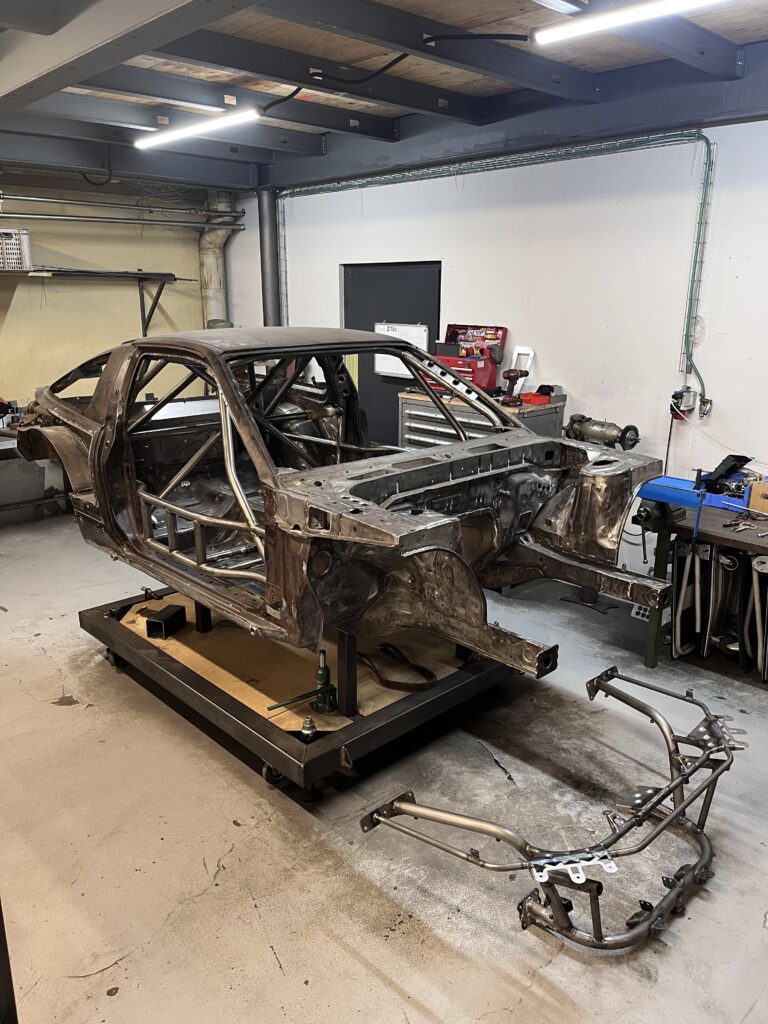
We finished all welding work and mounted the chassis onto the rotisserie. Every weld had to be cleaned with an angle grinder and a wire brush. No weld spatter or contamination was allowed to stay on the metal that could ruin paint later.
This job took us 5 evenings and a full weekend — easily around 35 hours.


After more than three years, we finally loaded the chassis into the trailer and headed to Sagi in Lucerne. The final prep work for paint was done there. The fiberglass parts were sanded and cleaned.


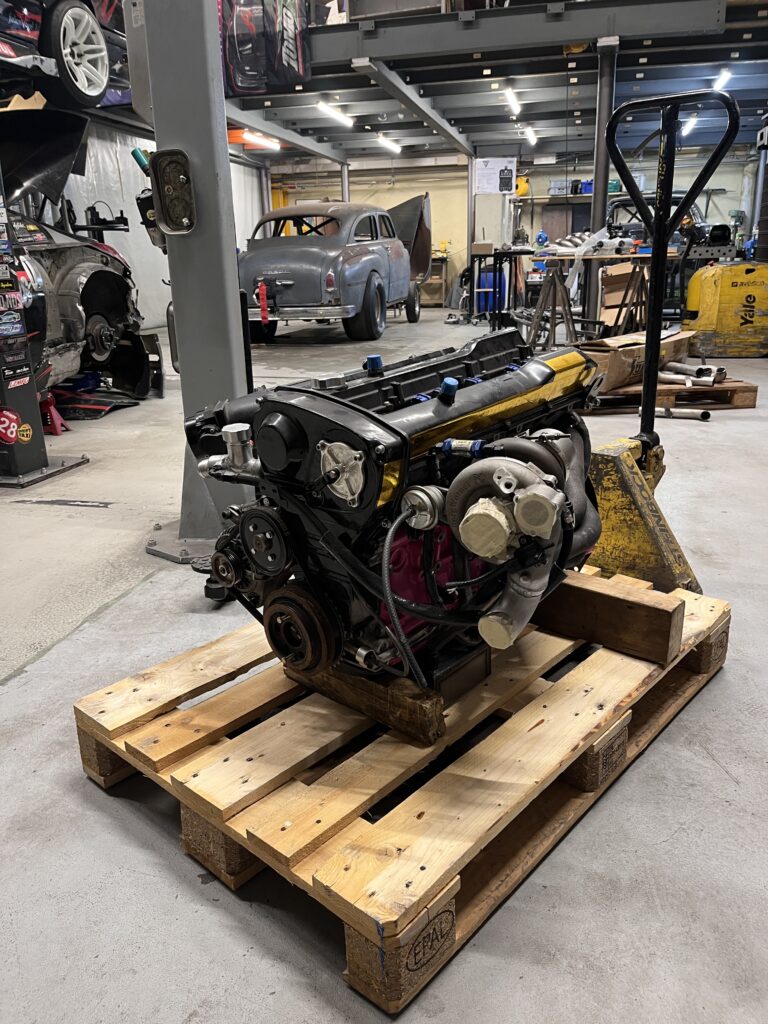
The RB25 was loaded onto a pallet and brought to Lucerne for a full inspection. Luckily, we had the main and rod bearings checked again by Delta Motoren AG before firing the engine up again after two years.
All bearings showed damage. The oil pump had, at some point in its life, swallowed some metal shavings between the gears. On top of that, the crank pulley bolt had slightly come loose, which led to vibrations damaging the accessory belt drive. A few seals had to be replaced, along with a couple of other small repairs.
Together with Delta Motoren AG and their RB specialist Jeremy, we built a full battle plan to get the engine as ready as possible for the season. We ordered new bearings, a new oil pump with billet gears, timing belt, water pump, Ross Performance harmonic balancer, and a few other replacement parts.


The engine was prepped, just like the chassis, ready for paint.
Right on schedule for paint day, we delivered everything to R&M Carrosserie in Hochdorf. Rafael and his team had a very tight window for us. We jumped in immediately and helped wherever we could.
The entire chassis had to be cleaned, and all panel overlaps were sealed with seam sealer.


Then it went straight into the paint booth. First everything got primed.
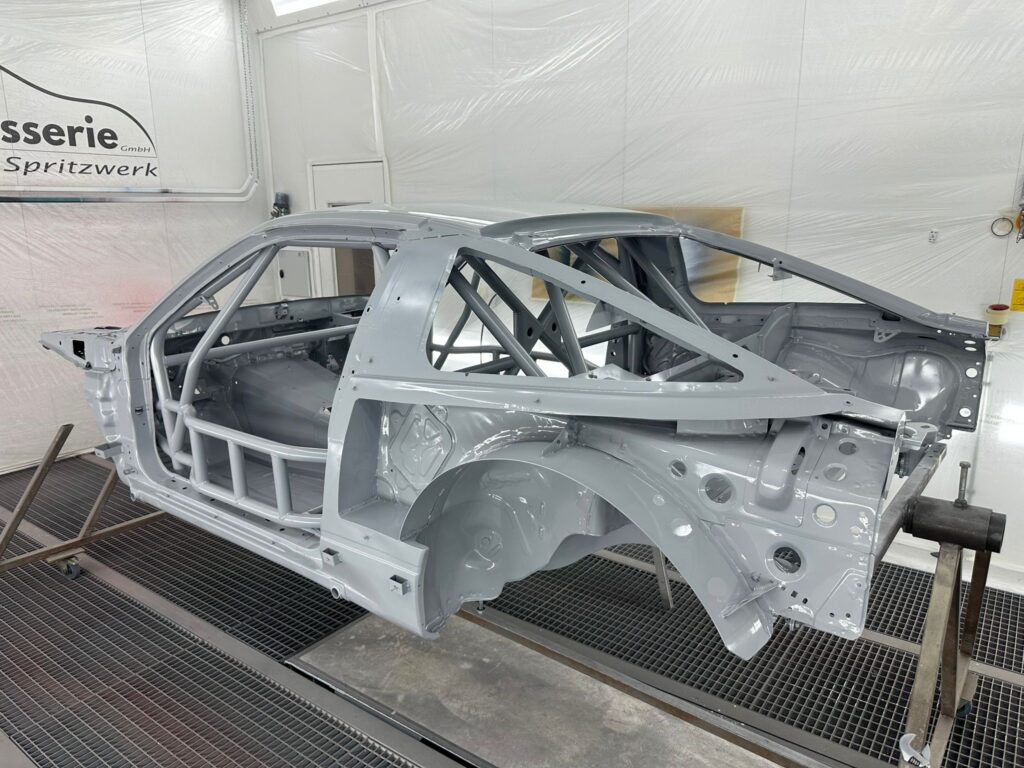
The final finish was done in silver metallic, with the roof painted black — including metal flake.
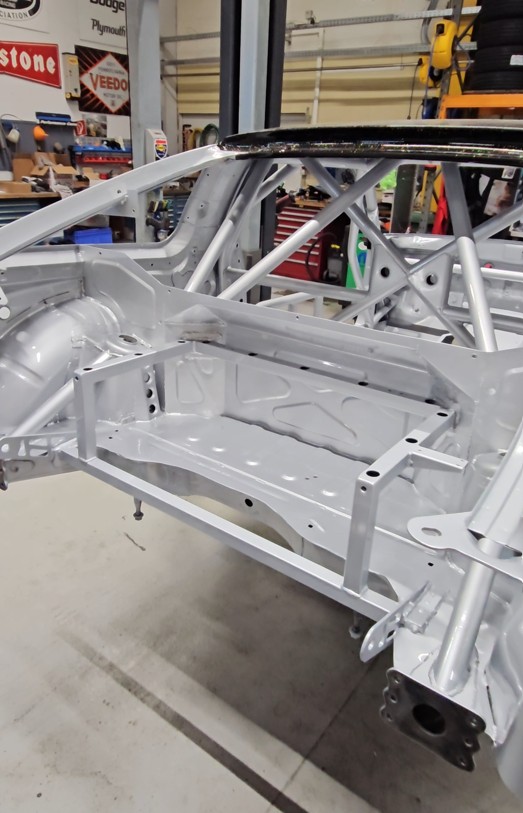


We’re super happy with the result and can’t wait to start final assembly.
The next blog will most likely be the last one of our S13 project. So make sure to stay tuned!
Let us know in the comments if you enjoyed this blog and if we should continue doing more of these in the future. Your feedback means a lot to us!
Editor: Janick Sieber
Recording period: approx. October to January 2025/2026
Sources: Driftbastards Media Crew, Janick Sieber, Domenik Sieber, R&M Carrosserie