In the first edition of the RB S13 Build Blog, we took you all the way to the beginning. A solid foundation for a reliable drift car was established. Now, we can move forward directly.
The first major task was the roll cage. Choosing the right cage is extremely important. The regulations required by the championships must not be overlooked. It definitely makes sense to first consider where exactly you want to compete with the drift car. If the roll cage does not comply with the regulations set by the desired championship, the vehicle will not pass the technical inspection. Since we now have the opportunity to build a car the way we want, we opted for the all-in version. We want to build something that could generally compete anywhere.
All-In means building a drift car according to the regulations of the Drift Masters European Championship or Formula Drift America. Since these two are the pinnacle of the drift world, such a car should theoretically be able to compete anywhere.
Since Formula Drift is realistically far off for us (even Pro2!), it's better for us to focus on Europe and the Drift Masters regulations. Drift Masters has adopted some points from the Americans, which makes things a bit easier for us. There is often a reference to FIA guidelines.
Now that we know what needs to be installed in the car, the search for a suitable roll cage can begin.
Cybul Radical Solution from Poland offers exactly what we need. There are various suppliers of roll cages, but Cybul impressed us with excellent customer service and high quality. The cage is delivered in individual tubes, which are already completely cut, bent, and pre-fitted. This saves time and headaches during the welding process.

Talked about it and done... Now it's time to get down to the real work!
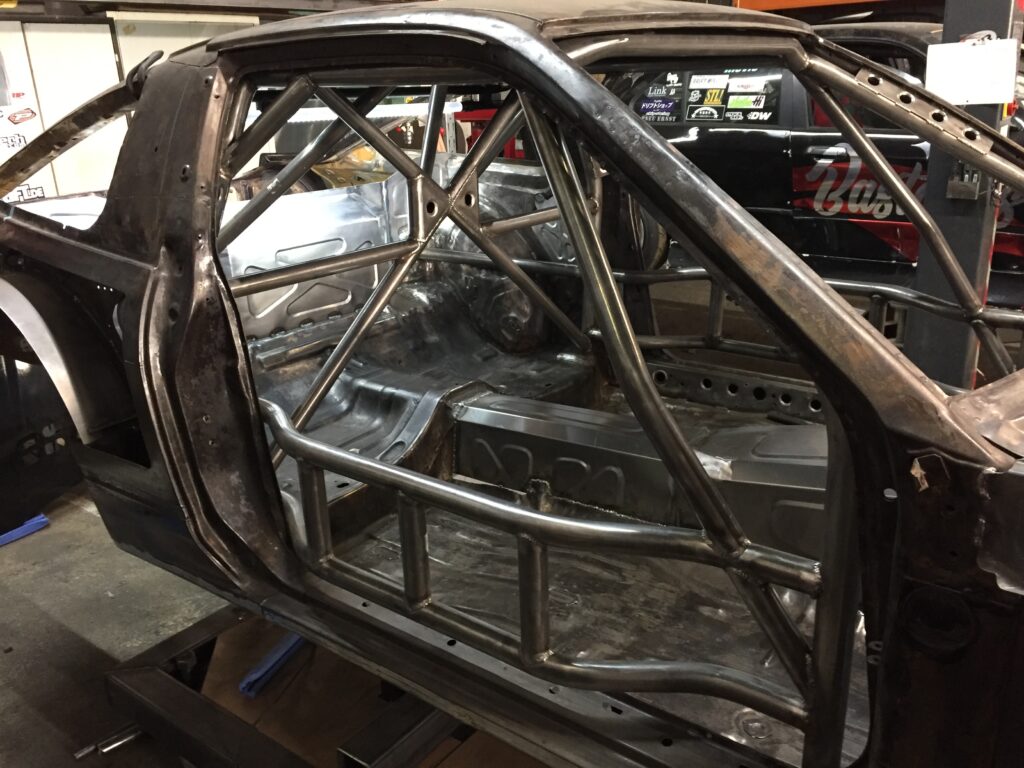
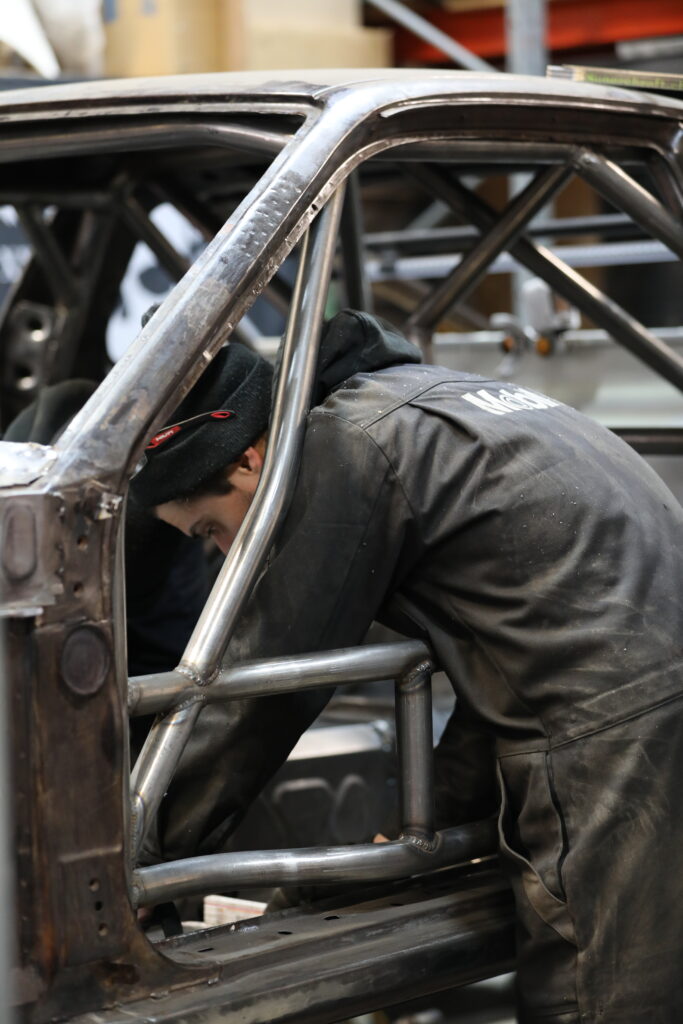
The roll cage was ordered, and as soon as it arrived, we got straight to the installation.


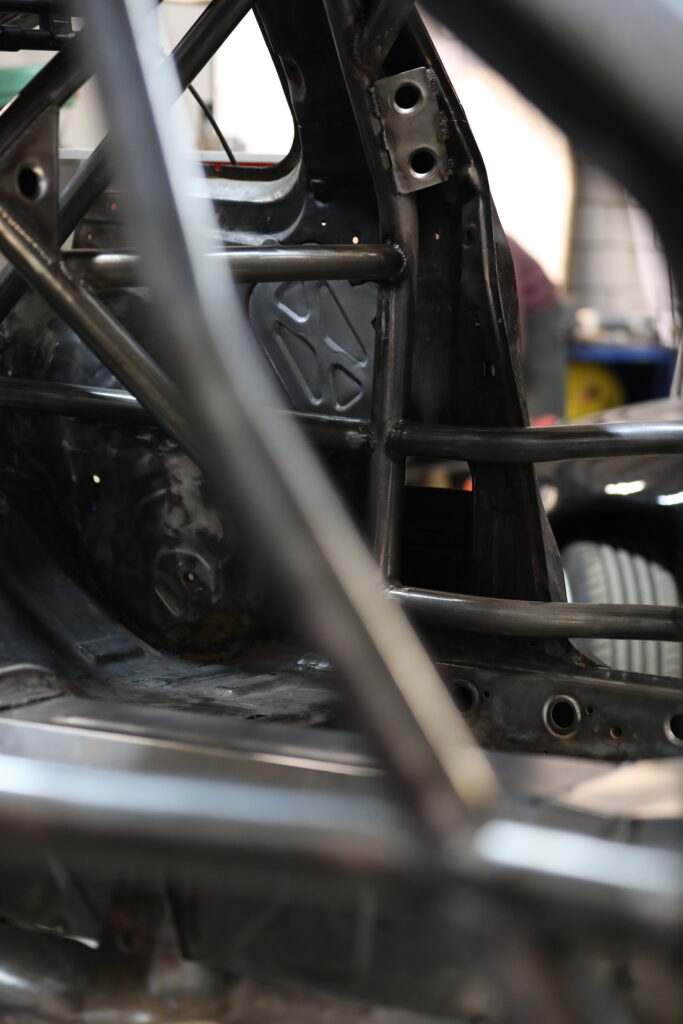
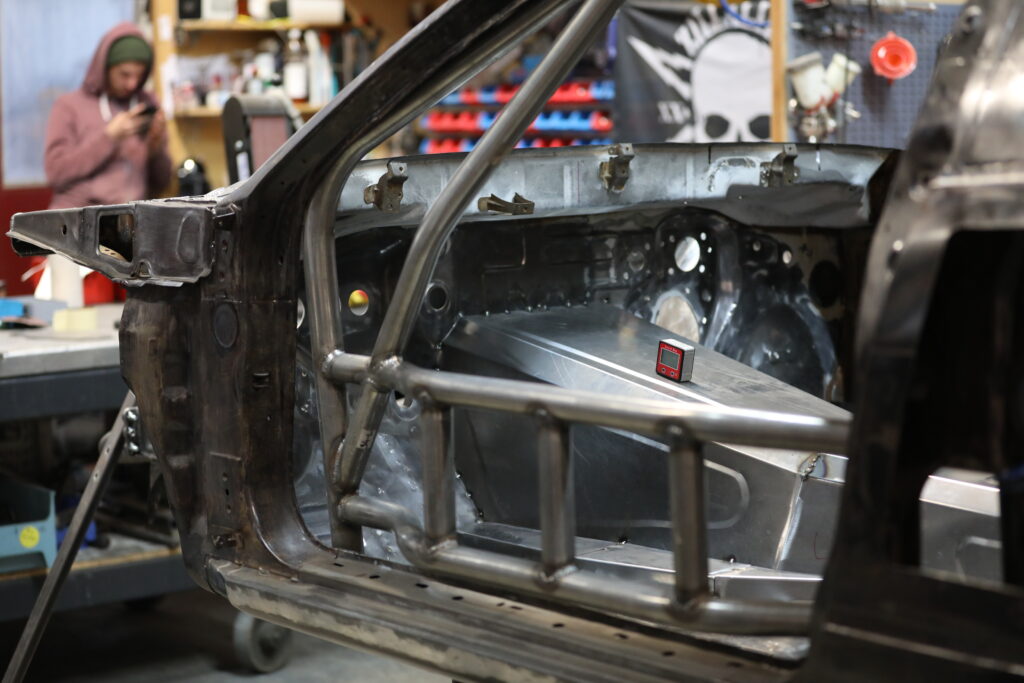
Drift Bastards friend Marcel Gerco, along with Janick, took the welder in hand, and after two sleepless weekends, the cage was fully welded in.


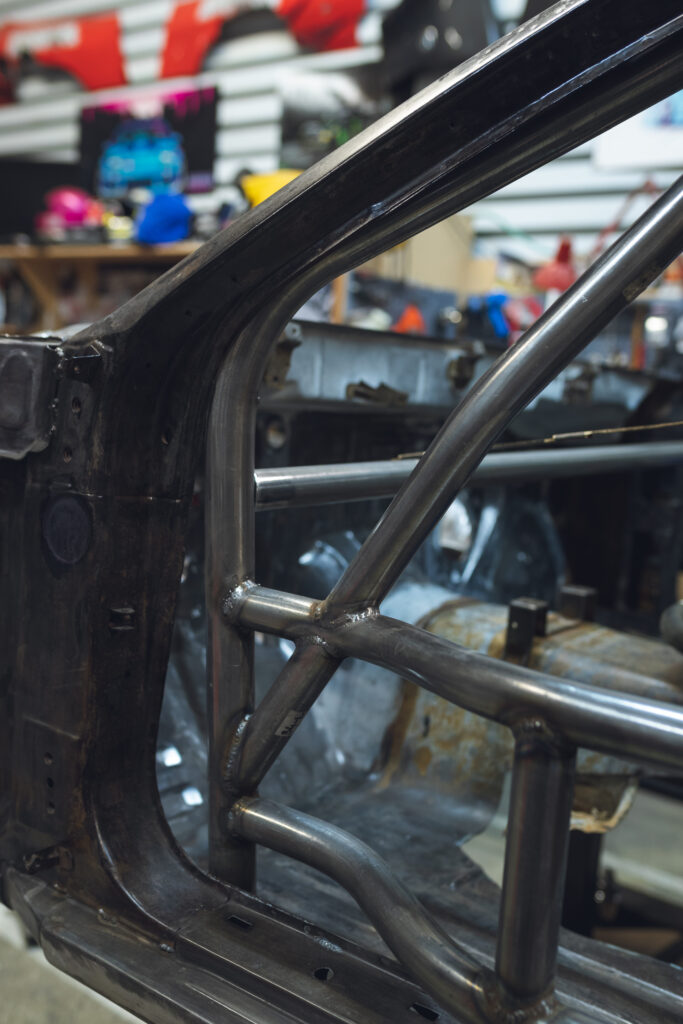
Reinforcement plates were cut for the known weak points of the S13, fitted with ‘Dimple Dies,’ a tool used to create sheet metal reinforcement, and then welded in. This was done again to make the body more stable and durable between the firewall and the front axle towers.


The next step was installing a firewall between the trunk and the driver’s compartment. To better distribute the car’s weight, the radiator and fuel cell are being mounted at the rear. To better protect the driver, the interior needs to be sealed off from all fluids.
In the upcoming blogs, we will be installing more components. But more on that later.
We used our bead roller to deep-draw the sheet metal. This is a widely used method for working with thin sheet metal. A thin sheet metal can absorb more forces this way, and noise is minimized. On top of that, it also looks great.

Once we were warmed up with the bead roller, we got to work on the transmission and driveshaft tunnel. Since we definitely don’t want to use the RB25 transmission anymore, we needed more space. The rather small original transmission tunnel is a limiting factor when it comes to a transmission swap. In the red S13, we also had to make adjustments. We learned from that experience and decided to cut everything out right from the start this time.


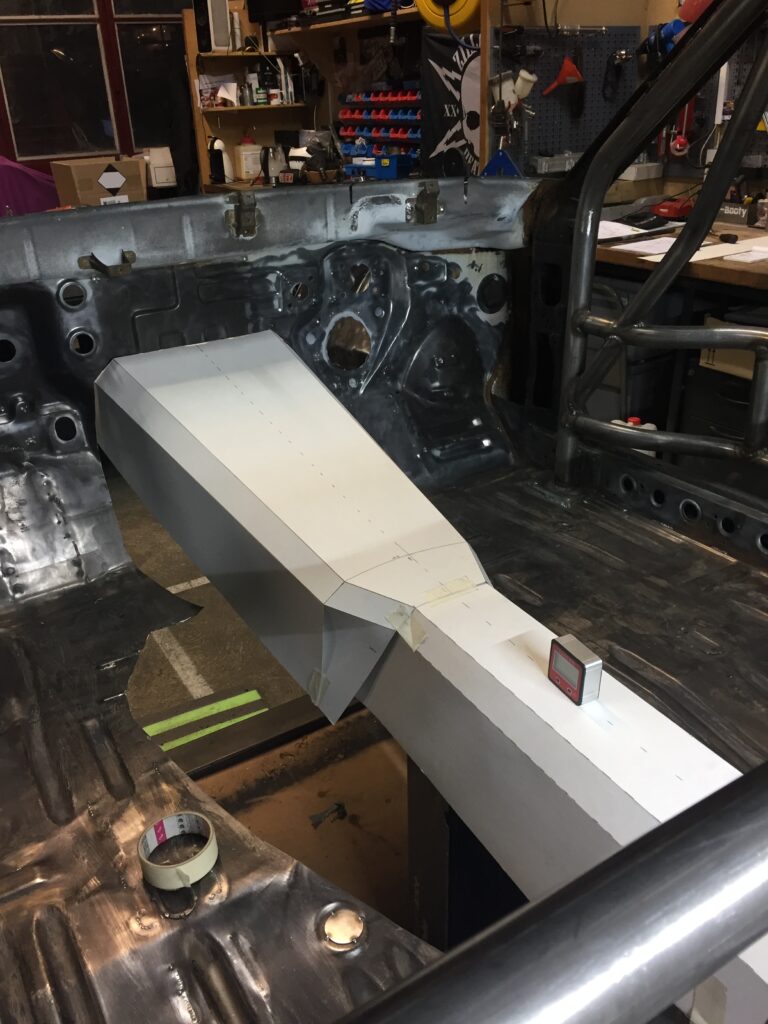
Before cutting, we carefully measured and marked everything. An original RB25 bellhousing was used as a control tool to ensure that there would be enough space for everything.
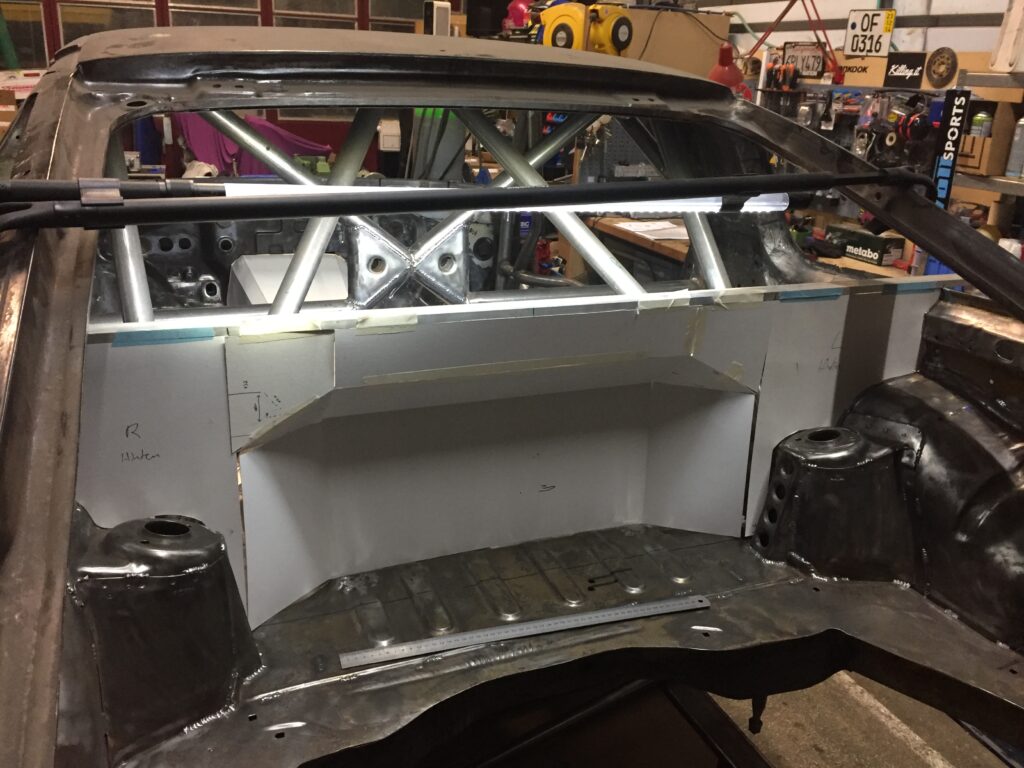
The blue tape with the black line represents the maximum measurement allowed by the DM regulations.

Measurement A: Tunnel width max. 460 mm. Measurement B: Minimum measurement of 260 mm between the underside of the windshield and the top of the transmission tunnel. Measurement D & C: Maximum height and width of the driveshaft tunnel: 260 mm.
To prevent teams with large budgets from installing oversized engines, there are strict limitations on what exactly can be removed. The whole system is designed to remain fair.
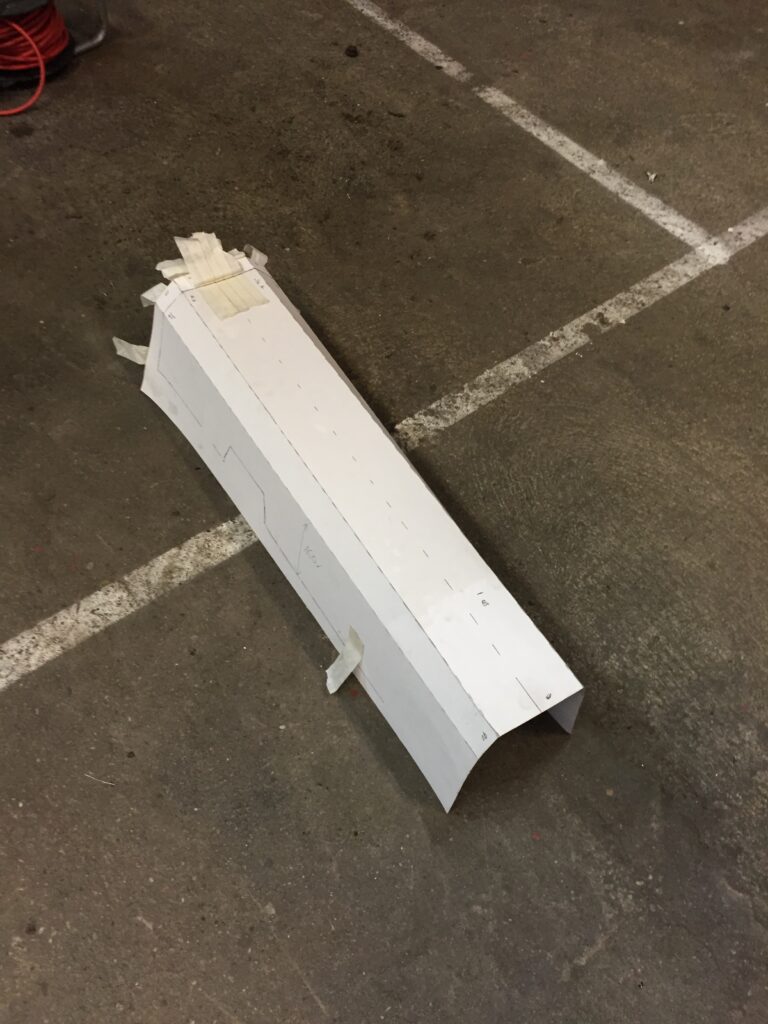
We made a template out of cardboard to get a better overview of everything. Once everything looked good, we ordered the sheet metal and built the transmission tunnel. Here too, we used the bead roller on the sheet metal to give the tunnel as much stability as possible.

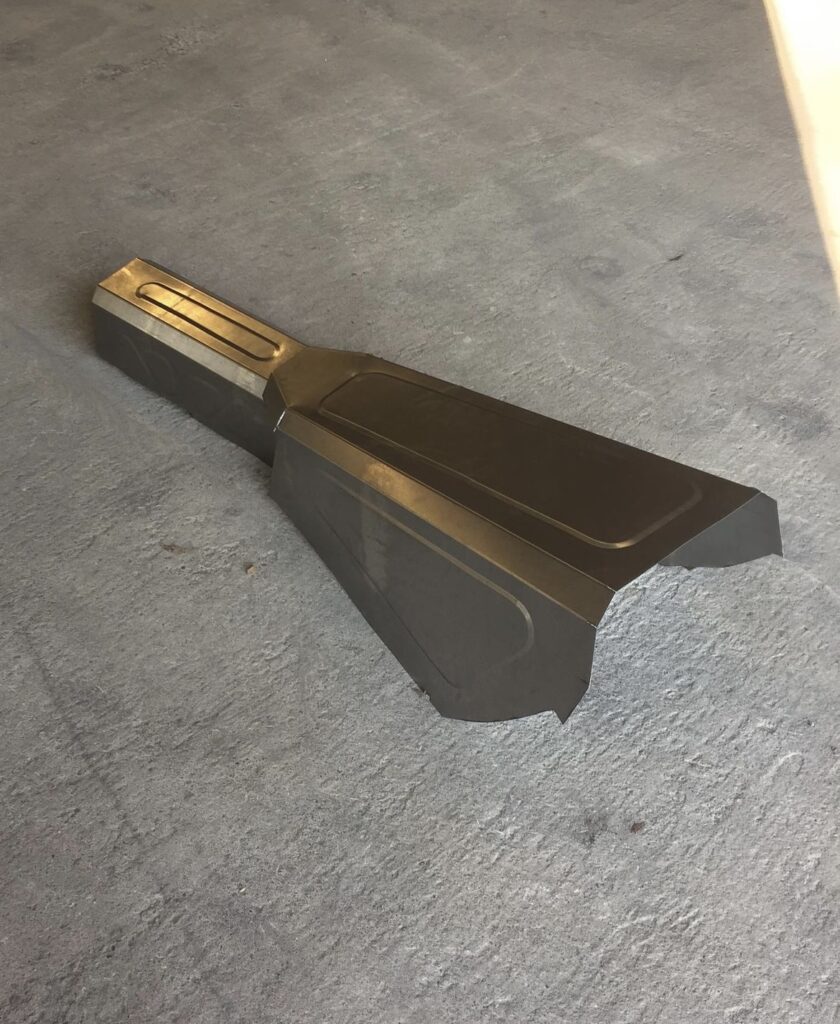
It's always fascinating what can be created from a simple sheet of metal.
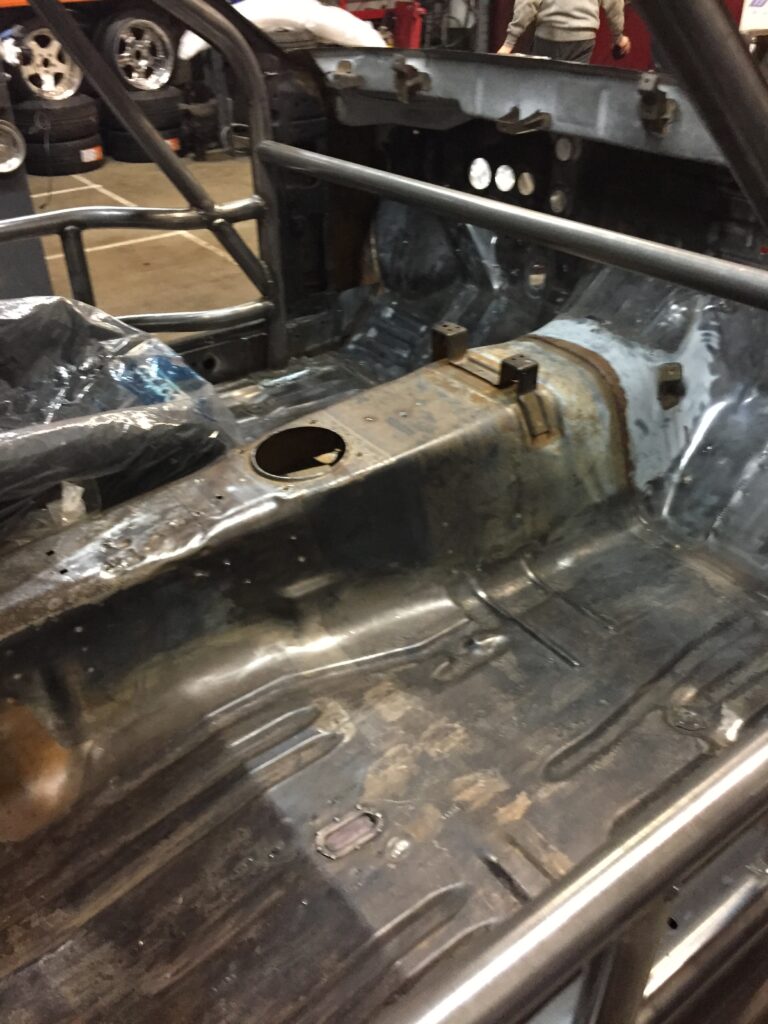
Bevor es fertig eingebaut wurde, haben wir nochmals die Maße kontrolliert. Wir haben den S13-typischen Katalysator-Bump im Zuge der Umbauarbeiten mit entfernt. Dieser hat uns schon bei der roten S13 gestört. Aus diesem Grund haben wir gleich alles rausgeschnitten. Als das Blech am richtigen Platz war, wurde alles angeheftet..


To gain more ground clearance for the exhaust system, we created an additional cutout next to the transmission tunnel. The advantage of such a transmission tunnel is not only that a physically larger transmission can be installed, but also that there’s more space for installation, removal, and maintenance. This is an extremely important factor, as time is a major constraint during a drift event.

The final result of several days of hard work.

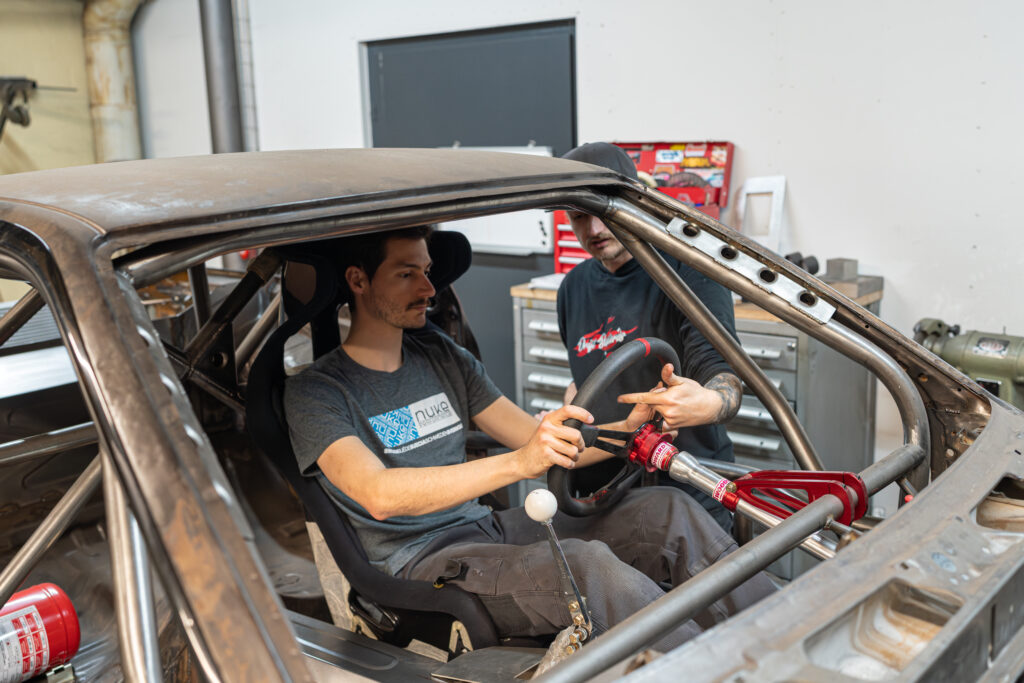
The finished tunnel turned out really well, and the final result is looking awesome. We're still not sure which transmission we'll be using, so we haven't cut the hole for the shifter yet.

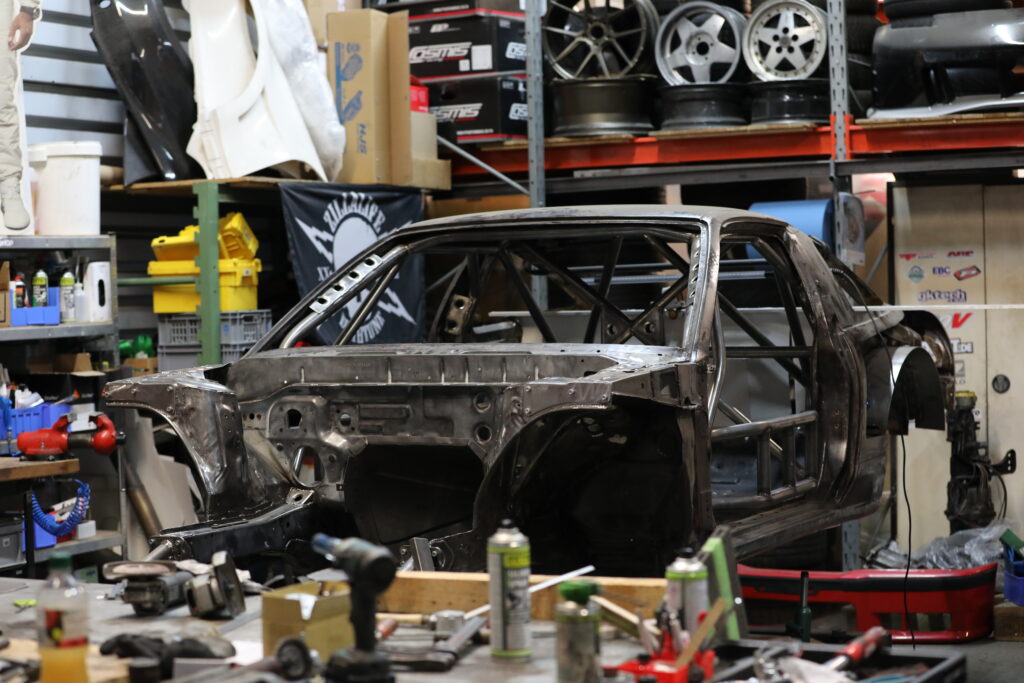
The progress made so far is definitely impressive. We're really happy with everything that has already been done to the body.
In the next blog, we’ll have completed a garage move and will tackle the engine, driver seat, and pedal positioning with renewed motivation.