Welcome back to the fourth blog about our S13.
Short recap → last time we switched our garage and again worked through a lot of individual areas on the S13.
In this blog we will see the progress over the 2024/2025 off-season (or so).
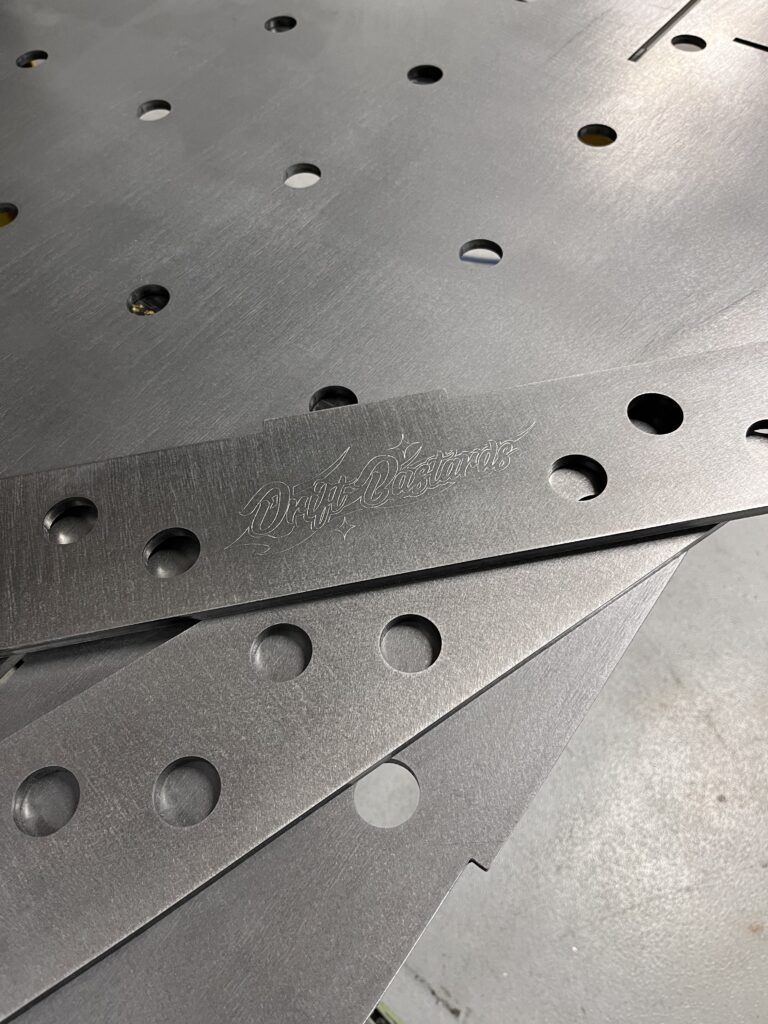
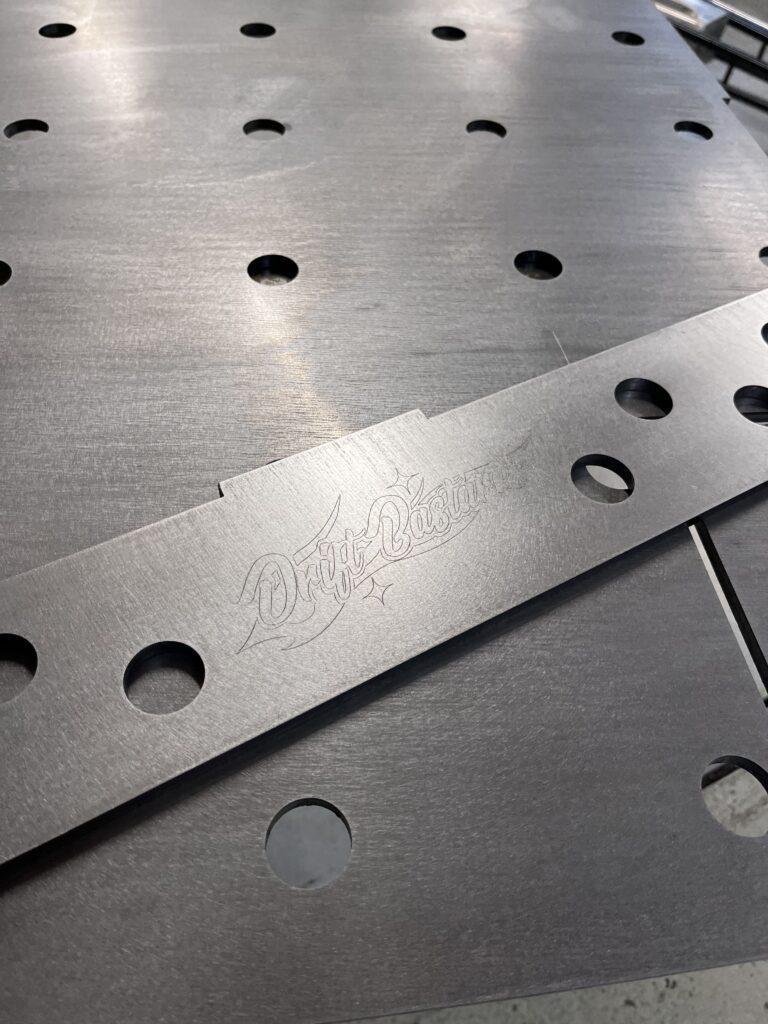
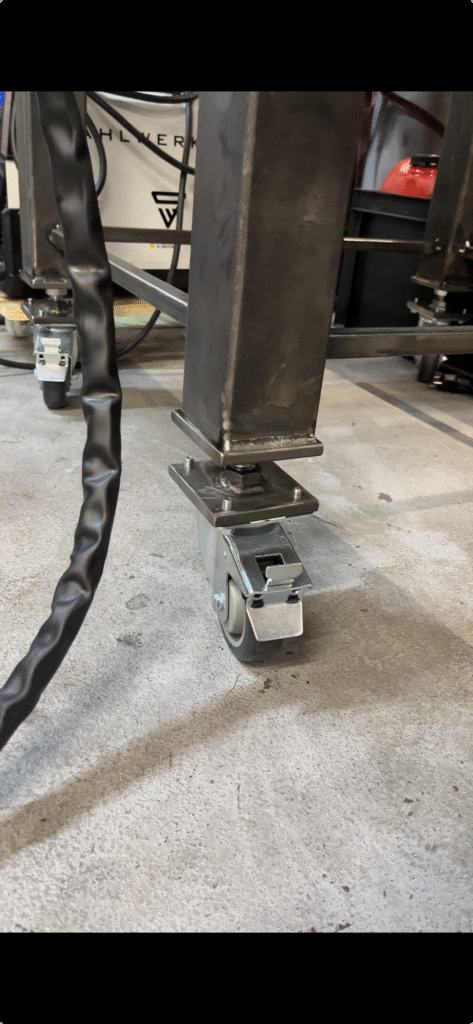
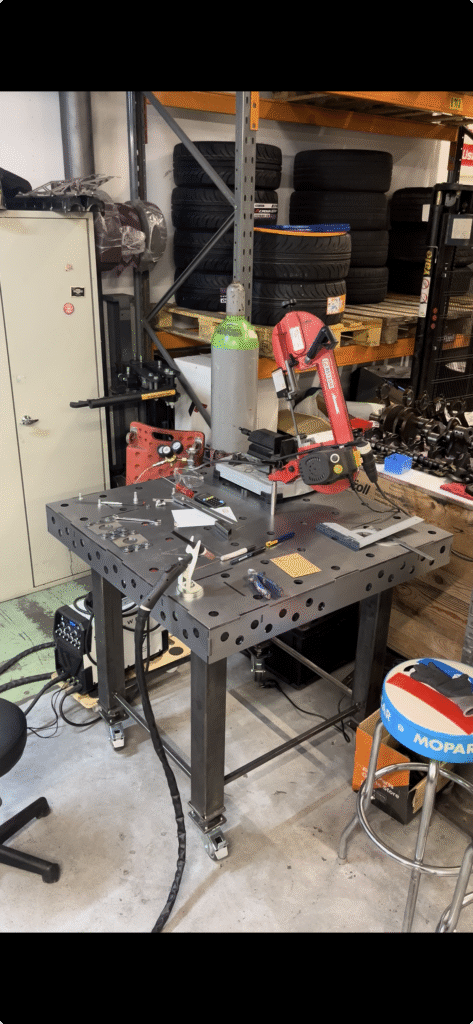
Before we could continue working on the Nissan, we needed a welding table. A lot of work on a race car requires welding metal parts together at a very precise level. Since buying a new one is rather expensive, we quickly built our own. After designing the table in Fusion 360, the individual components were laser-cut from 8 mm steel plate and welded together. We also mounted height-adjustable casters on the table legs. The table, measuring 1000 × 1000 mm, can now be leveled as well, just like the chassis table on which the car body sits.
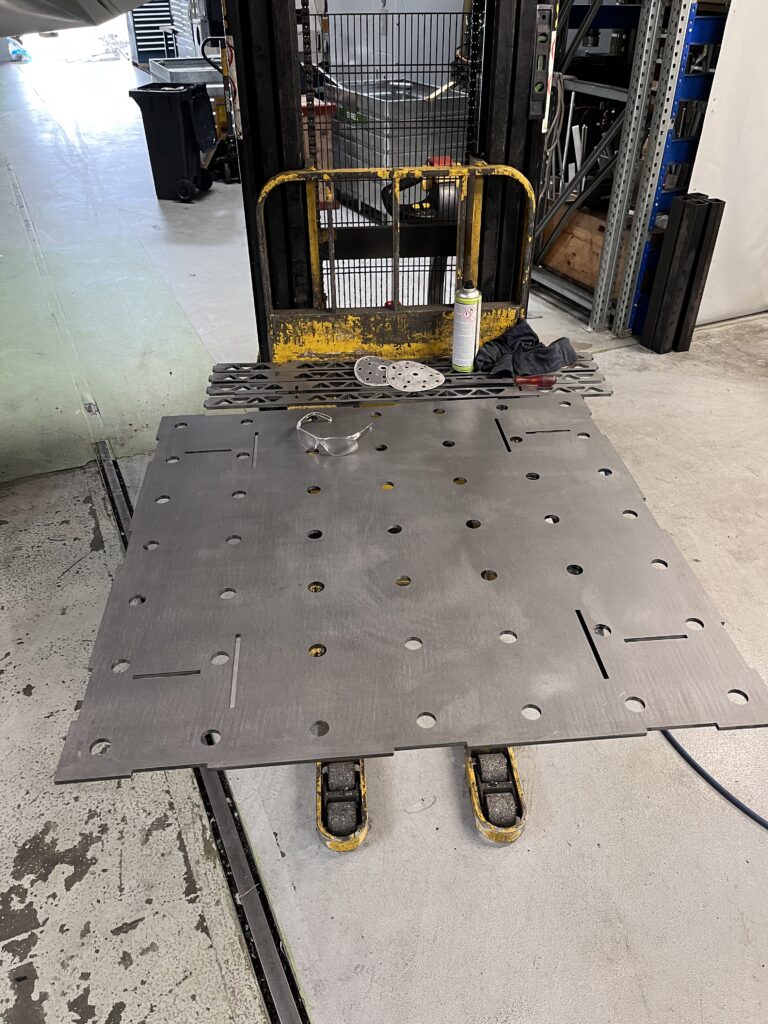
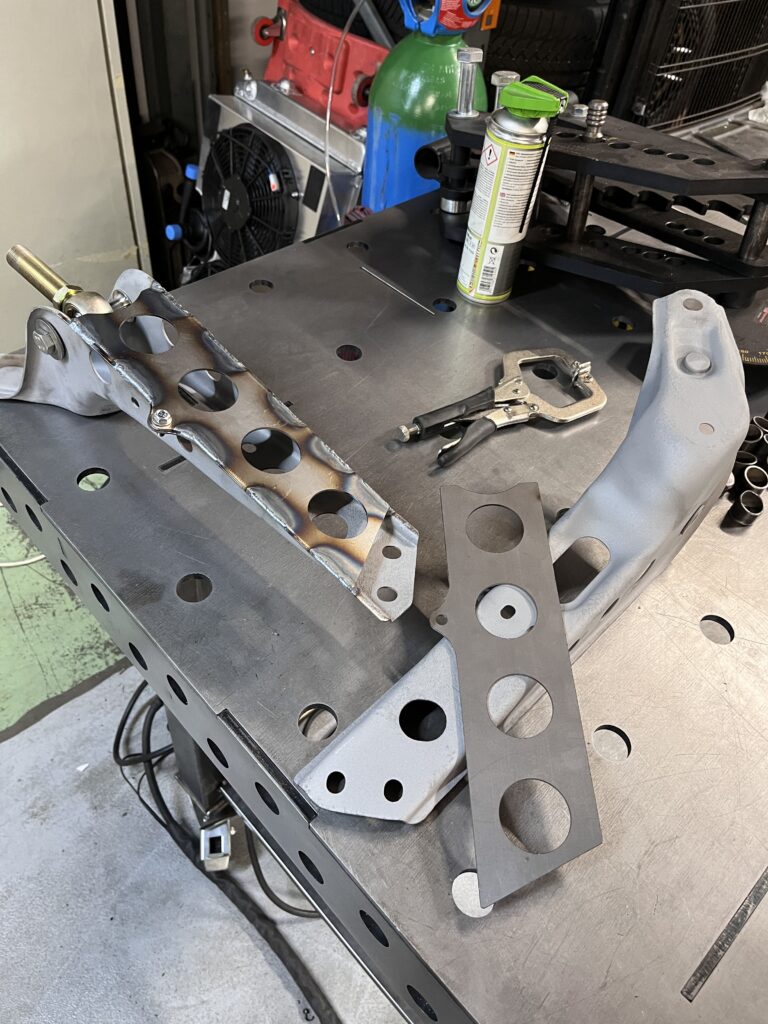
As soon as it was finished, we had to test our new masterpiece and immediately reinforced the front control arm mounts. After one day, the table already looked like it had been there for a year. Conclusion: yes, we can definitely use this.
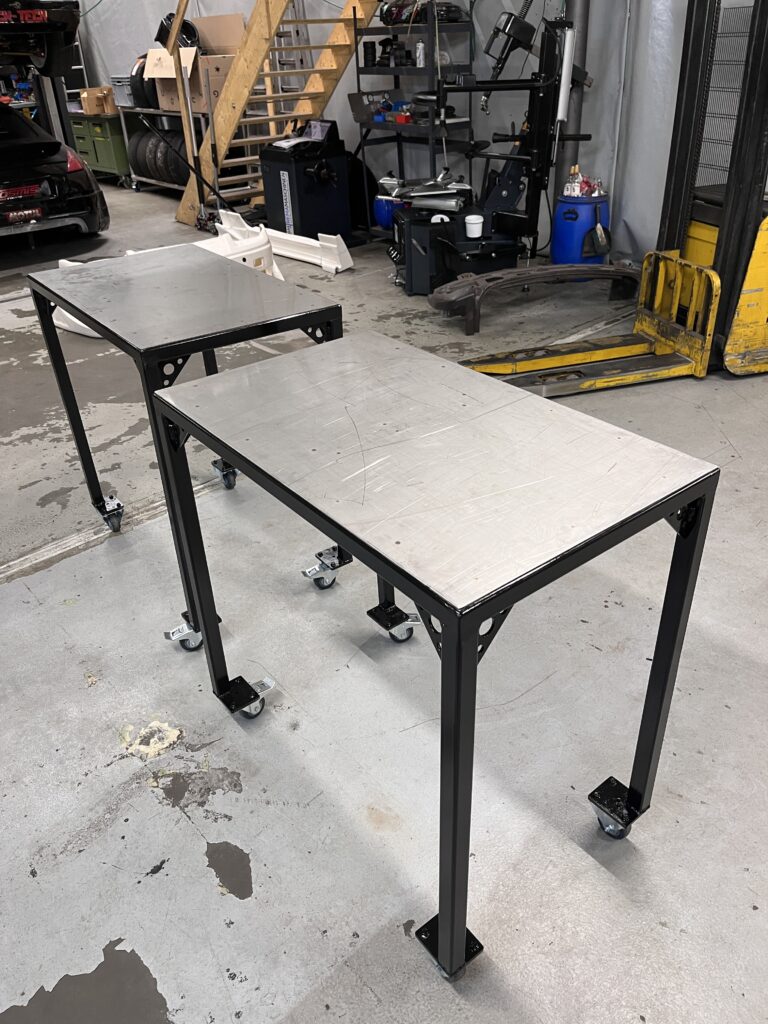
Since we had already warmed up with the welding table, we built two work platforms from leftover scrap material. We still had 4 mm stainless steel plates from a pool project lying around, which were perfect for this. A bit of black paint and the side quest was complete.
Before we could finally continue with the S13, we received unexpected visitors.
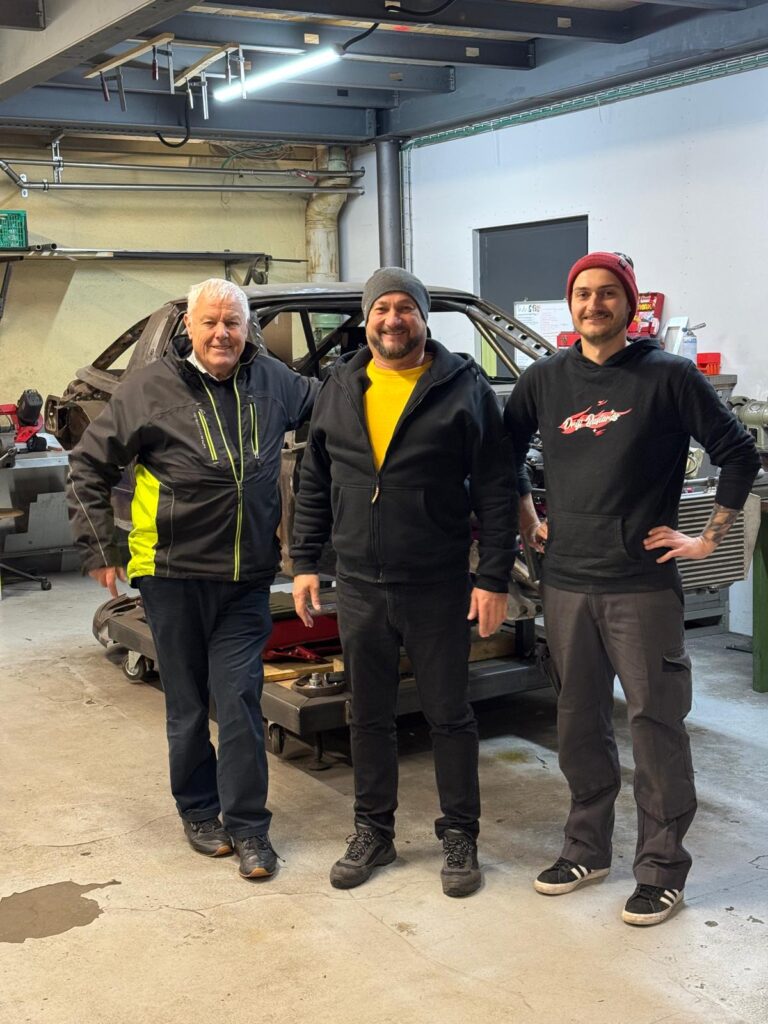
Our dad Martin as well as uncle Erich and Kurt Sieber came to inspect our ambitious project. Our uncles have always had diesel in their blood. The fact that we actively do motorsport has always been a reason for them to ask how we are progressing. Whether at family gatherings or birthdays, at every opportunity they would check in on where we are at and what events are coming up.
After a short tour with coffee, we kicked them out of the garage so we could finally work in peace.
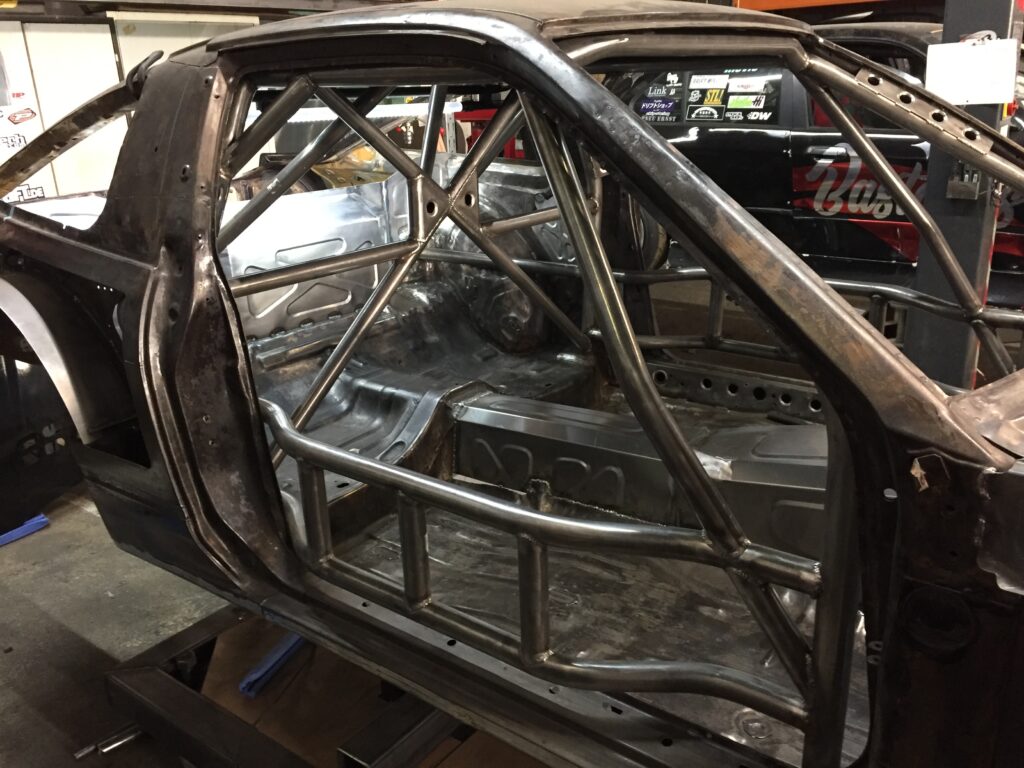
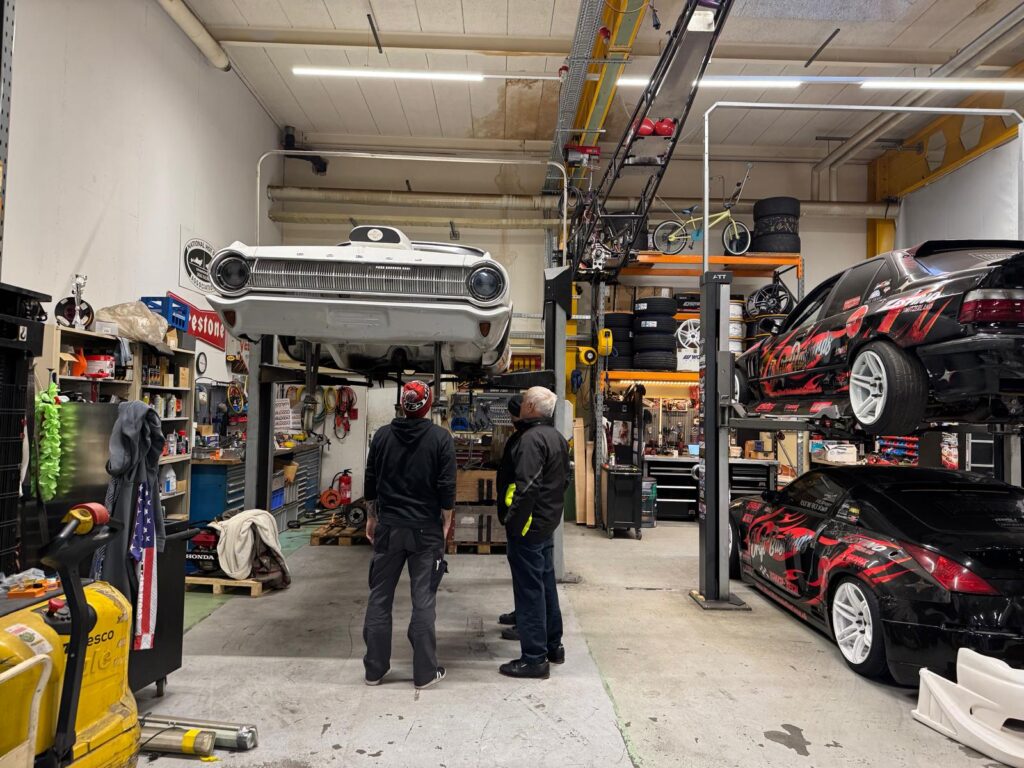
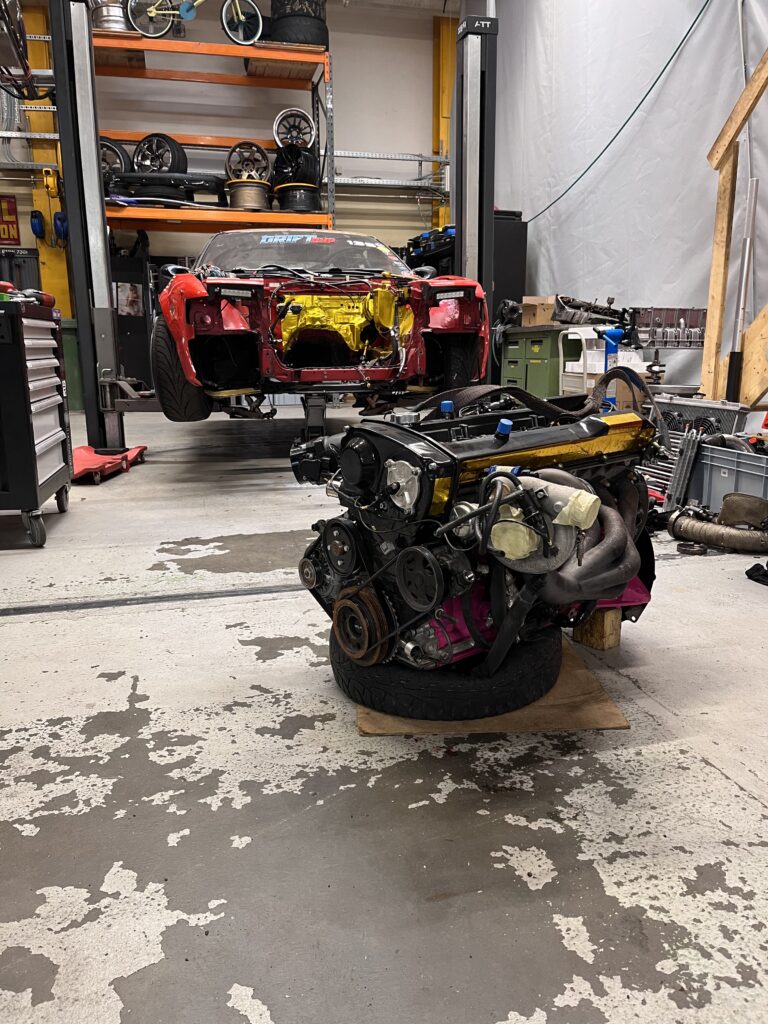
As already described in the first blog, our goal is to replace the outdated chassis of our first S13. The new car therefore needs an engine, and since our Nissan RB25DET was probably the most reliable part of the red Nissan, it is one of the few components we are reusing. We removed the engine and completely stripped our very first drift project. A rather strange feeling—giving up a car that shaped a large part of our drift career and taking it completely apart. Well, it had to be done.
The old has to make way for the new, or something like that…
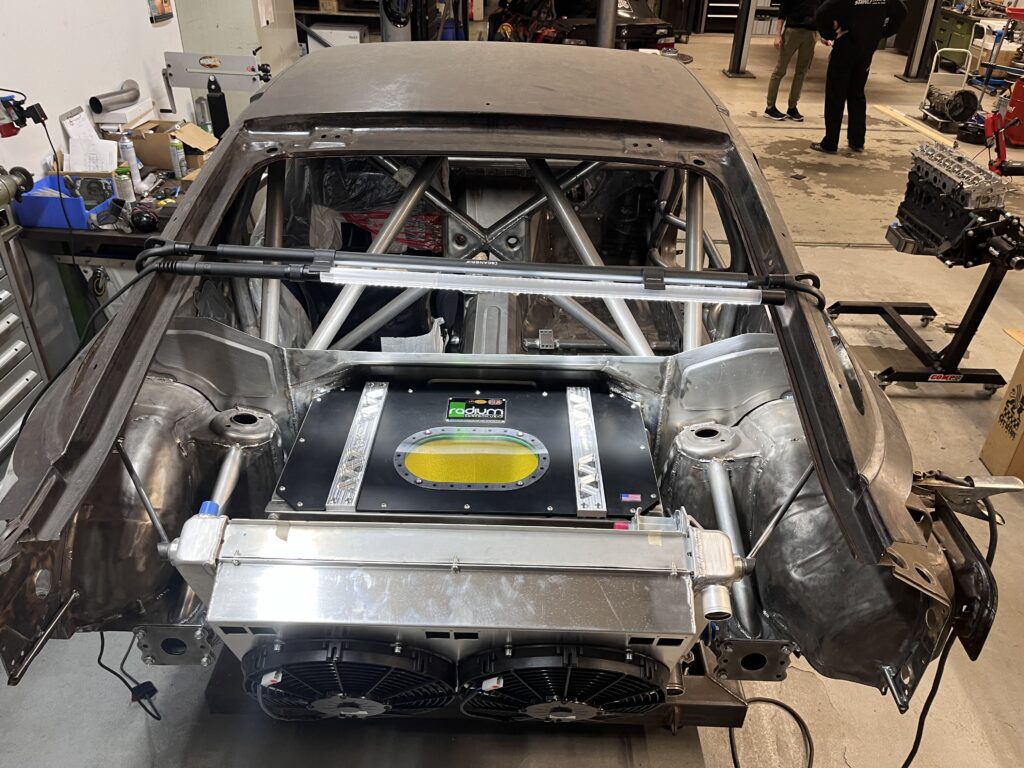
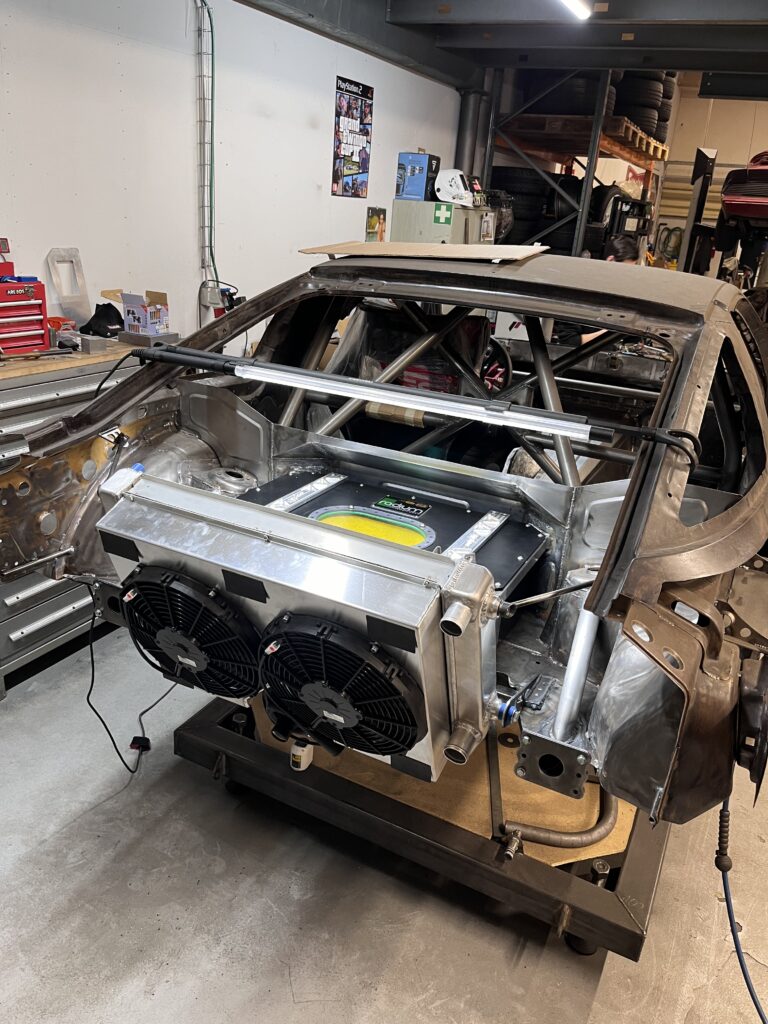
The engine was installed in the new chassis. We need this to design all the supporting components, such as intercooler piping, oil cooler, bash bar, etc.

The new engine mounts seem to work perfectly.
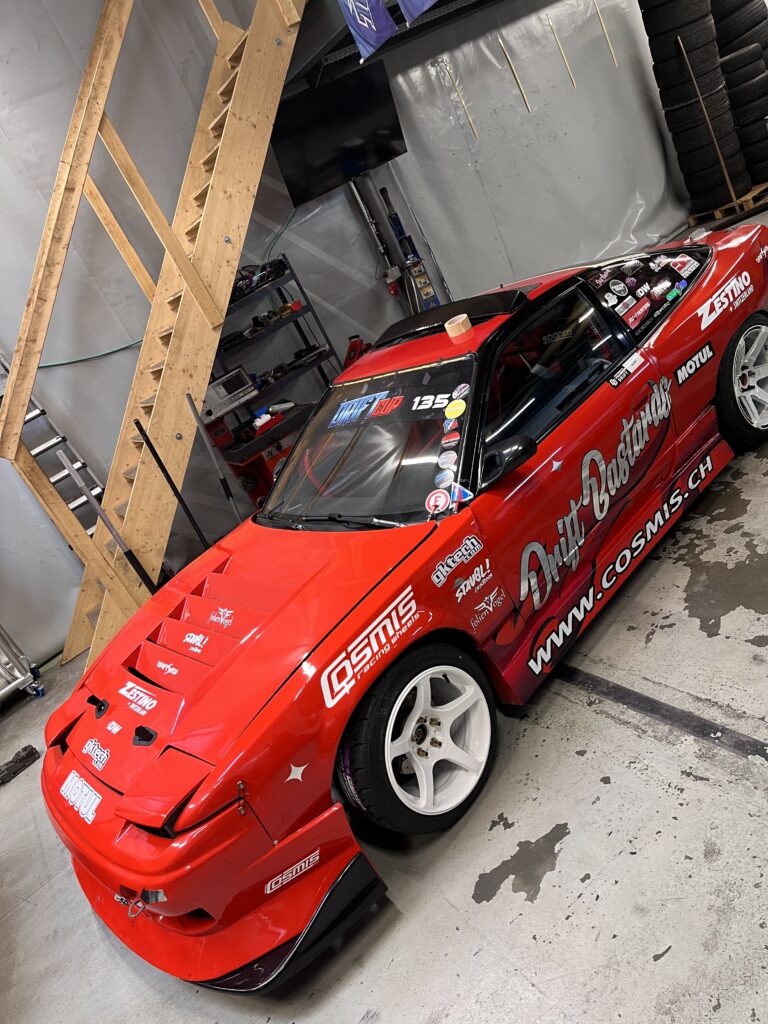
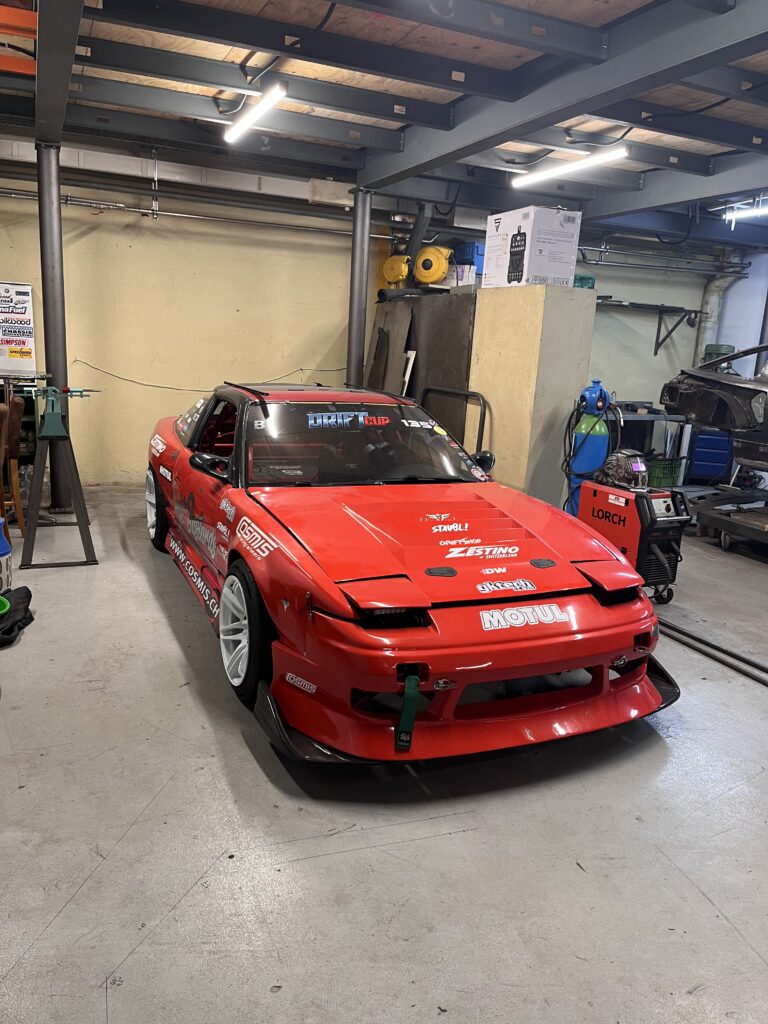
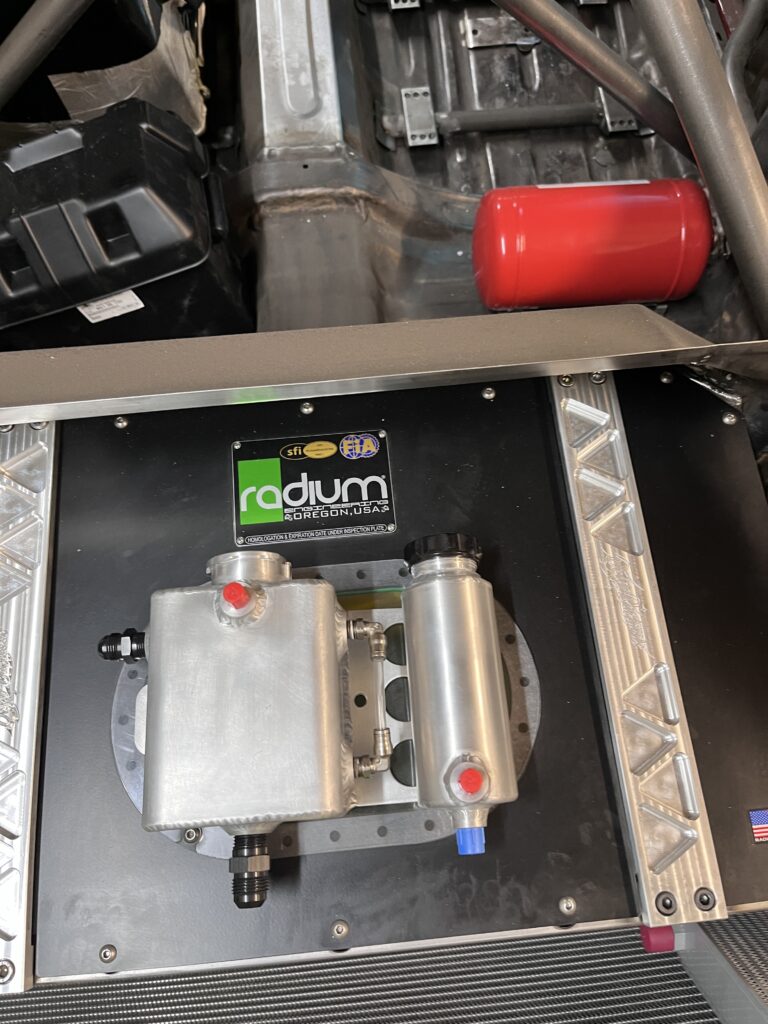
For the fuel tank we chose Radium Engineering. Radium Engineering offers a wide range of FIA-homologated fuel cells. A cool feature is the integrated catch tank, which sits directly in the tank with three Bosch fuel pumps. To gain more space and make the car easier for championships, we cut out the remaining rear sheet metal. The fuel cell now sits securely in a rectangular tube structure, which is closed off with CNC-machined tank brackets from Tracktech. Thanks Renato for this eye-catcher!


For the next section we needed some support. Many parts are too complex to manufacture ourselves. Especially welding aluminum is something we have not fully mastered yet. To avoid building in our own mistakes, we had to bring in a professional. And that is our long-time friend and drift homie Rafael Staubli.


He has been in the drift scene for as long as we have, and countless shared events have shaped our friendship. So it was a no-brainer to ask the self-employed Nissan restoration and fabrication expert for help.
The first joint mission was the oil pan. The original Nissan RB25DET holds 4.5 liters of engine oil, which simply does not work for drifting. Oil volume plays a very big role in the longevity of bearings, piston rings, and all other moving parts that need lubrication. Since we already had issues in the past, we had to improve this. Together with Rafael from Staub!i Customs we designed a custom oil pan. The roughly 7.5 liters and baffling plates should work wonders. Millimeter-level precision that was worth it.


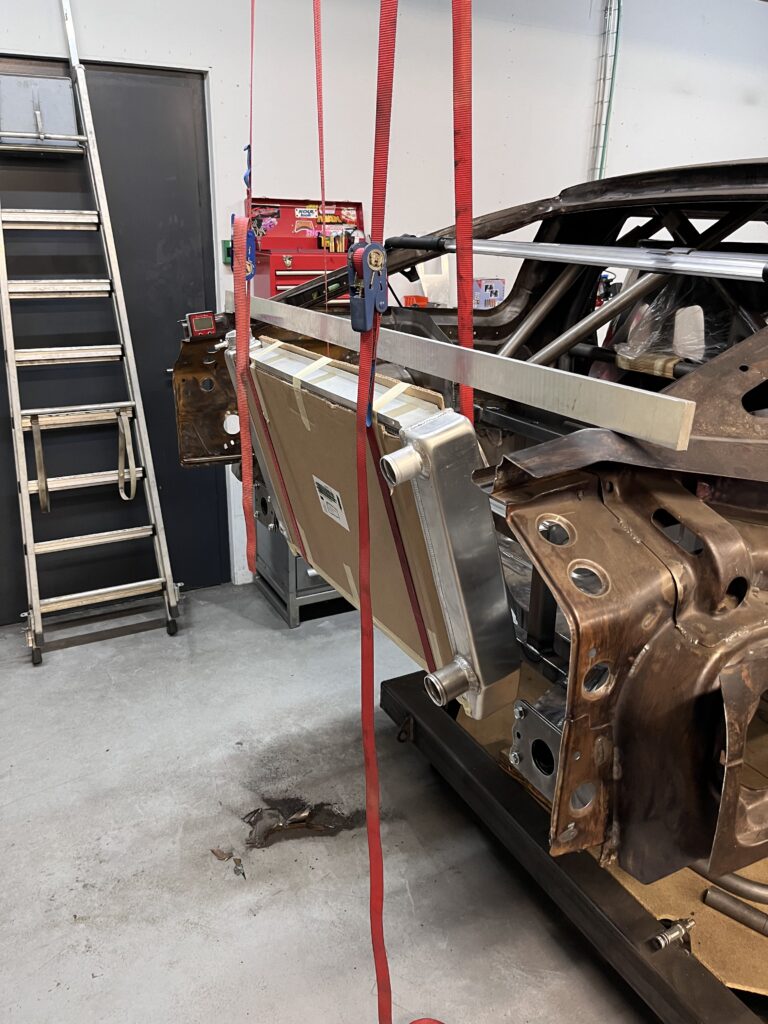
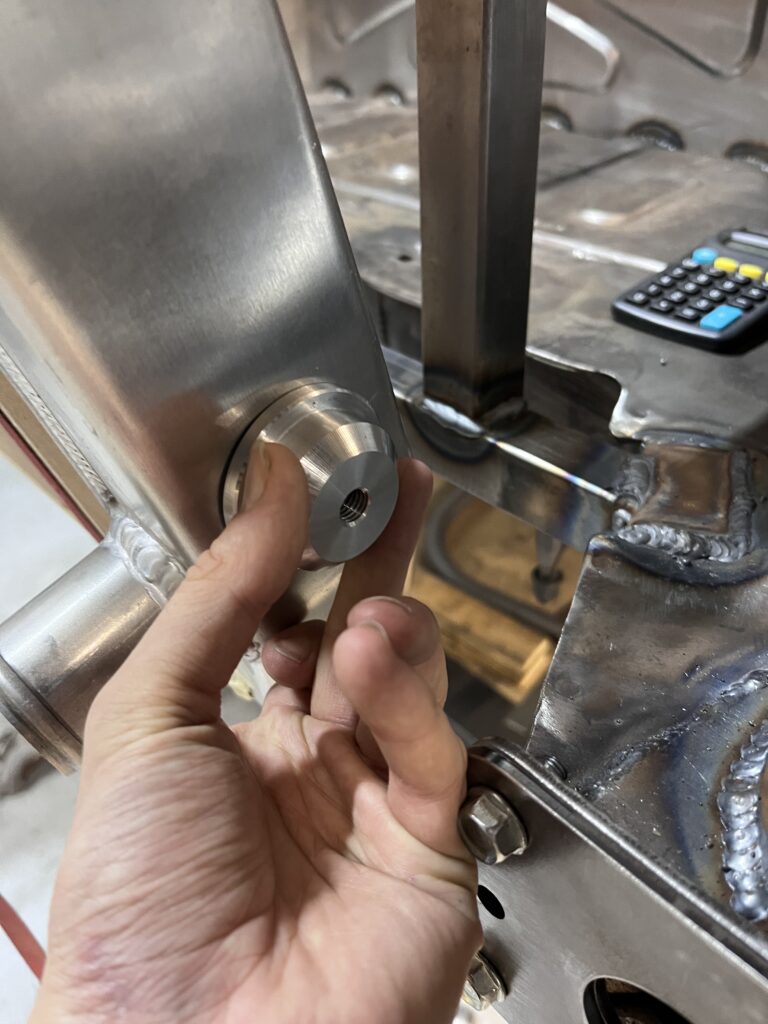
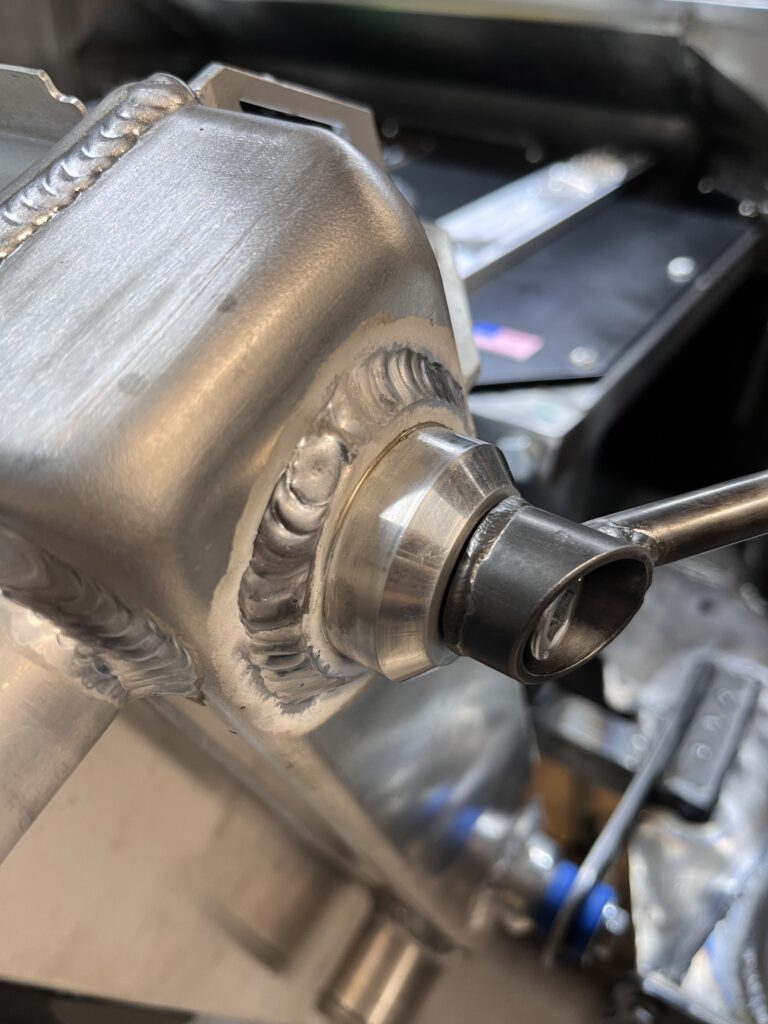
Next came several aluminum welding jobs. We had already prepared water necks, lines, and radiators for Rafael. Everything just needed to be welded. We routed the coolant lines using 25 mm aluminum tubes along the underbody. It looks much cleaner and avoids running hot fluids through the cabin. Since the red S13 was still on the lift, we used its underbody as a template. That was much more comfortable than lying on our backs under the chassis table. Coolant fittings were made in 16AN and fuel in 8AN, and everything was mounted with four brackets.


To make sure our Nissan RB25DET does not overheat, we decided on a rear-mounted radiator. Definitely much more effort than a conventional setup, but it will pay off in stable water temperatures. The radiator is from Griffin Performance with a 3-inch core. We also built a custom fan shroud for optimal efficiency. Later we will add the air intake through the rear window.

A custom-made expansion tank with overflow was also a must.
The next, and for now last, help from Rafael was needed for the intercooler. A 3.5-inch Vibrant Performance core is already almost too big for our 500 hp. But you never know what will be upgraded in the future. We also built the end tanks ourselves to keep the intercooler piping as short as possible. The front bash bar was designed around the intercooler.


The last job for this blog was the oil box in the passenger footwell. We wanted to keep the engine bay as clean as possible and therefore switched to an electric power steering pump. There are several variants that have proven themselves in drifting, including a Volvo power steering pump that can generate up to 120 bar. The Accu-Sump for our lubrication system also found space in the oil box. The footwell was 3D scanned by Tracktech and we first designed the box in Fusion 360. Unfortunately, we don’t have any photos of it. In the end, everything fit without any modifications.


Stay tuned for the next blog, where we turn a pile of sheet metal into a real car.