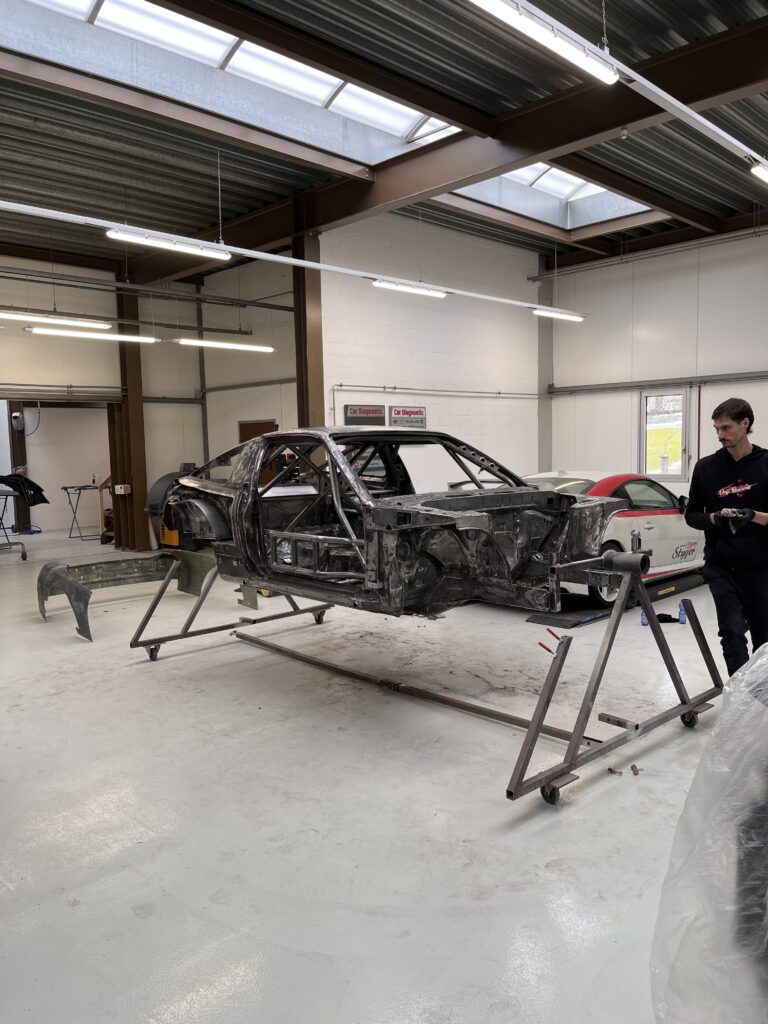
It continues with the S13. Slowly but surely, we are approaching the home stretch.
In this blog, we focus on several already started projects that can finally be completed. We tried to document all of this for you between October and January 2024/2025. Enjoy!
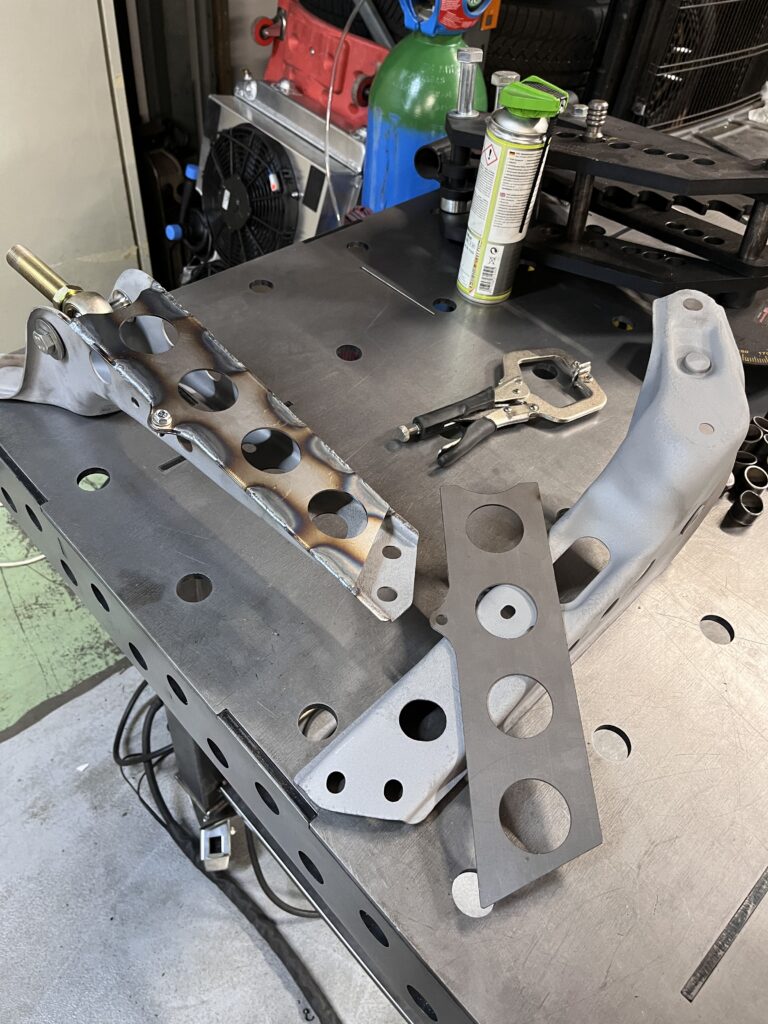
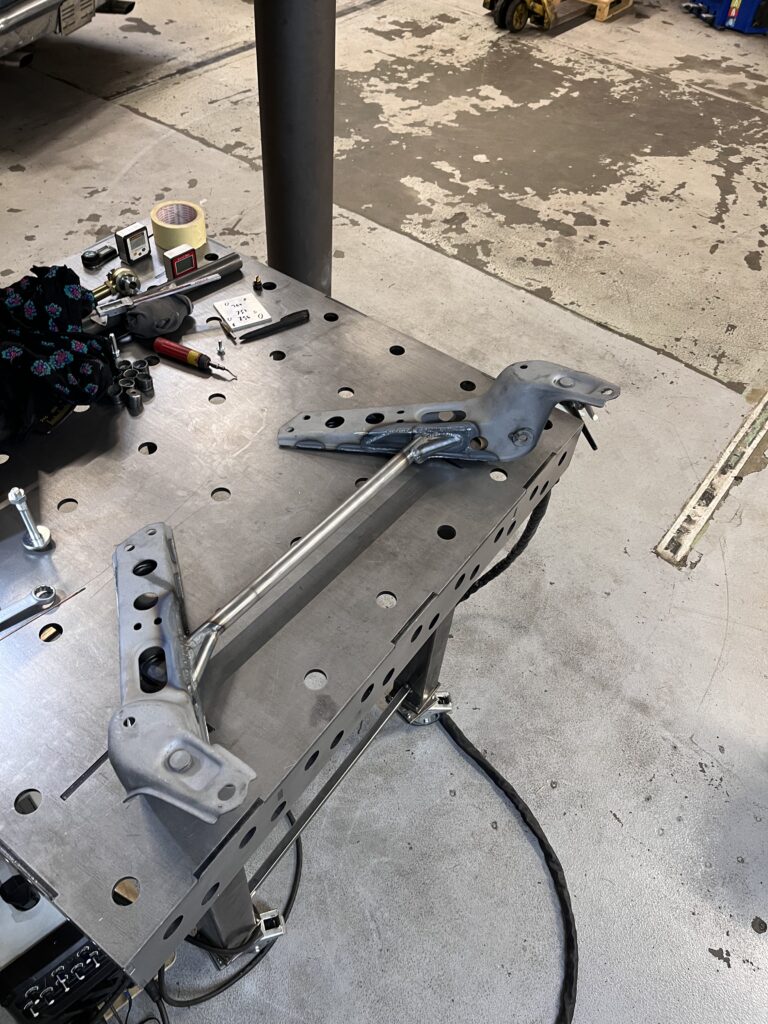
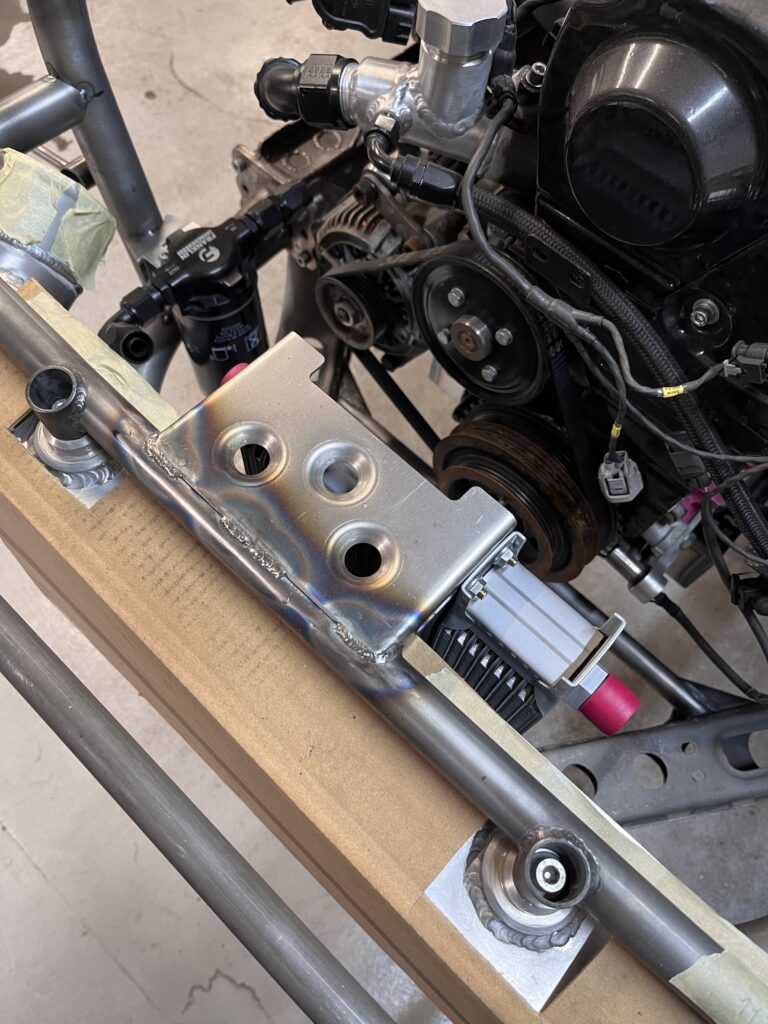
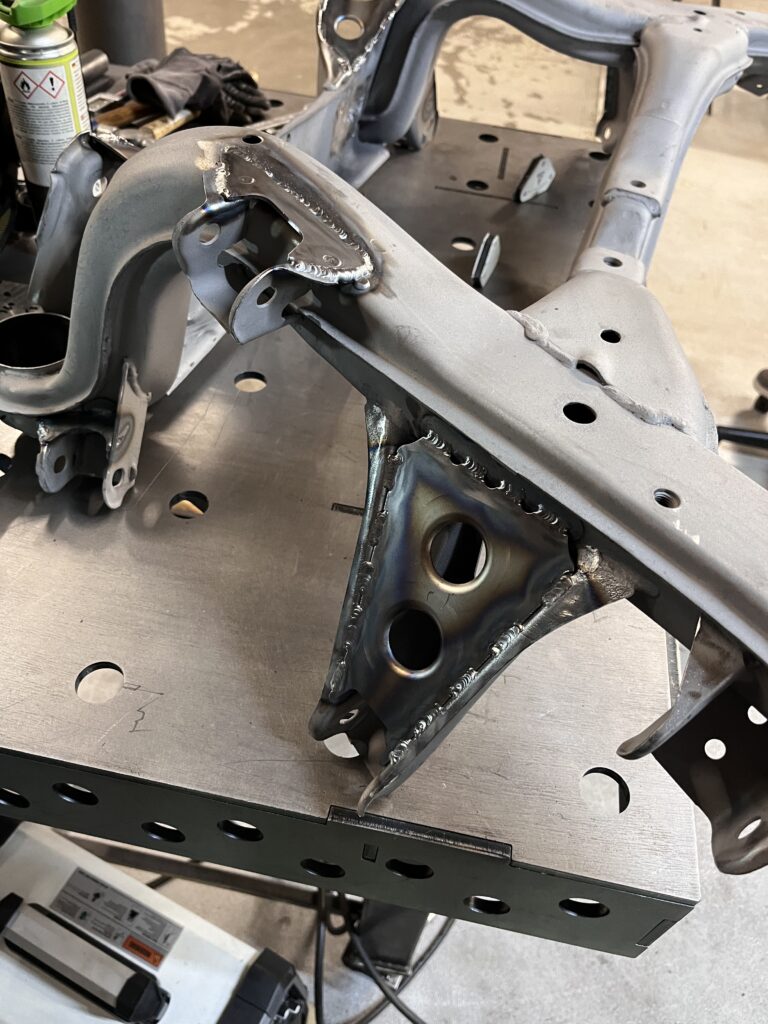
In the last blog, we started with the reinforcement of the steering arm bracket, which still needs to be completed. The reinforcement tube is a kit from GKTech in Australia. Easy to weld and it adds even more stability to the front chassis structure.
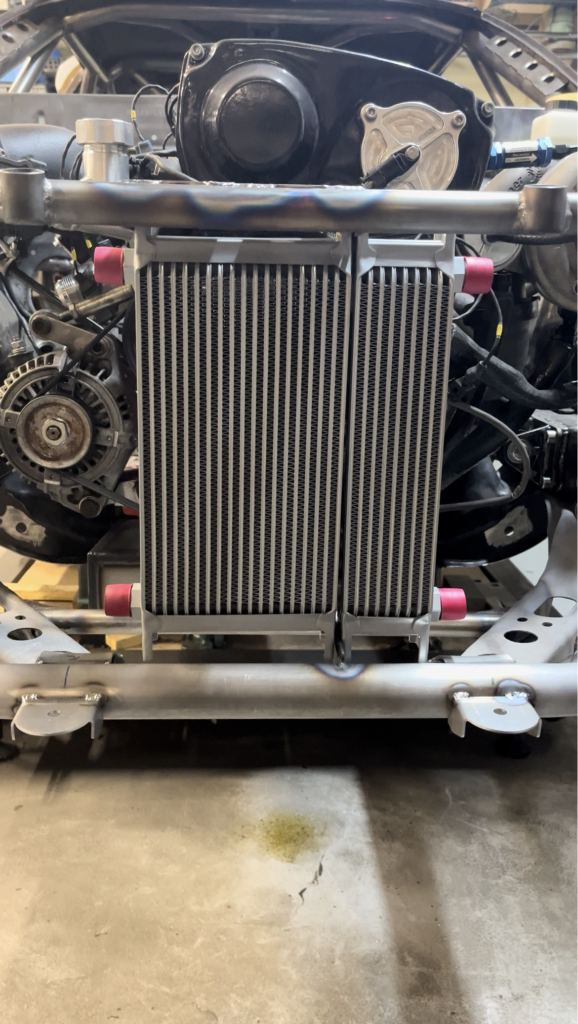
We also got stuck at the intercooler. Since we also need a power steering cooler in addition to the oil cooler, it worked out perfectly to mount it right behind it. The intercooler from Vibrant is quite massive and therefore protects the two small oil coolers. At a later stage, we will install an electric fan, which will greatly help reduce heat buildup in the engine bay.
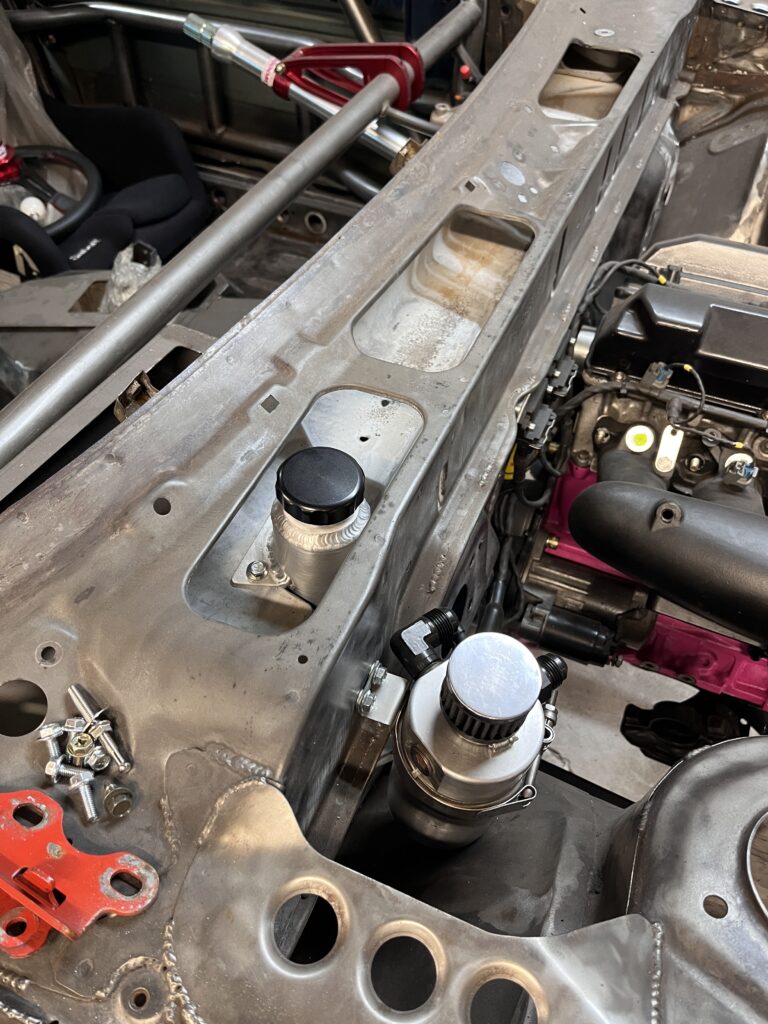
Rafael from Staubli Customs welded a reservoir for the power steering pump for us. We placed it in the wiper linkage compartment. The power steering pump is located in the passenger footwell and is difficult to access. This setup makes it much easier to refill oil. A catch can for crankcase ventilation was mounted directly in front of it on the firewall. We were not entirely convinced by the size of the catch can, but we simply didn’t have anything else at hand. RB engines are known for breathing heavily through the crankcase ventilation. We will need to improve this once we have more time.
We also organized chassis reinforcement plates from GKTech. The S13 subframe is not exactly known for being strong. Nissan engineers also didn’t expect it to handle multiple times the original engine power. Everything was sandblasted, so we could start welding immediately. No paint, oil residue, or dirt had to be removed. The perfect preparation really paid off!
The differential and driveshafts were something we were not entirely sure about in which direction to go and what would work for us.
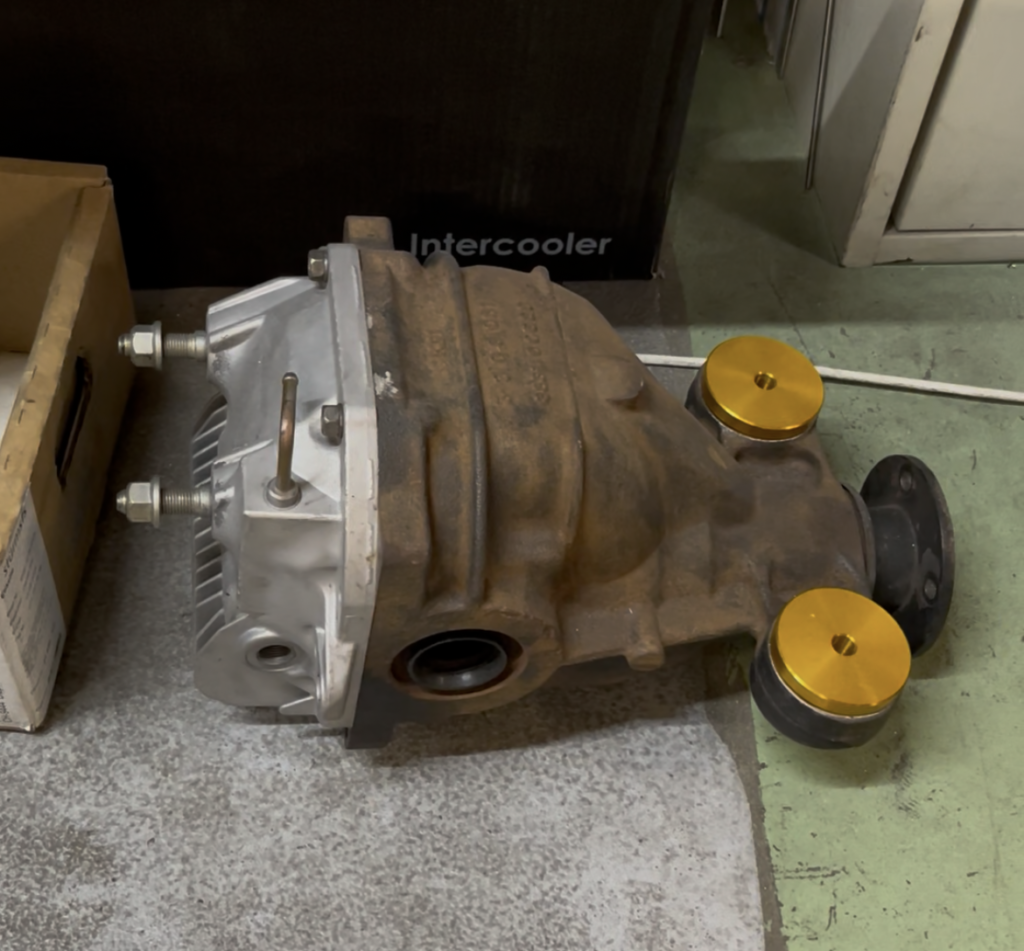
The 350Z differential and driveshafts are a more cost-effective alternative to the R200 from the Skyline and similar setups. Still relatively easy to source and strong enough for a certain power level. A quick-change setup would have been the best choice, of course. However, our budget is tight and an upgrade is still possible in the future. It should also be noted that a quick-change setup requires larger driveshafts. So you can see that this would have led to additional costs and extra effort for us.
So, as always, we went with what we already had in our parts shelf.
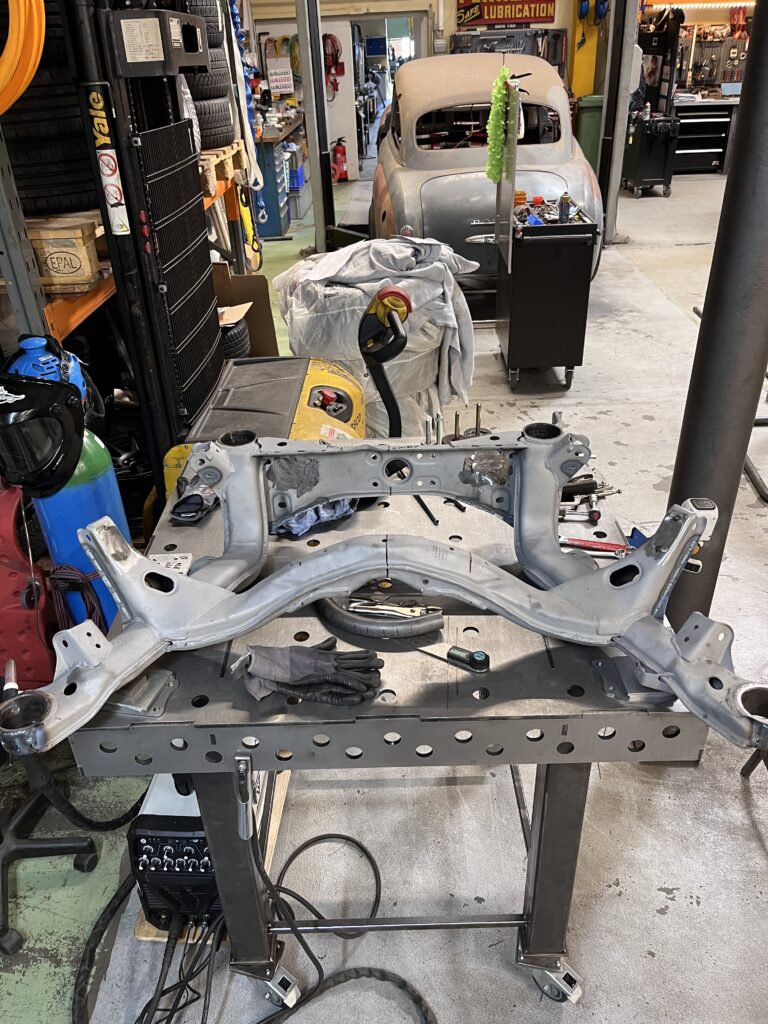
To prevent the subframe from twisting during the upcoming work, we built a jig. All suspension mounting points must stay exactly in place. It also quickly became clear that we would likely need to cut the subframe in the middle to create enough space for the differential.
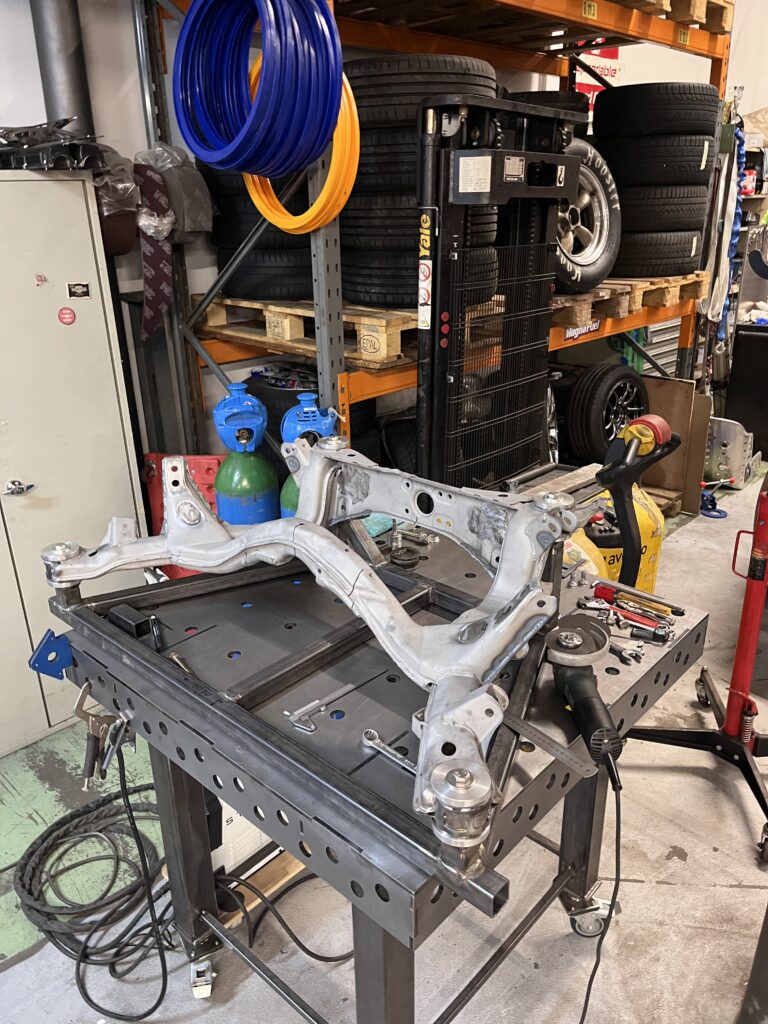
Before starting to cut everything apart, we first had to determine the exact position of the differential. The welding table was leveled so everything would sit perfectly flat. Man, this welding table was just perfect for this job. With a laser and measuring tools, everything could be marked with extreme precision.


The differential is mounted about 30–40 mm higher in the subframe than the original position. Our lowered cars have always had issues with driveshaft angles, which we wanted to prevent here. For the trained eye, it is visible that we used a Nissan Pathfinder differential cover. It features two M16 mounting bolts instead of one like the 350Z diff.


We installed a dummy diff housing into the subframe and test-fitted everything into the chassis. Everything seems to align properly with the transmission. Perfect!


Once we were sure everything fit, we put the subframe back onto the jig and finished all the welding. The GKTech anti-squat kit also had to be included for an S13 subframe. Using a triangular control arm as a reference, everything was aligned and then fully welded.
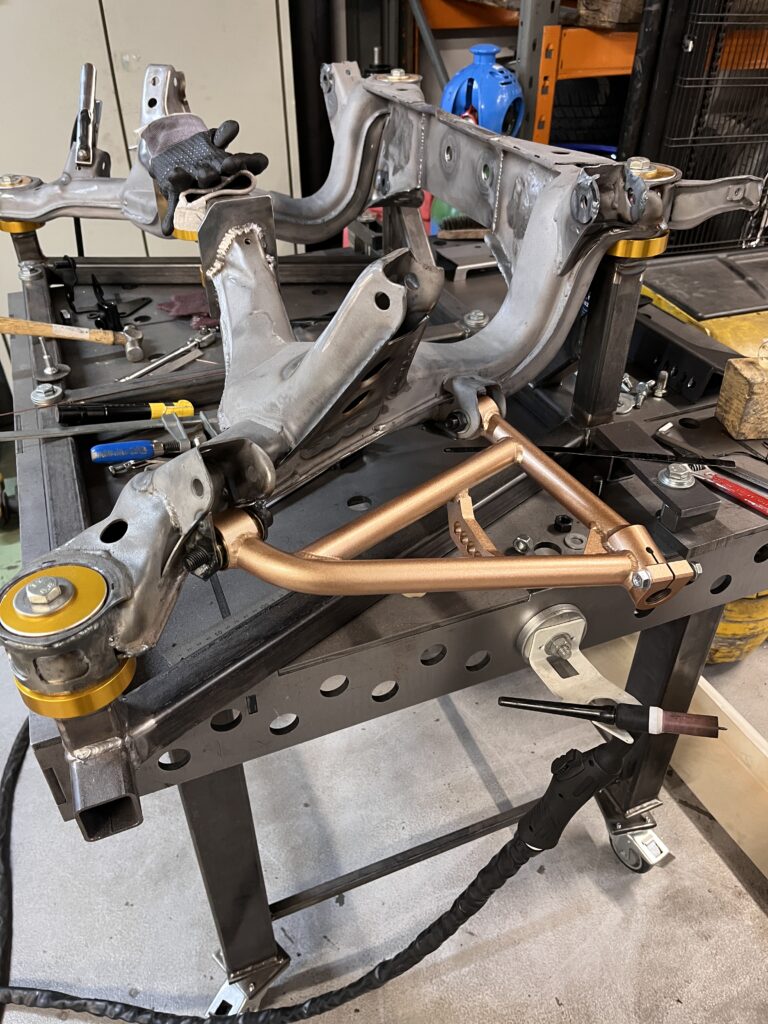
A few laser-cut plates and welds later, the whole thing looked pretty professional. Part Shop Max supplied us with solid bushings, which we pressed in afterwards. Et voilà — ready for powder coating


An S15-style dashboard was something we wanted from the beginning. So we ordered an LHD fiberglass dashboard from Poland and installed it. Again, our budget is tight, and a carbon version simply wasn’t an option. It was important to us that it could be removed with just a few steps. So we took our time. After hours of adjusting, cutting, sanding, and test fitting, it finally went in.
If I’m honest, the Polish dashboard fit like a whale in an ice cream shop!


To position the two seats correctly, we built custom seat brackets with the DriftBastards logo. This will look really cool with a black finish.


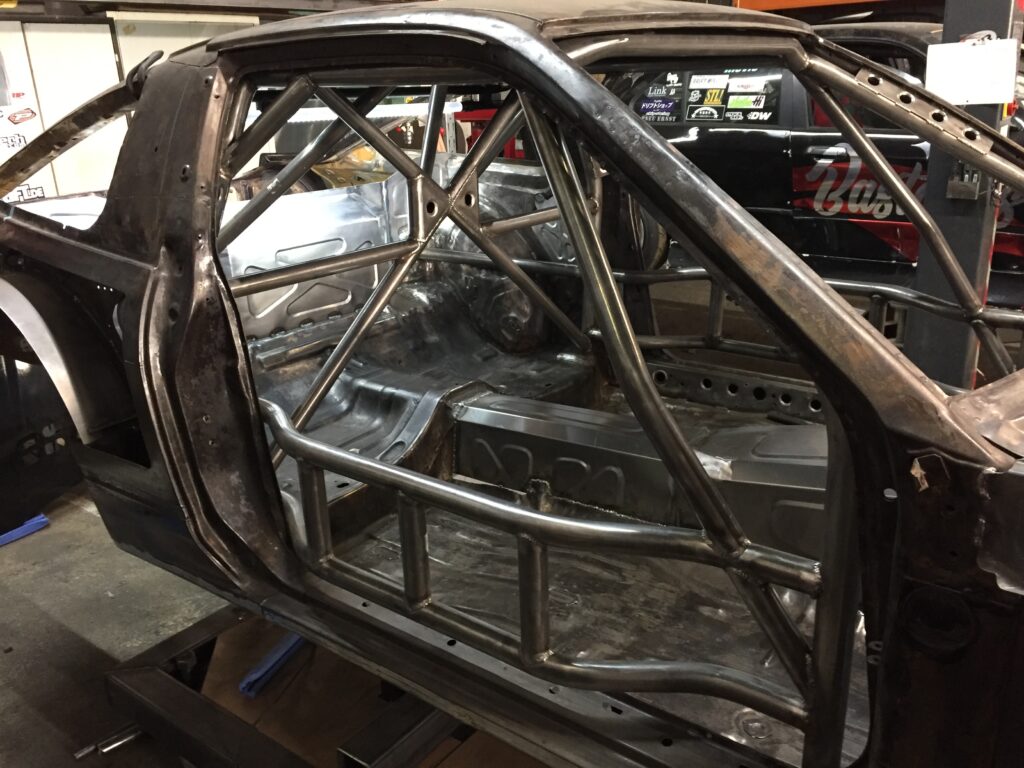
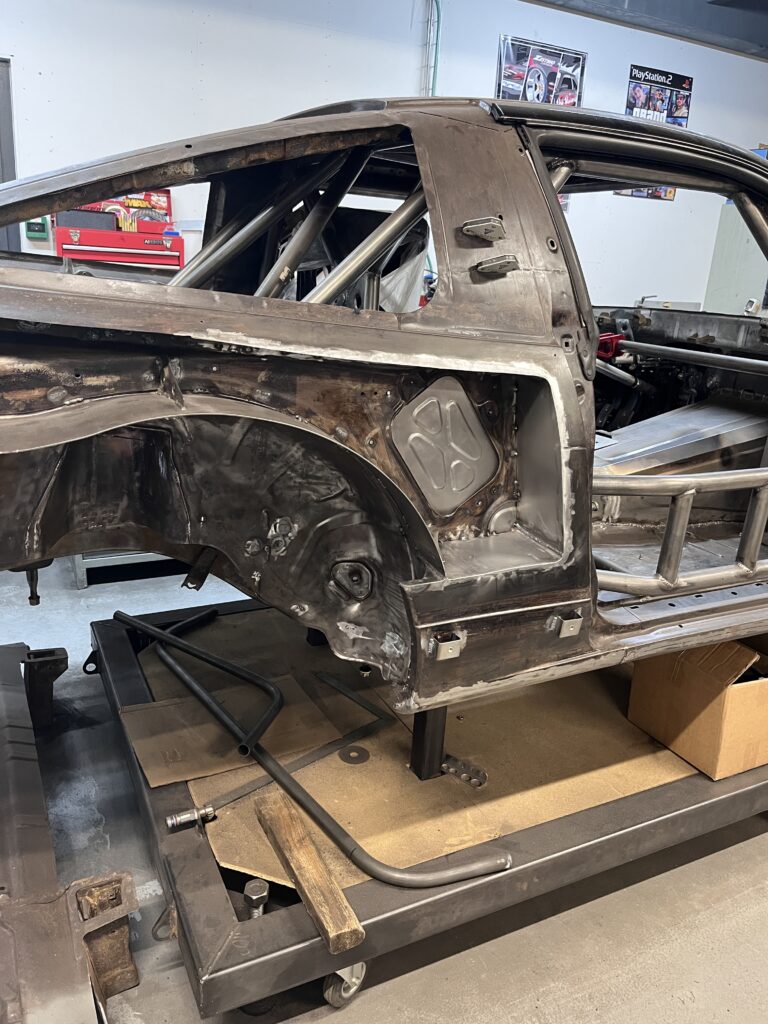
The open wheel arches still had to be properly sealed before we could start mounting the body kit. It was important to close everything as well as possible. Tire smoke should ideally not enter the cockpit.
Janick’s girlfriend Ramona helped install the windows and doors. We will use the original steel doors instead of poorly fitting fiberglass versions. The dashboard was enough fiberglass for us. We ordered the polycarbonate windows from Plastics4Performance. Only the windshield will remain laminated glass.


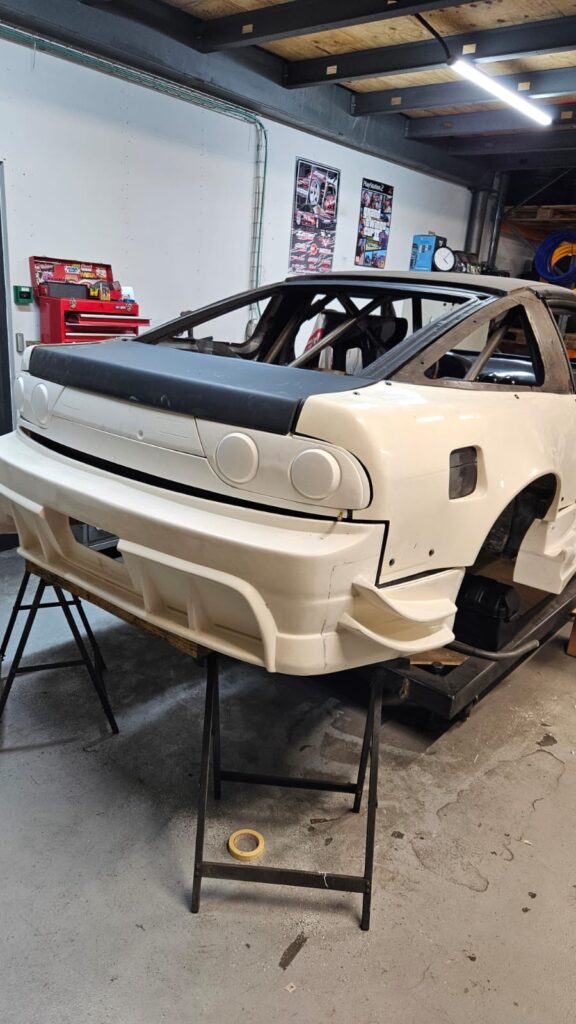
The Origin Labo Attack Line body kit was something Domenik was really looking forward to. This version is hardly seen in Europe, which was another reason for choosing it. The extremely aggressive look really appealed to Domi. Combined with the planned livery, it will look absolutely insane. We had to build some brackets for the front and rear fenders before everything could be mounted. Some areas of the fiberglass also needed rework. Well, fiberglass things.


The entire rear section, including rear body, trunk, and taillights, is made of fiberglass. This saves weight and is easy to repair and replace if something breaks. Especially the S13 Kouki taillights are extremely expensive. You can clearly see how aggressive the Origin Labo Attack Line body kit is. A great decision that will suit the car very well.
For the rear bash bar, we decided on a simple square tube design. Time was running a bit short, and we had to meet the painting deadline.
The rear bumper can be attached directly to it using quick-release fasteners.


Stay tuned for the next blog, when we finally take the chassis off the stands for the first time in almost three years of building and prepare it for paint.