Final Assembly – The Final Stretch!
The final build blog for our S13 project.
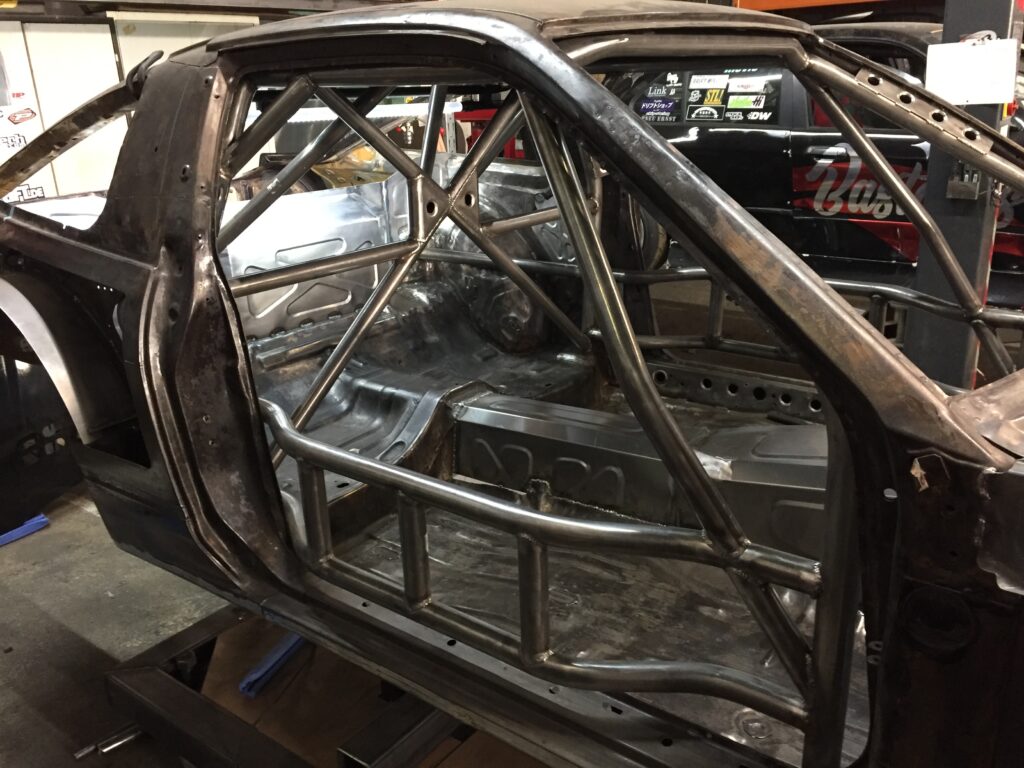
It's early 2026, and the new season is just around the corner. Domenik and Janick have picked up the freshly painted S13 from R&M Carrosserie in Hochdorf and brought it back to the garage in Berneck. Now it's time for final assembly. All the parts have been fabricated, refurbished, or sourced. All that's left is bolting everything back into place.
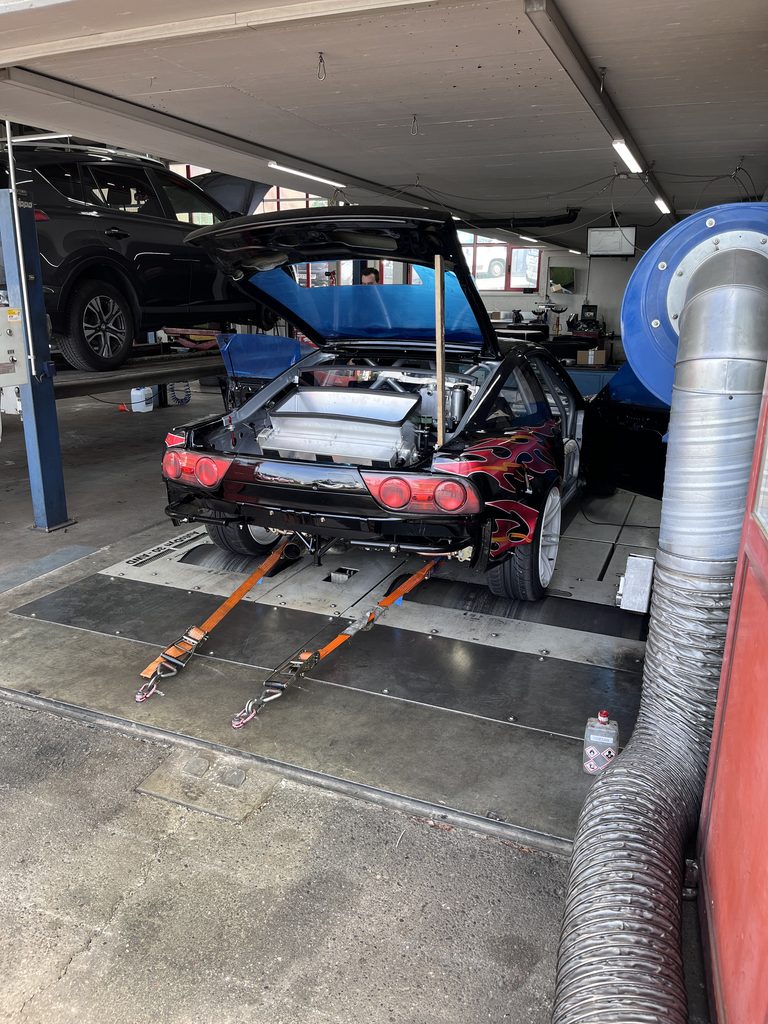
With the next few dates already locked in, nights are turning into days. It's early February, and the dyno session at Helftec is scheduled for Easter. There's still a fair amount of parts missing, though, and any one of them could throw our season opener at risk. In mid-May, we'll be attending TuningWorld Bodensee in Friedrichshafen. But before that happens, this S13 needs to be tested!
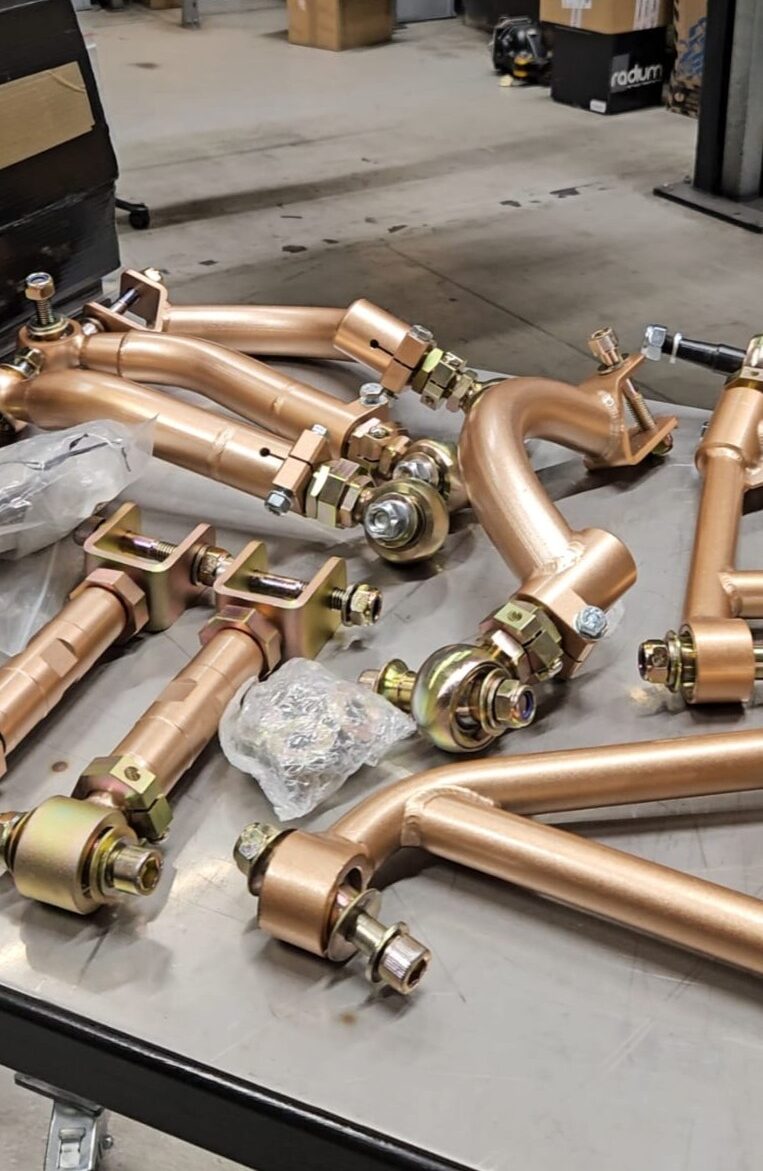
The parts finally came back from the powder coater. It took a full two weeks to turn a pile of metal into something that actually looks good. We were blown away by the quality of the work from the company we trusted with our parts. All the threads had been properly masked off, and there wasn't a fisheye or any other coating defect in sight. Exactly how we wanted it.


The car was up on the lift, and now the fun part could begin: final assembly.
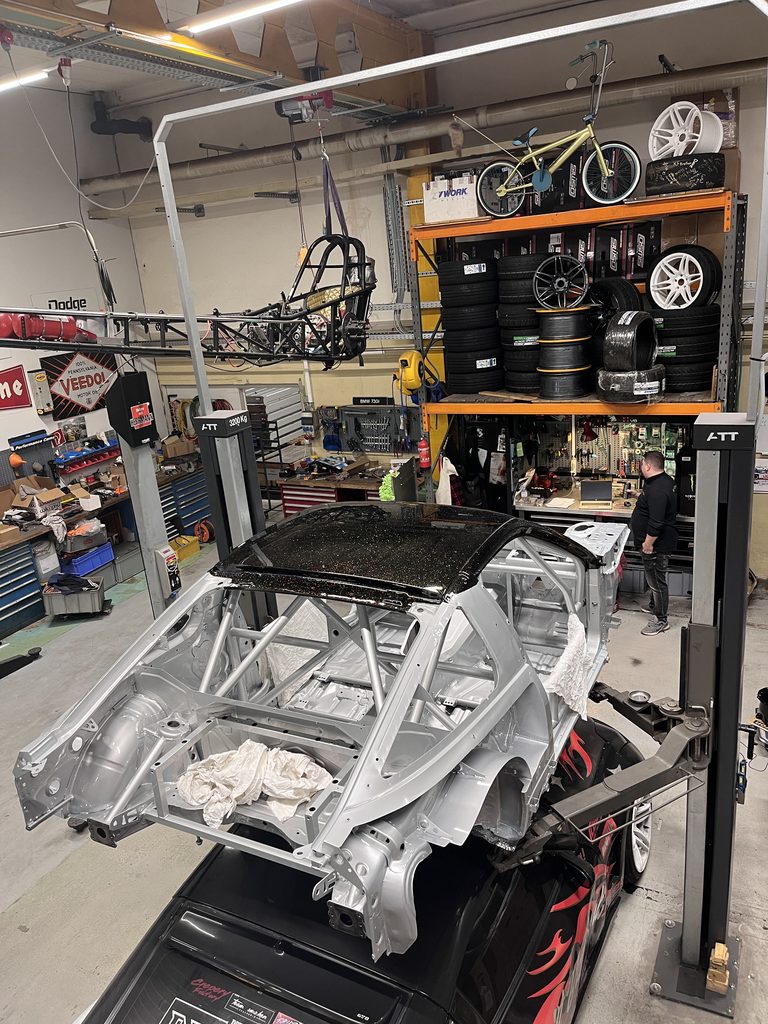
No more old, dirty, or oily parts. Just freshly refinished components looking like they came straight out of the box. Every gearhead's dream, right?
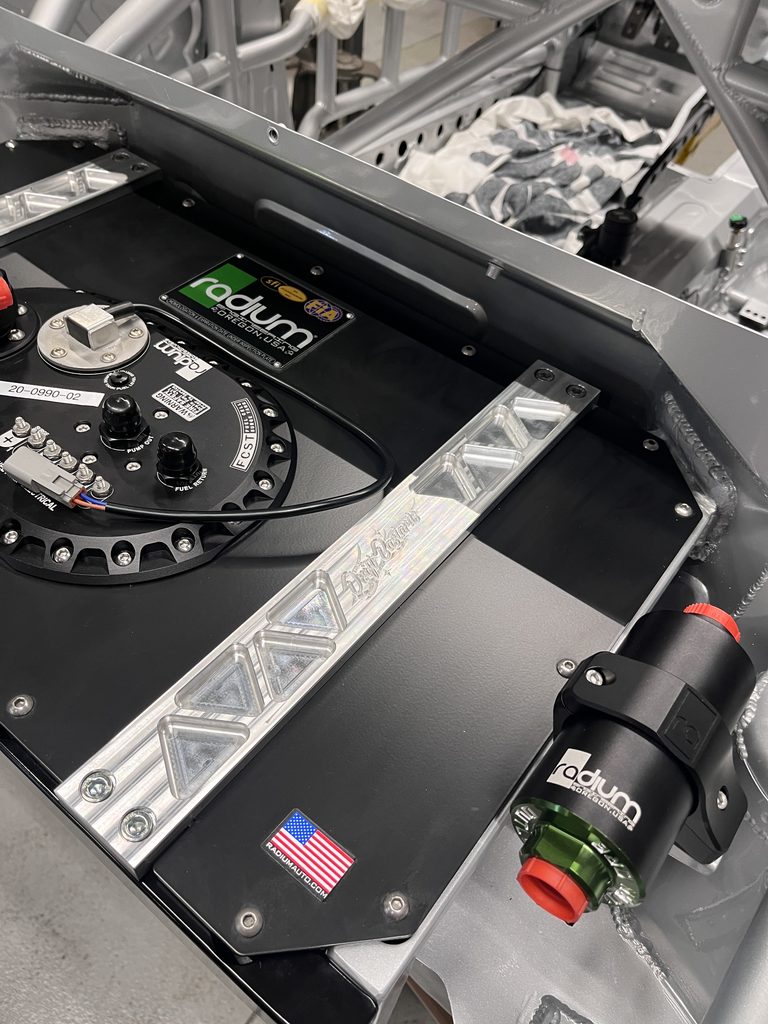
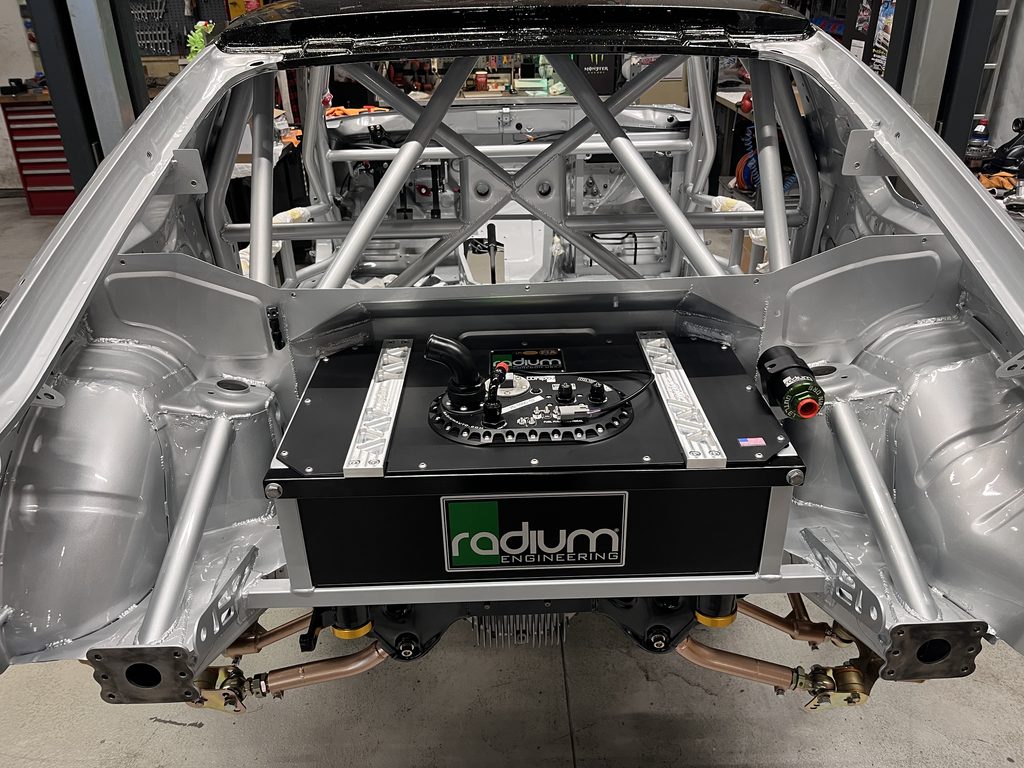
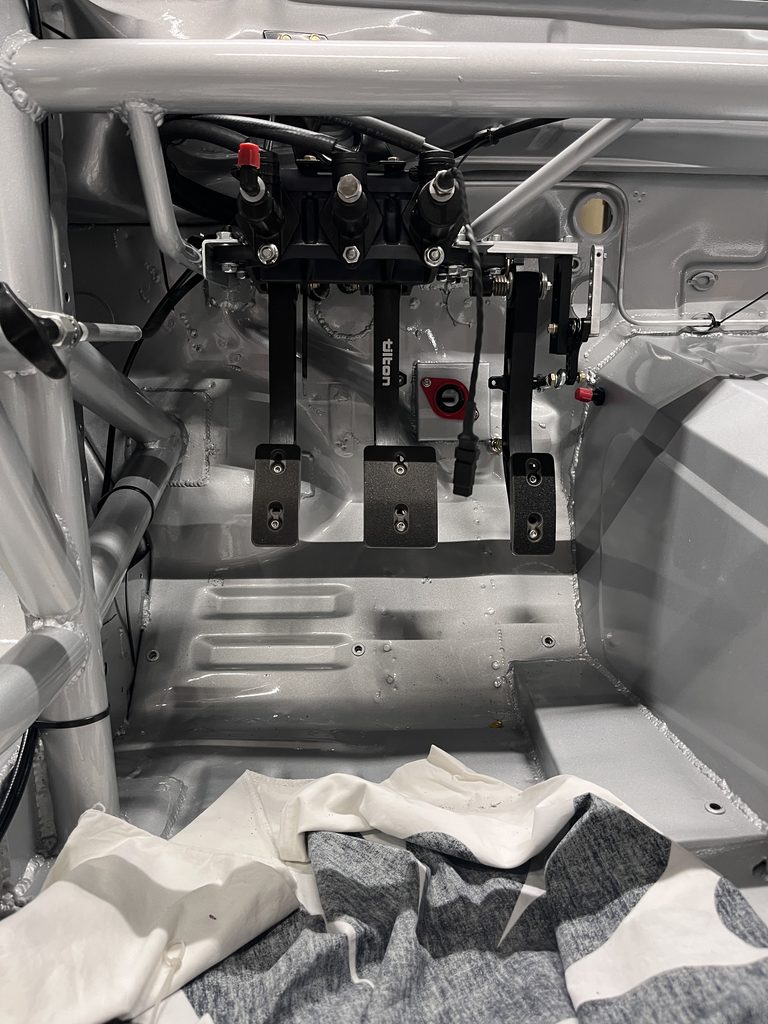
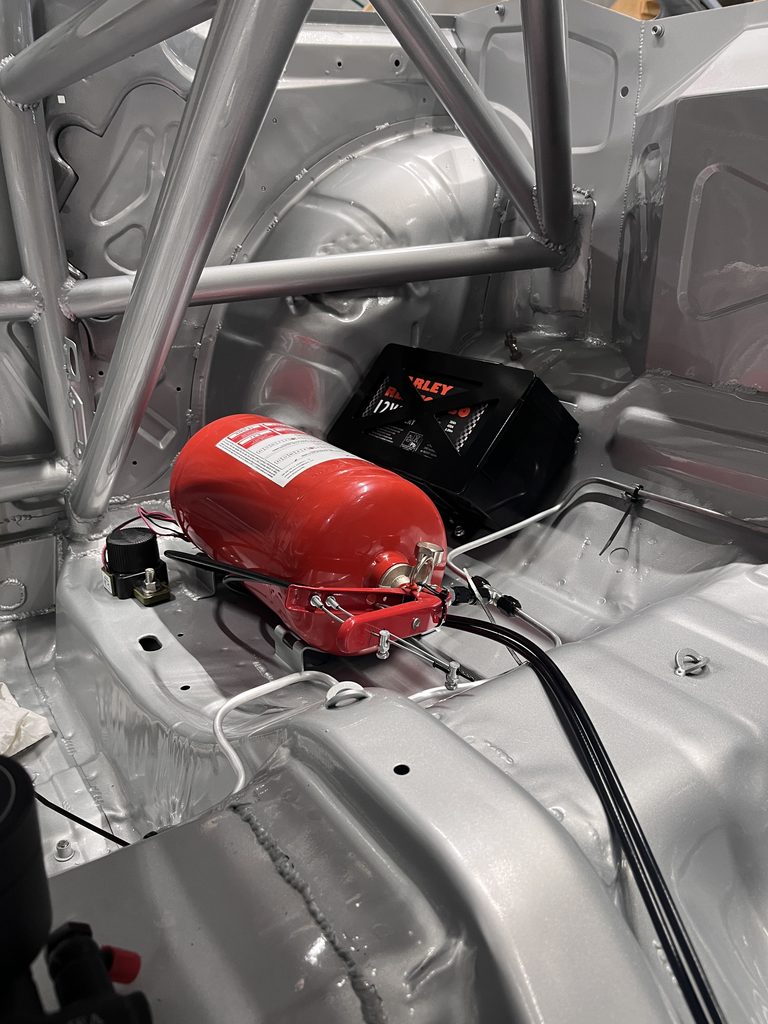
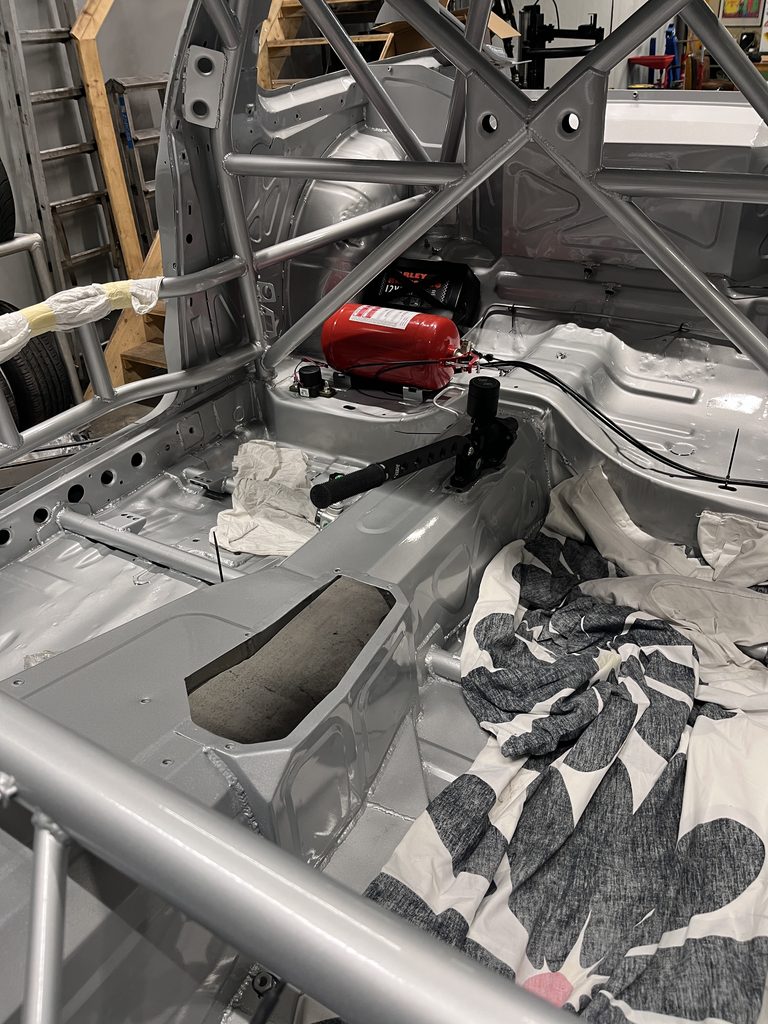
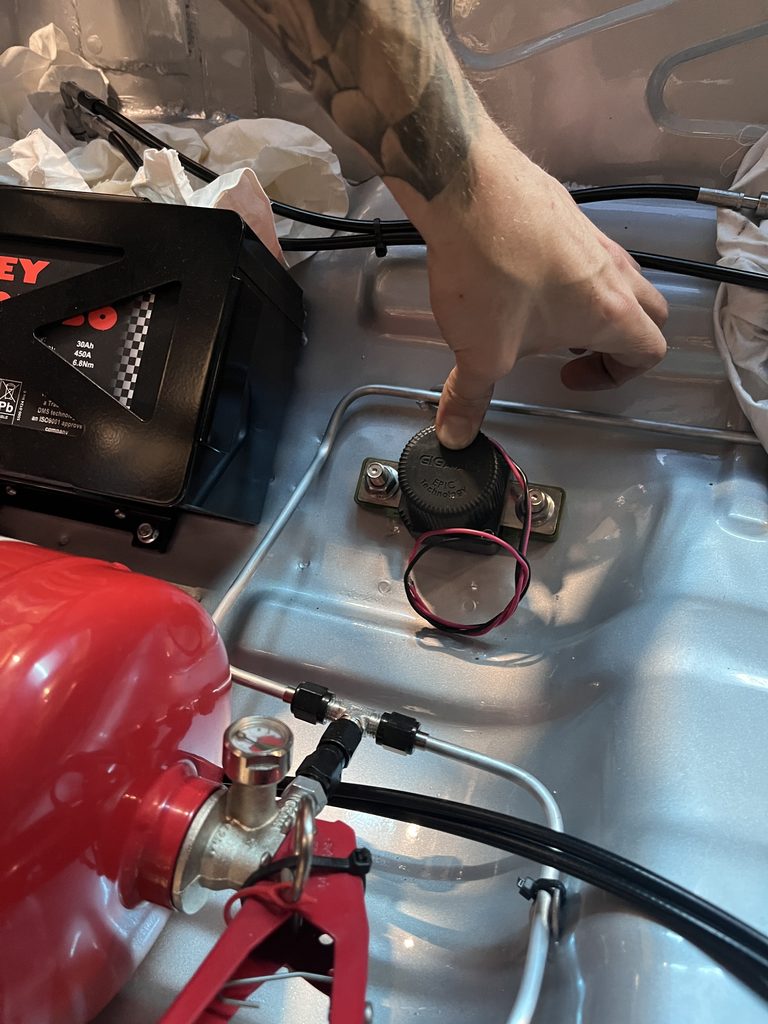
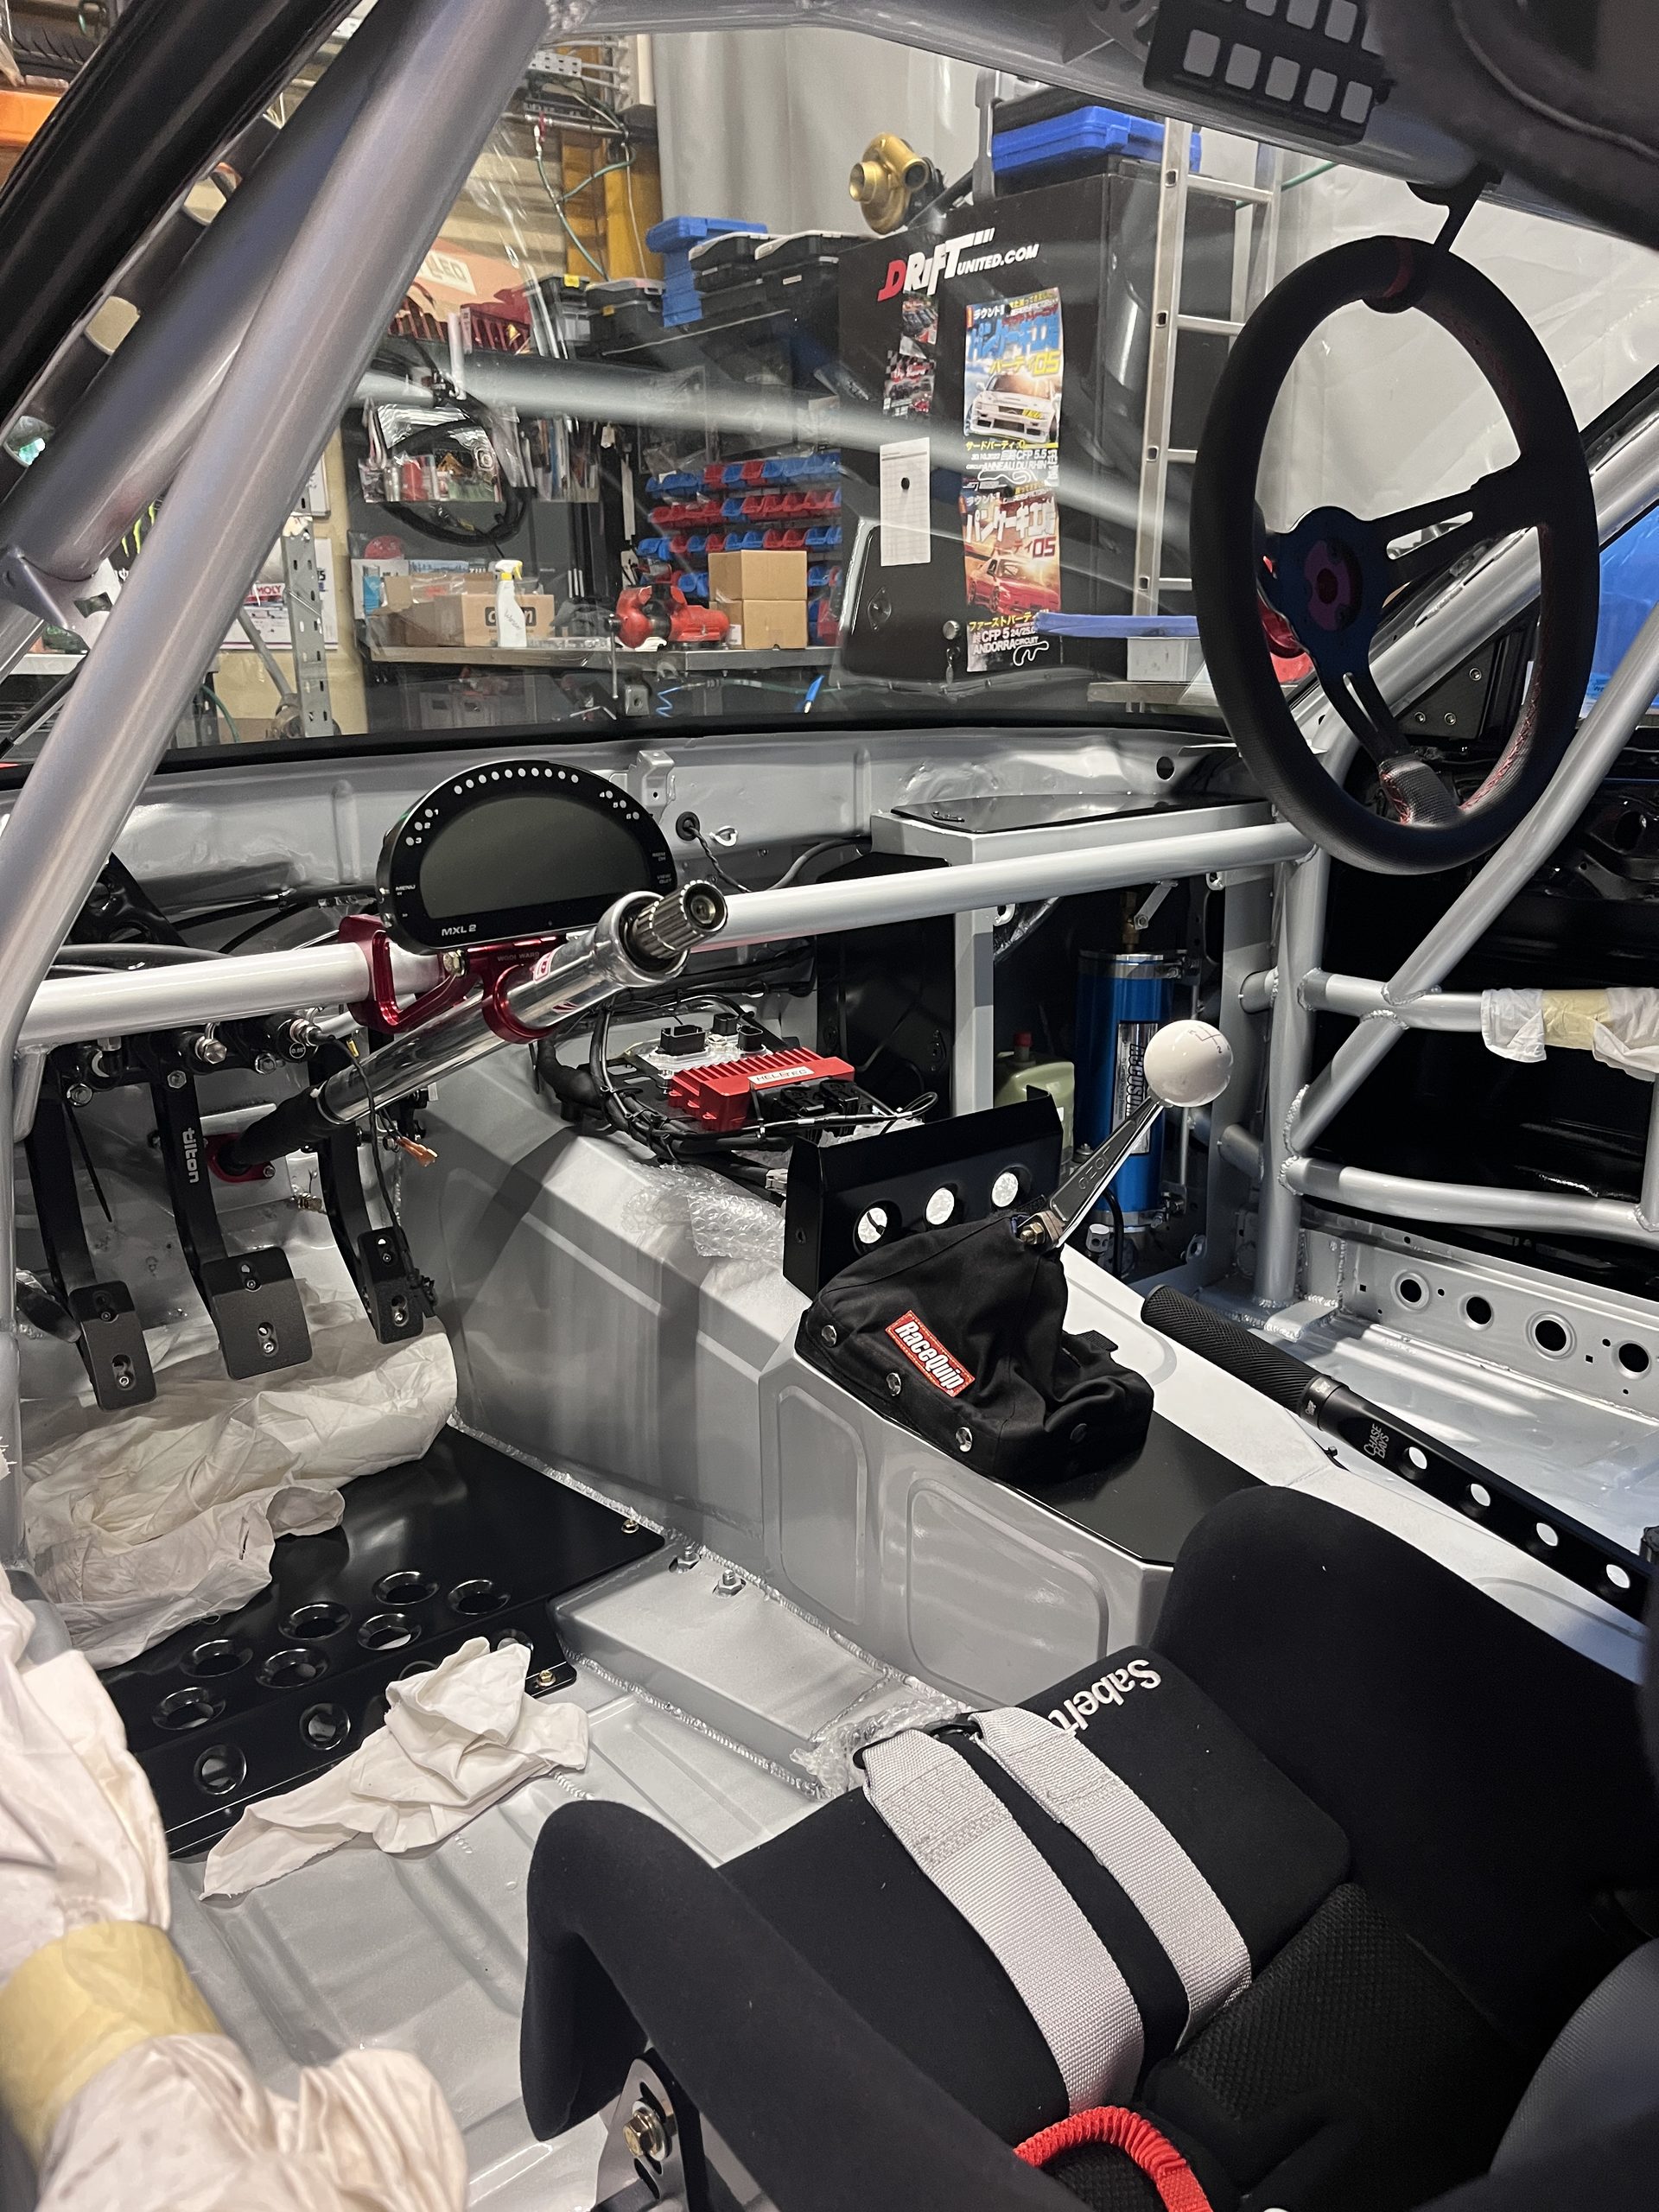
First up were the parts that would be difficult to access once everything else was in place. The fire suppression system, pedal assembly, and fuel cell went in first. Any fasteners that absolutely couldn't work themselves loose under vibration were secured with Loctite. For the nerds out there: Loctite 243.It keeps the fasteners in place but still allows them to be removed when needed.
Electrical power is supplied by a Varley Red Top 40 battery mounted behind the passenger seat. Schnellmann Rennsportzubehör here in Switzerland got the battery to us overnight, so we could keep wrenching without missing a beat.
Axles, Suspension, and Gold Parts Shop Max Components
Next up were the axles. Everything was already prepped, so all we had to do was bolt the components into their proper positions. The gold finish on the Parts Shop Max components looks seriously good. It's just a shame that the underbody and suspension components won't be seen much once the car is back on the ground. This stuff is a work of art!
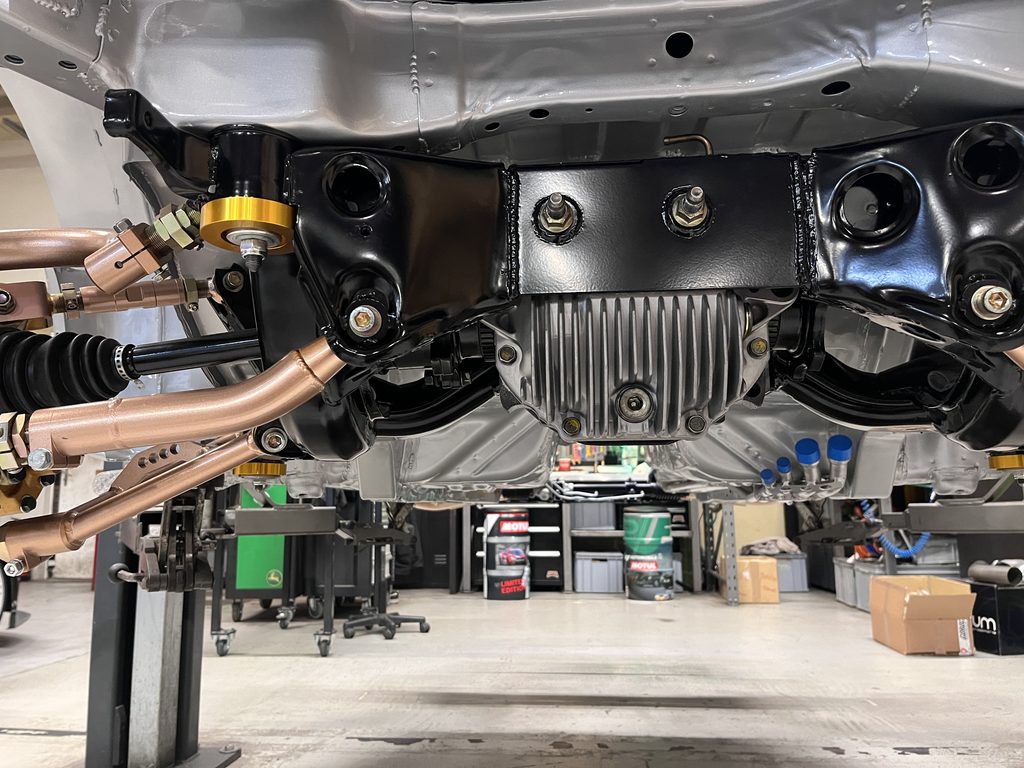
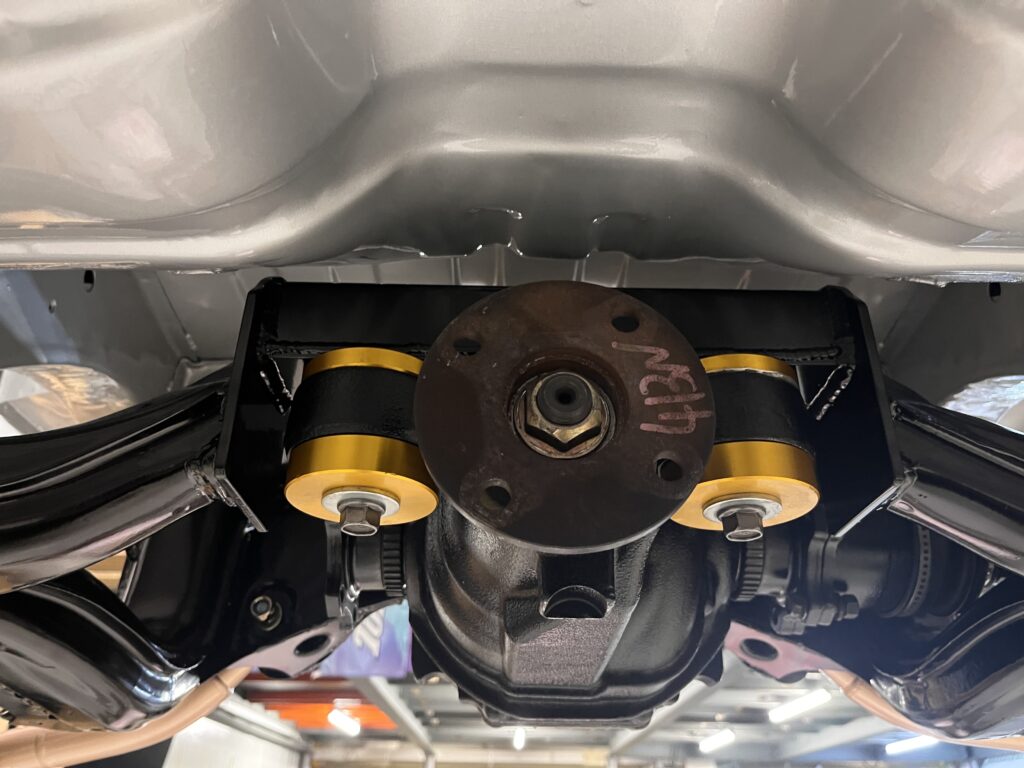
Since the suspension hadn't arrived yet, we quickly welded up a temporary setup out of tubing and flat steel to hold the front steering knuckle in position. We'd already set the control arms and tie rods to approximately the correct lengths, which should save us a bunch of time later on the alignment rack.
We also replaced every bolt with new hardware from SR Autosource in the UK. Let's be honest, everything just looks better when the hardware is brand new and shiny.
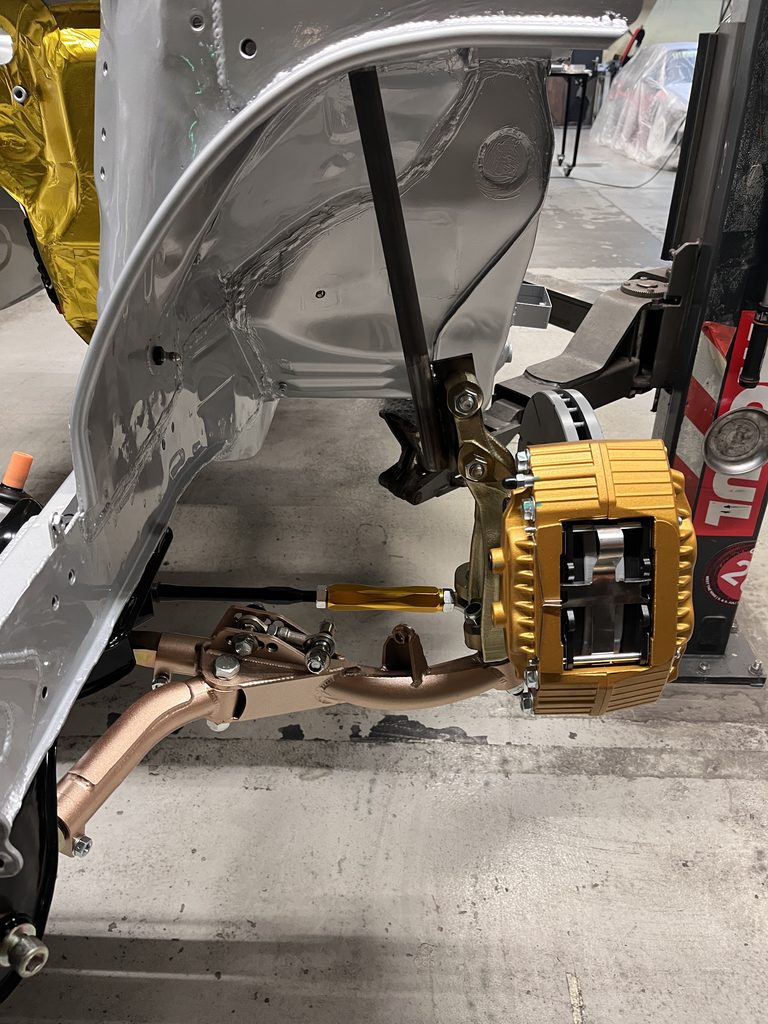
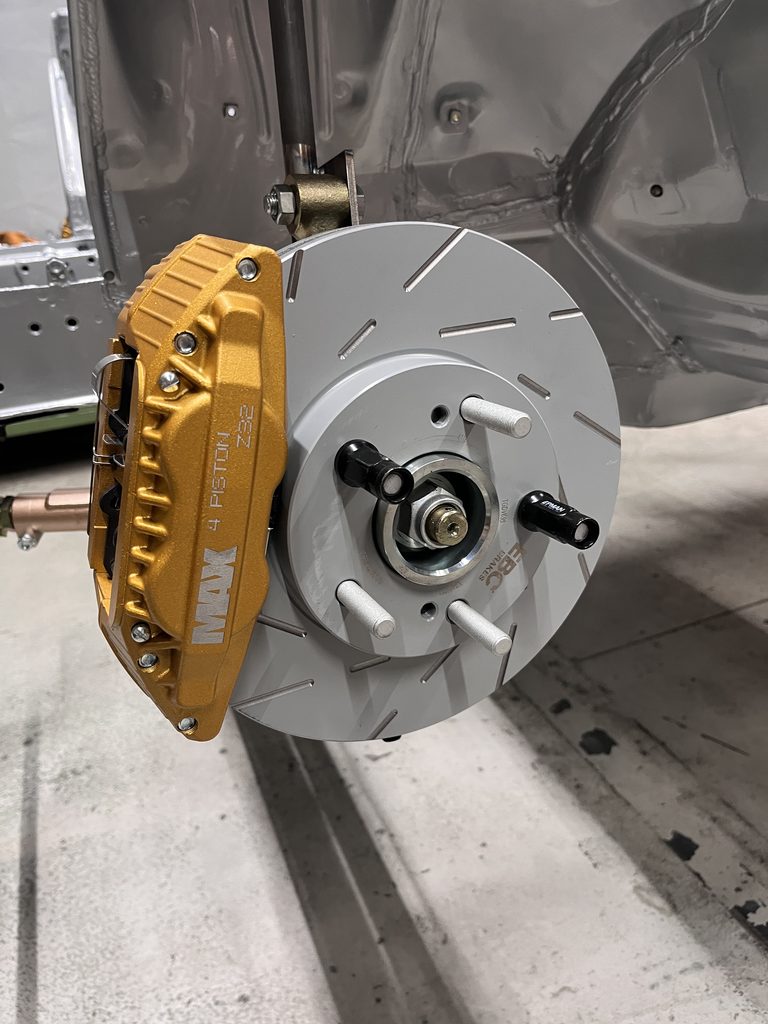
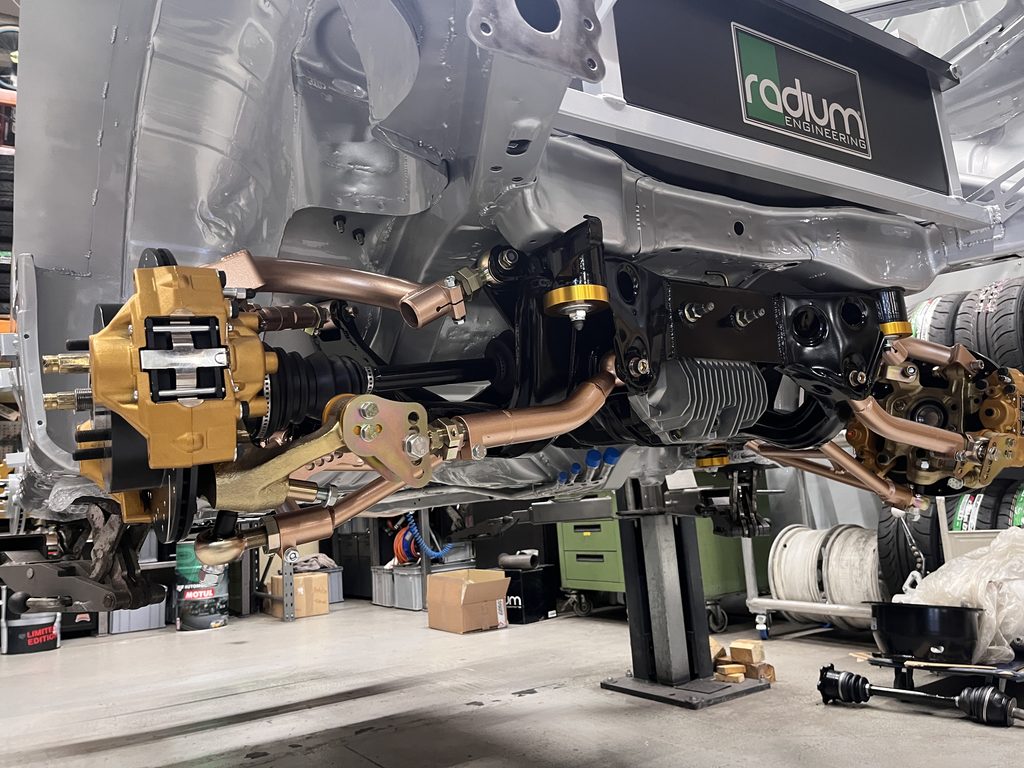
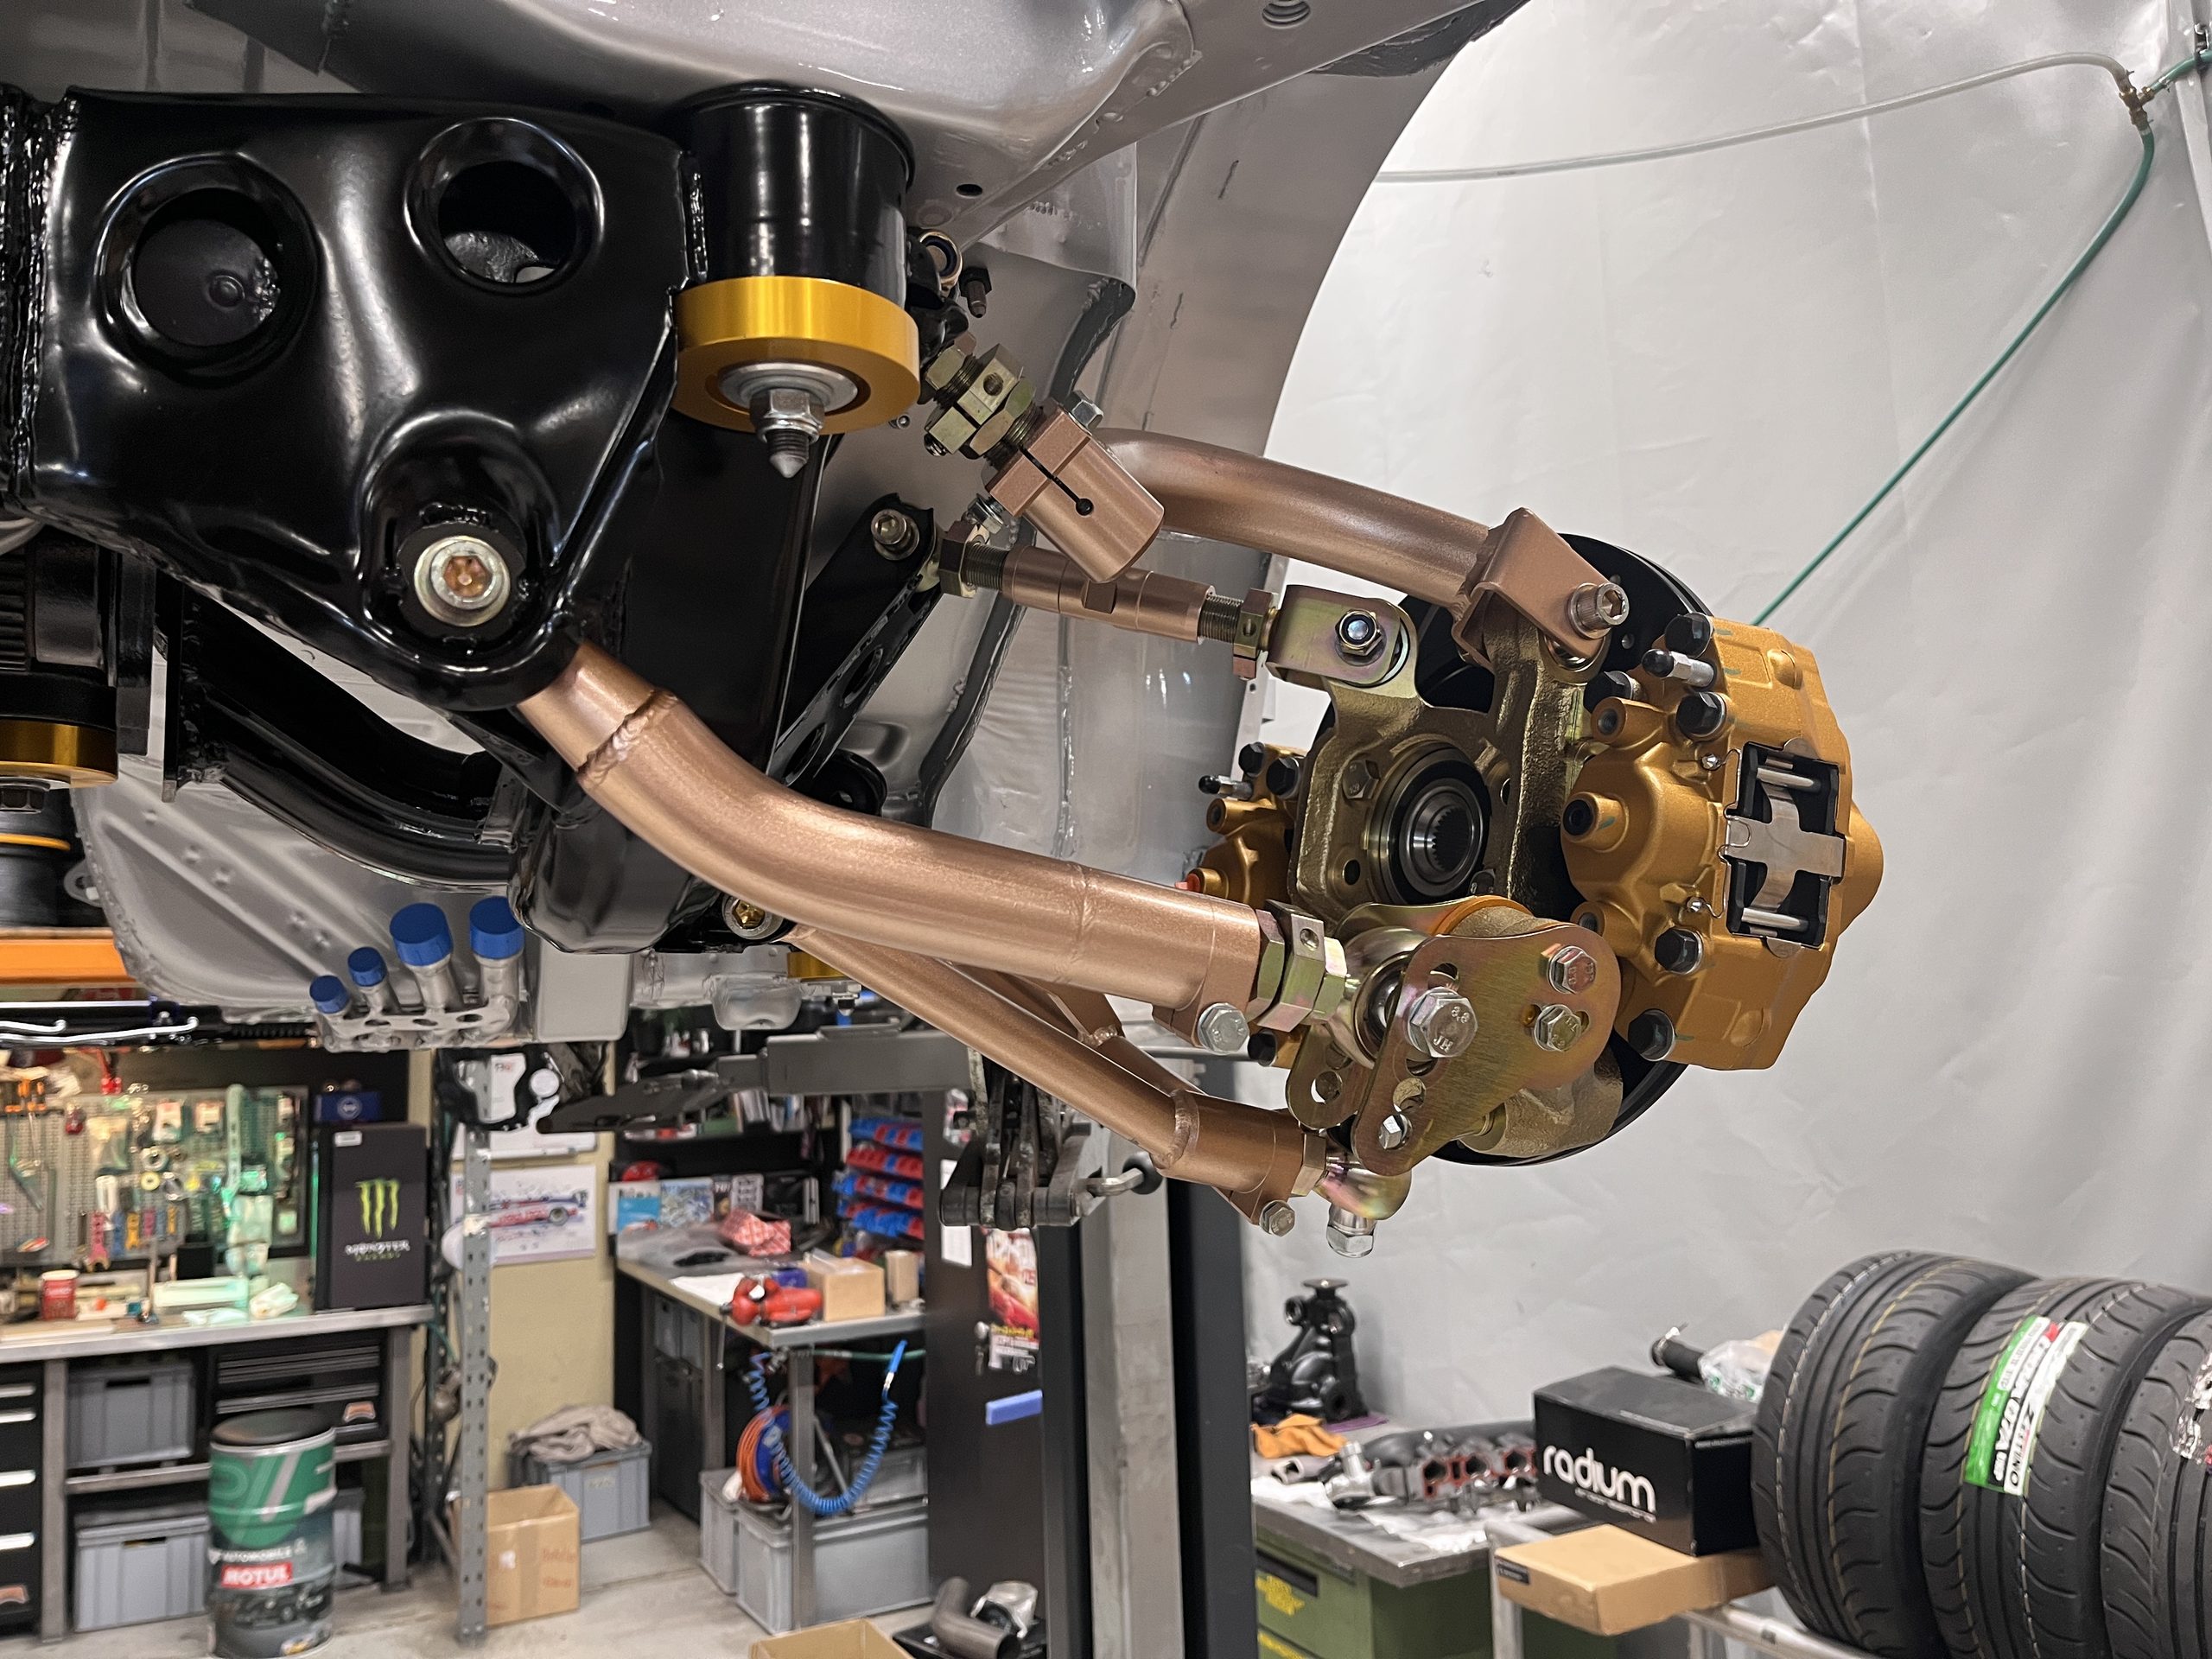
We also installed the heat shield foil. The gold foil reflects radiant heat and helps reduce heat buildup inside the cabin. It's a detail you definitely don't want to overlook in a purpose-built drift car.
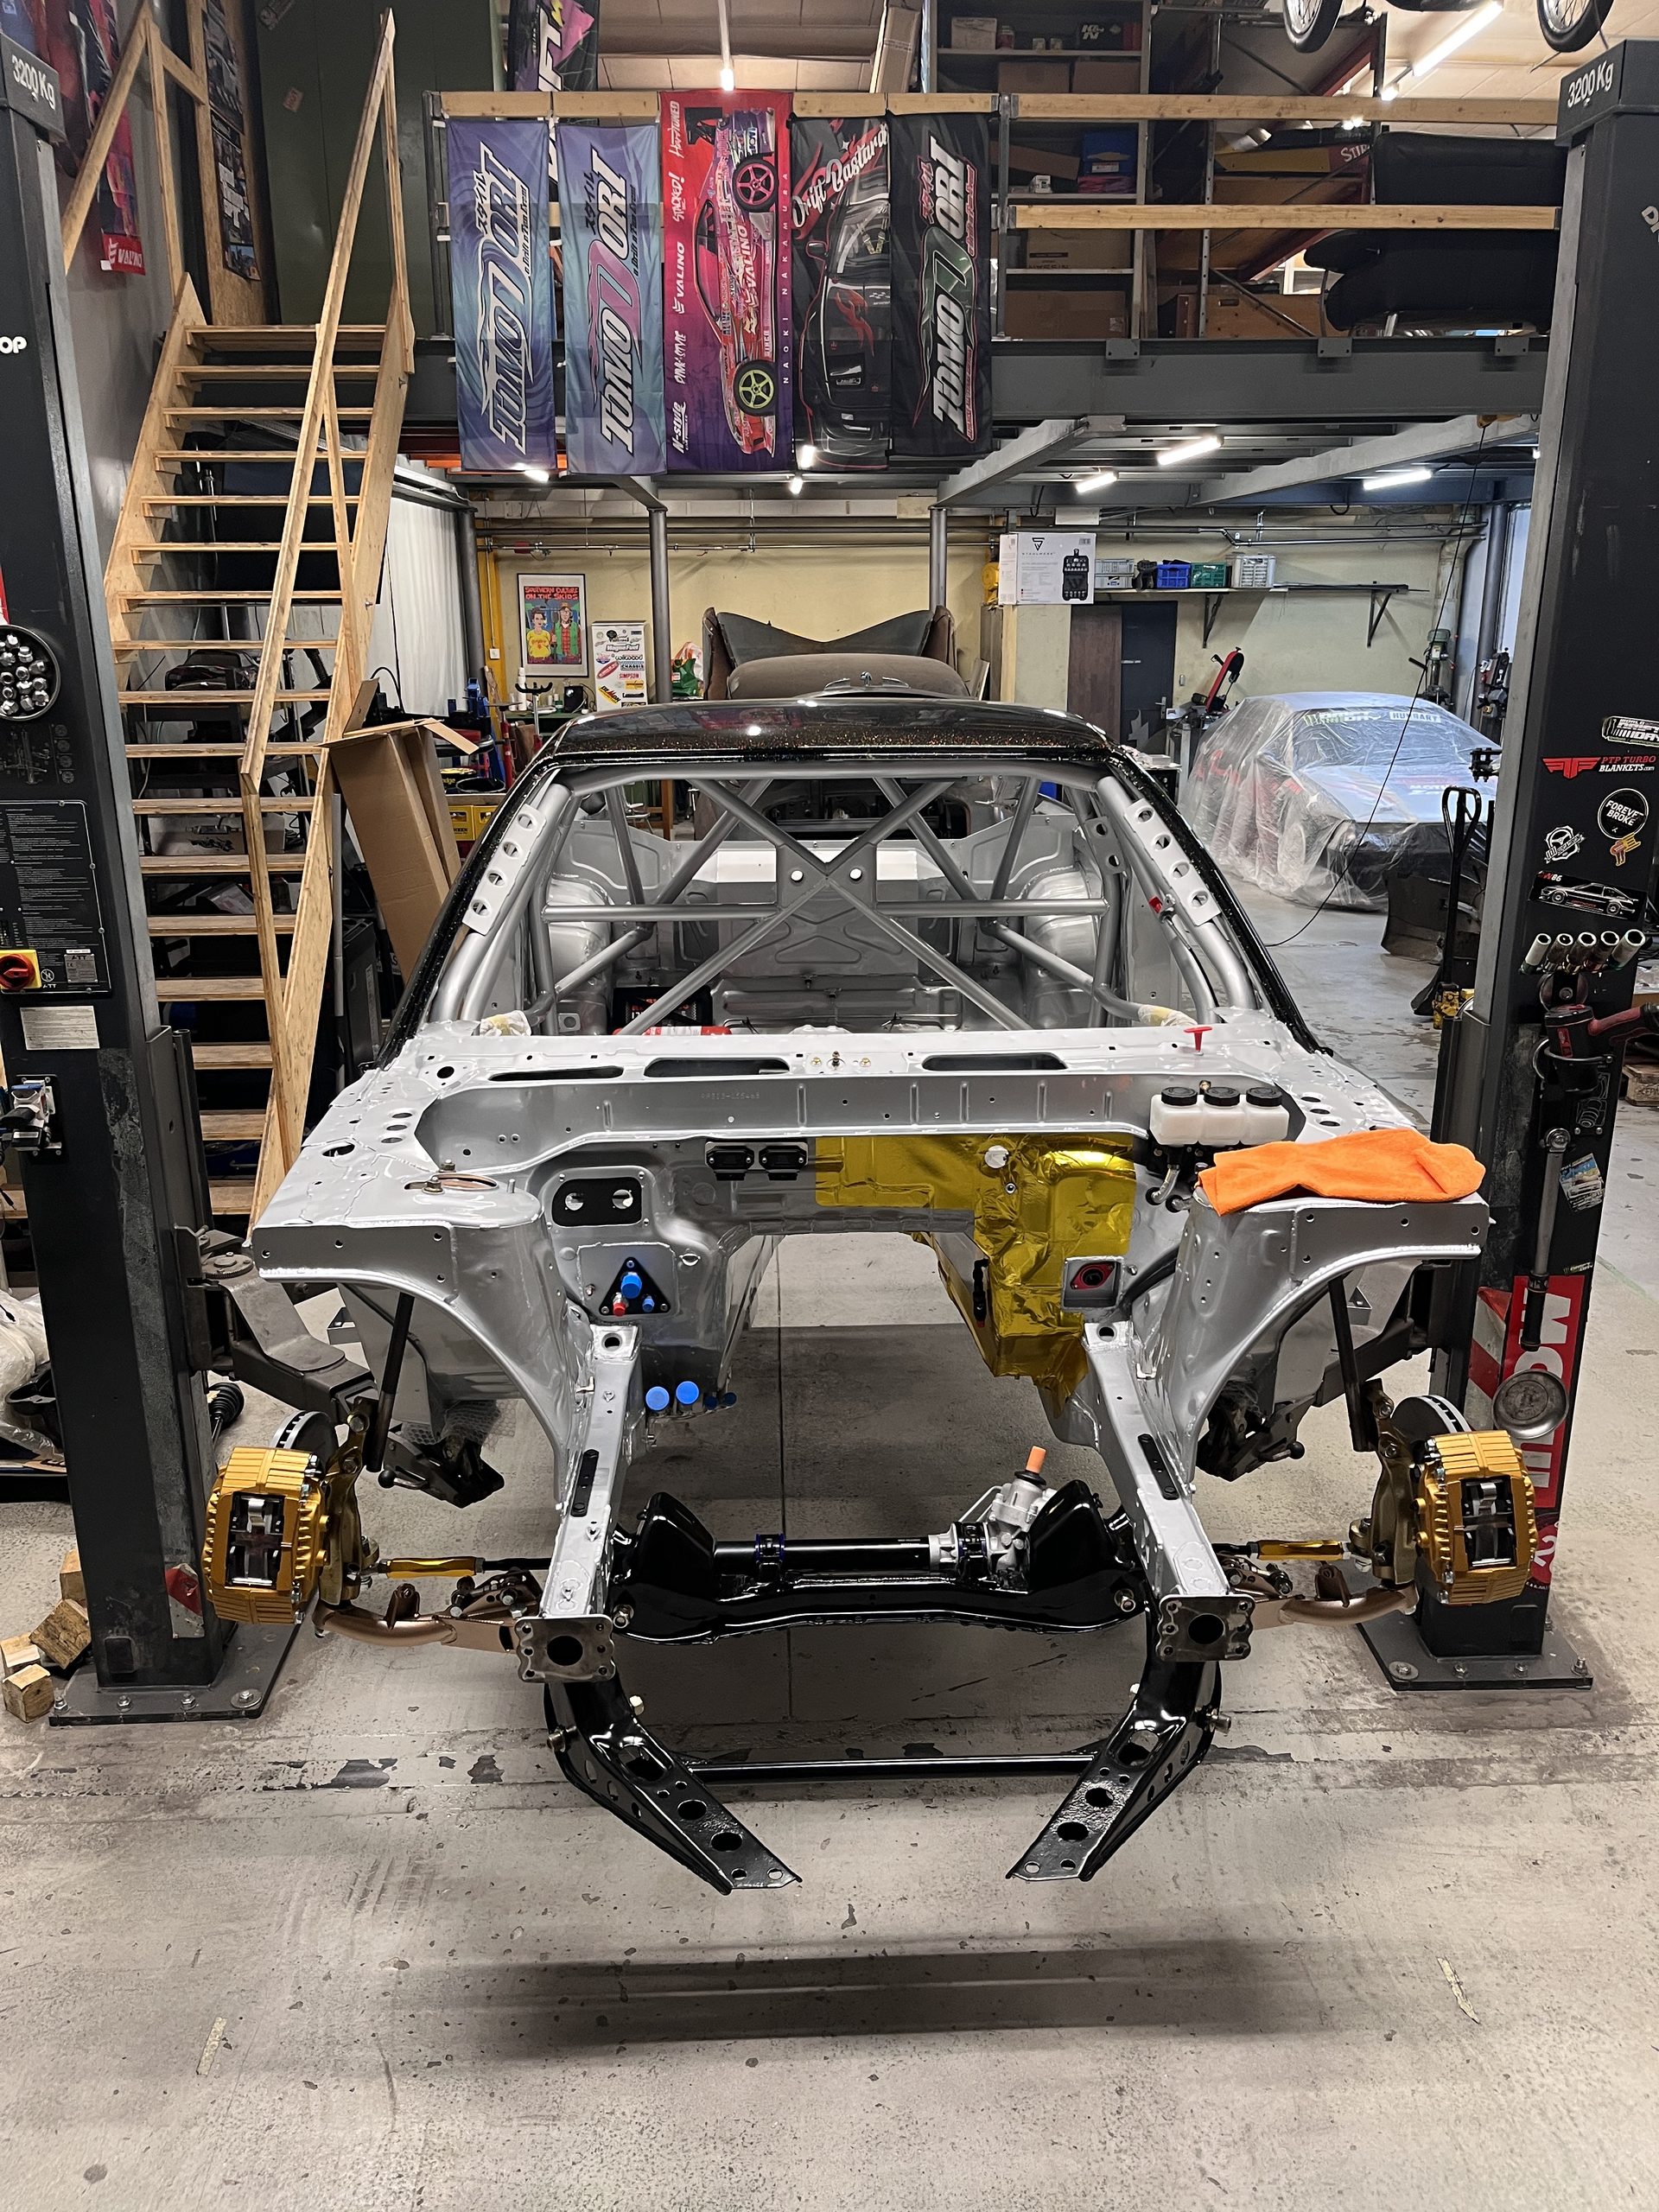
Pressure Testing Before Things Get Serious
For now, we left the water and fuel lines unfinished cosmetically. We pressure-tested all the components and checked everything for leaks. Even so, we wanted to play it safe and run a few events before giving the lines their final finish. That way, we can make sure nothing needs to be revised before we call the job done.


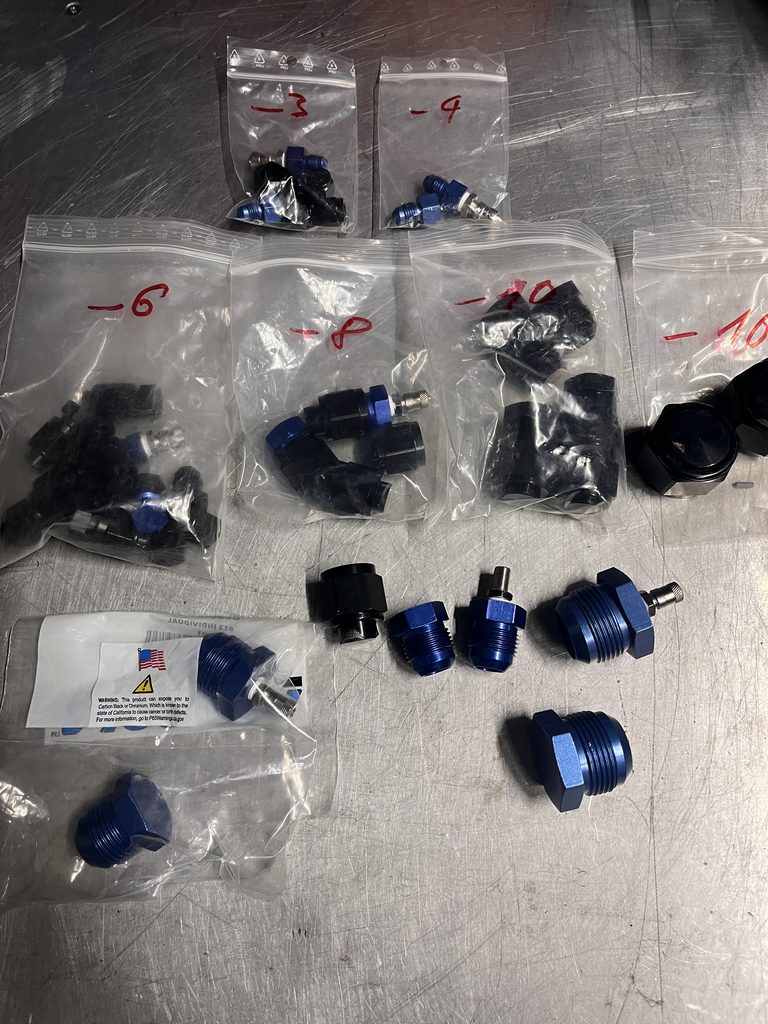
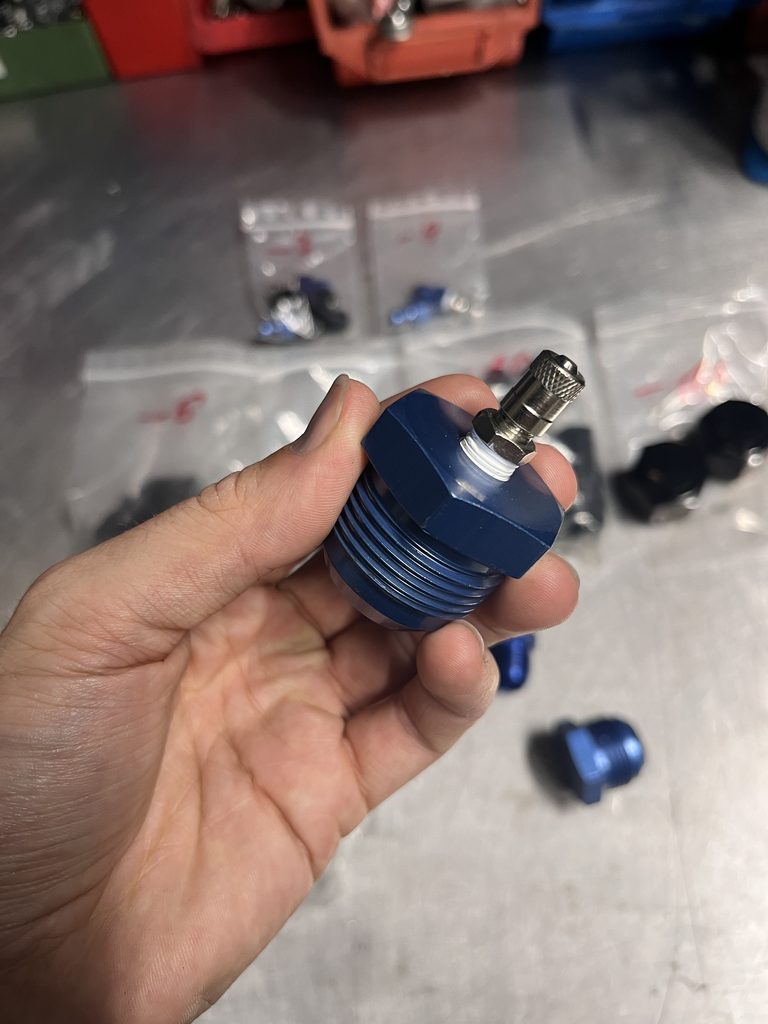
For pressure-testing the lines and components that carry oil, coolant, or fuel, we keep a dedicated fitting kit in the drawer. Using a tire inflator connection, we can easily pressurize the system and then use a little soapy water to check for potential leaks. You can find similar test kits at places like Summit Racing.
Get the Details Done Before Dropping in the Engine
Before the engine went back into the bay, we took care of all the little details first. It's a lot easier to work in the engine bay while you can still climb right into it. The fuel pressure regulator, fire suppression nozzles, brake fluid reservoir, catch can, and sensor rail all went in.
If you know what advantage a sensor rail offers, drop it in the comments! We're curious to see who knows the technical details behind it.


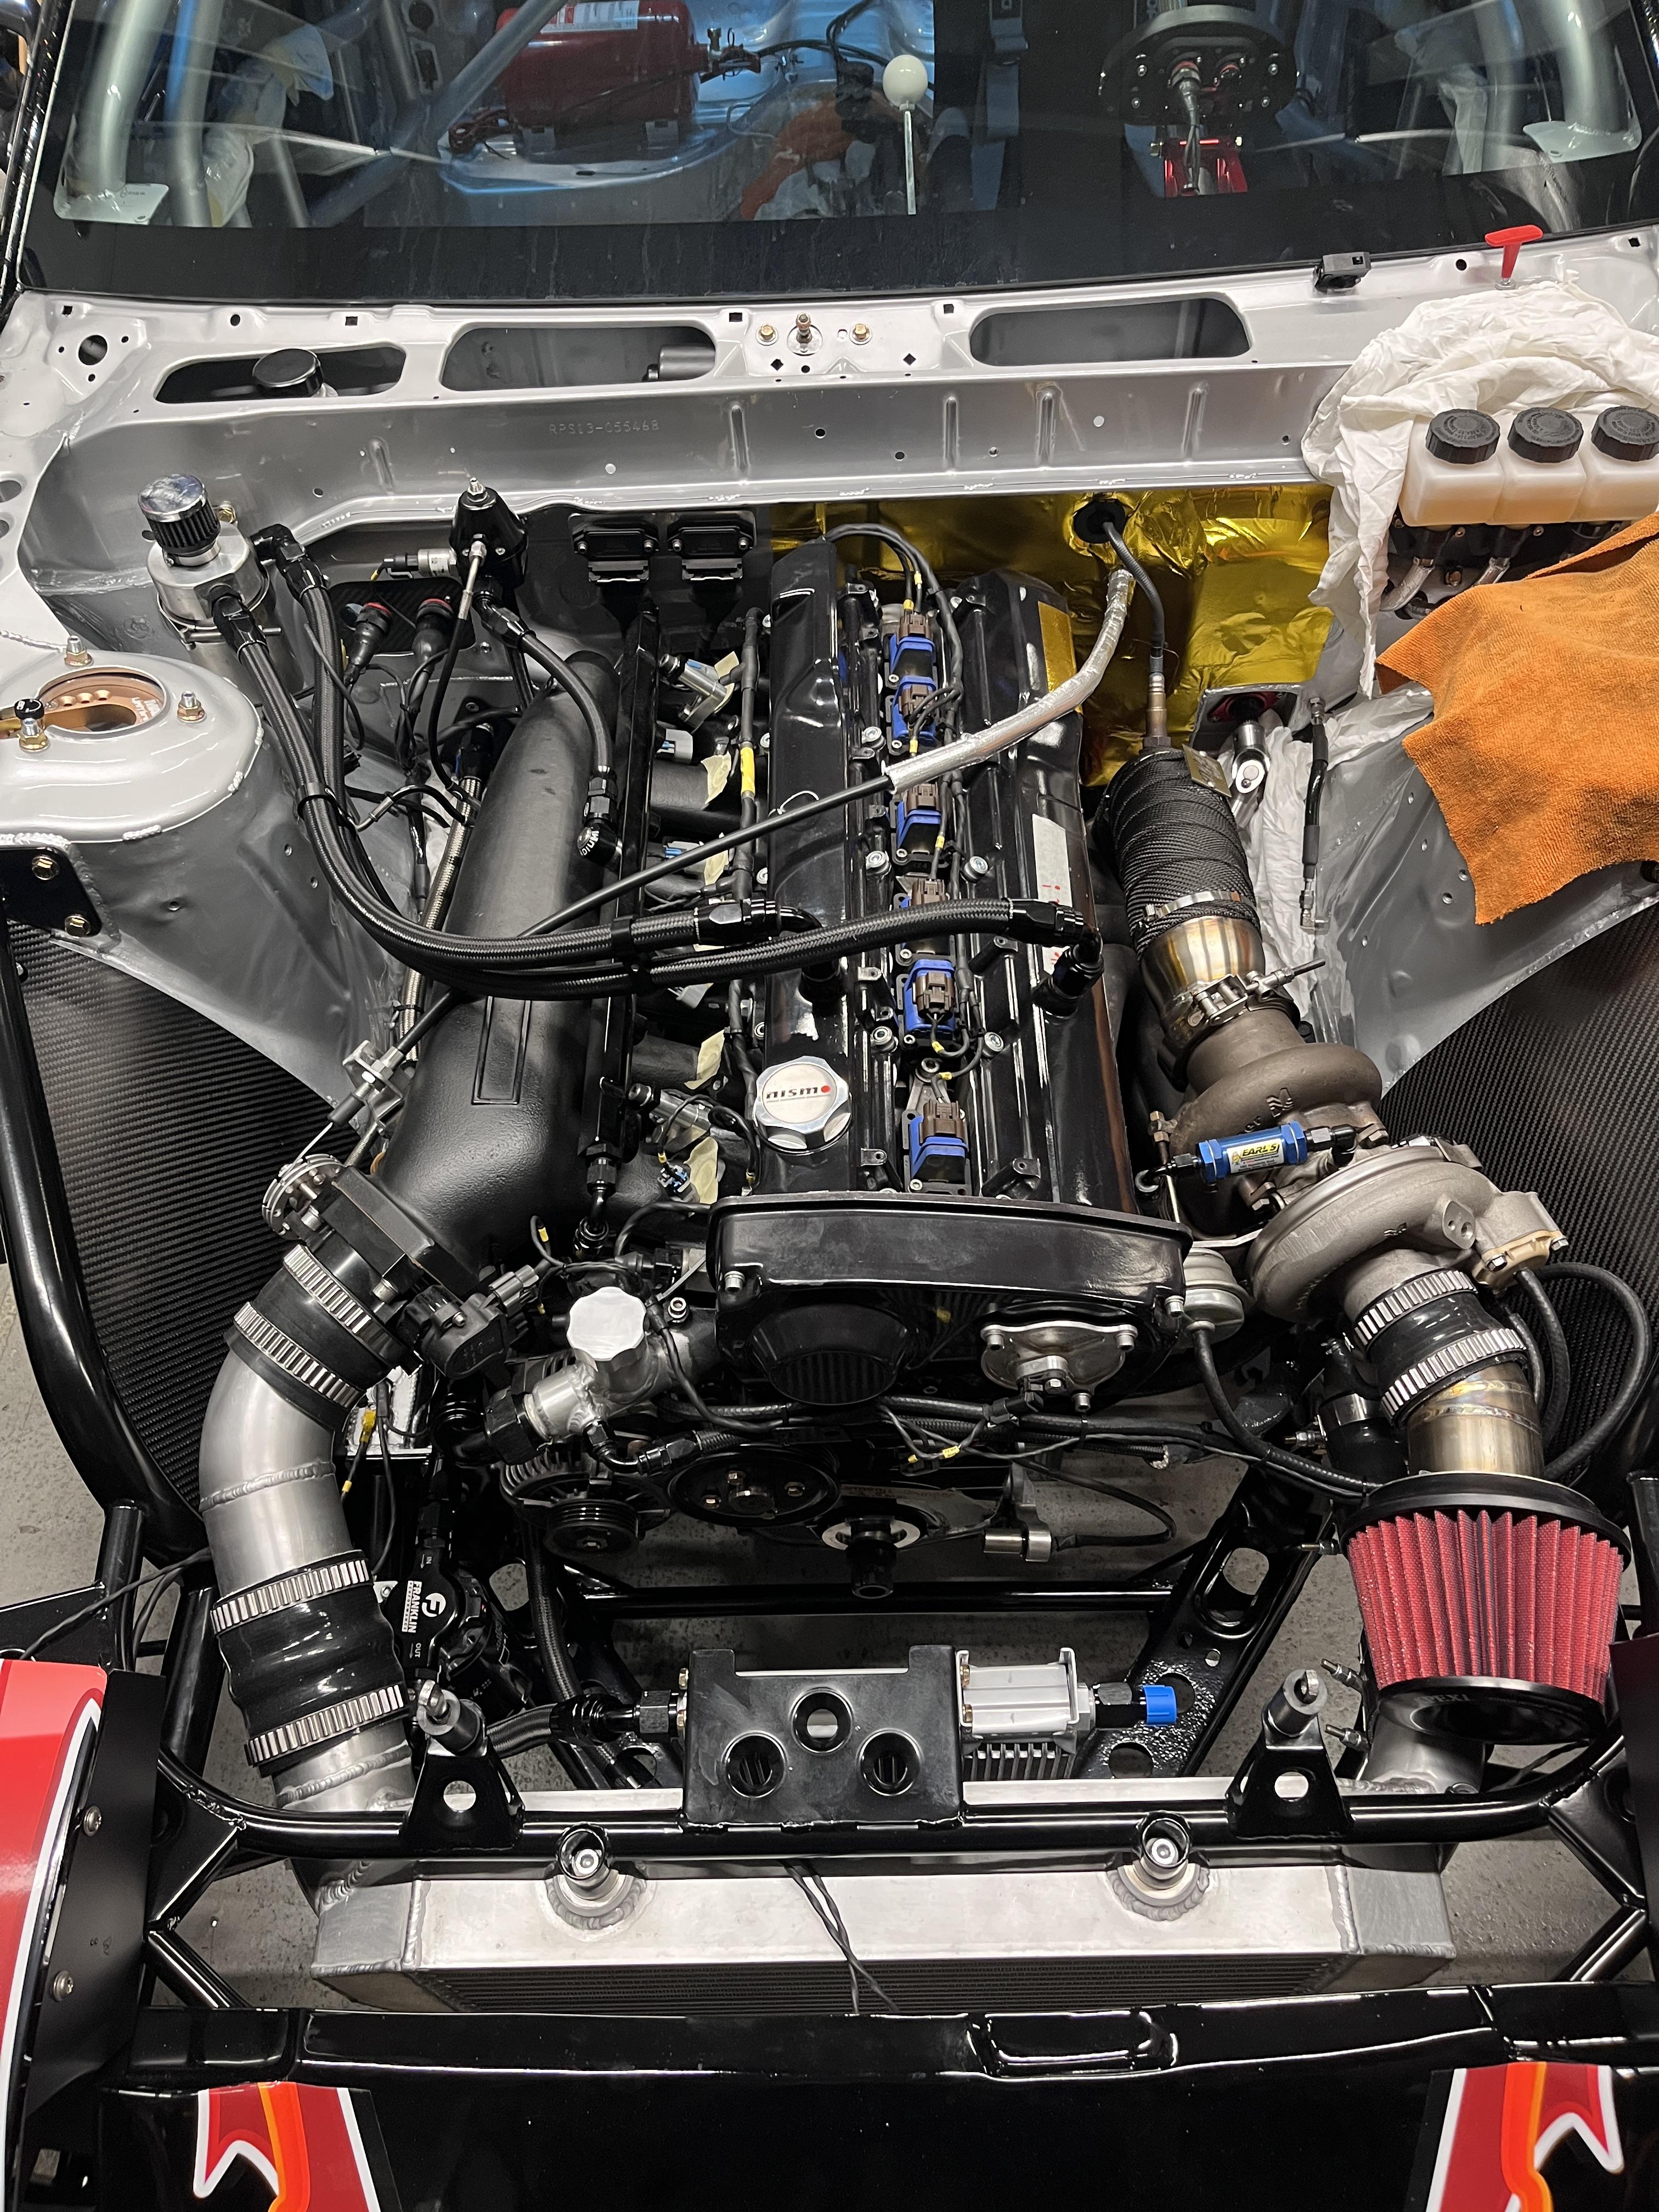
After its refresh at Delta Motor AG near the beautiful Lake Sempach, our RB25 was finally ready to go back into the car.


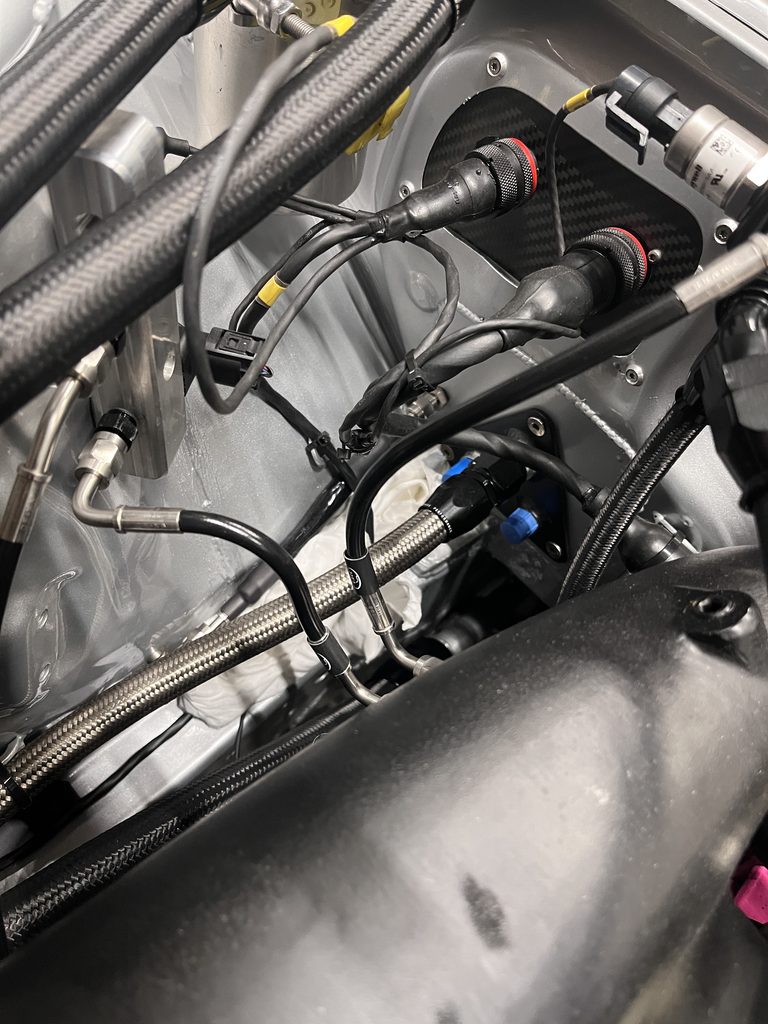
With the accessories going on, the RB25 was starting to look like an engine again, and the engine bay was finally filling up. We were already able to fabricate the first oil and coolant lines for the turbocharger and oil filter.
The big shipment from HEL Performance was still on its way, though. A mistake with the shipping address threw our schedule off a little. But there's no point complaining. We focused on everything we could keep bolting together in the meantime.


Cockpit and Electronics
At the same time, work continued inside the cabin. The Helftec keypad, together with Helftec's own PDM and ECU, will handle the car's main electrical system. Keeping the controls as simple and intuitive as possible is important to us. Helftec specializes in motorsport electronics and was our first choice for this project from day one.
The electric power steering pump and Accusump were installed inside the dedicated cabin enclosure.


The last zip ties went onto the engine and ECU wiring. We also had a brand-new laminated windshield installed.
The remaining wiring harness will be custom-built by Helftec. Unfortunately, we couldn't reuse the old chassis wiring harness from our old S13. That means a complete fresh start on the electrical side, too.
BC Racing: Keep It Simple Before Getting Complicated
The BC Racing suspension arrived just in time for our first away event. We went with the DS Series: straightforward, but still effective.
A 3-way adjustable suspension, like those often used in higher levels of motorsport, requires a solid understanding of suspension mechanics and how to dial everything in properly. We wanted to focus on the more important jobs first instead of having to become suspension engineers before we could even drive the new car.
Get some seat time, collect data, and understand the setup first. We can always dive deeper into suspension tuning later.


The New Livery Starts Coming Together
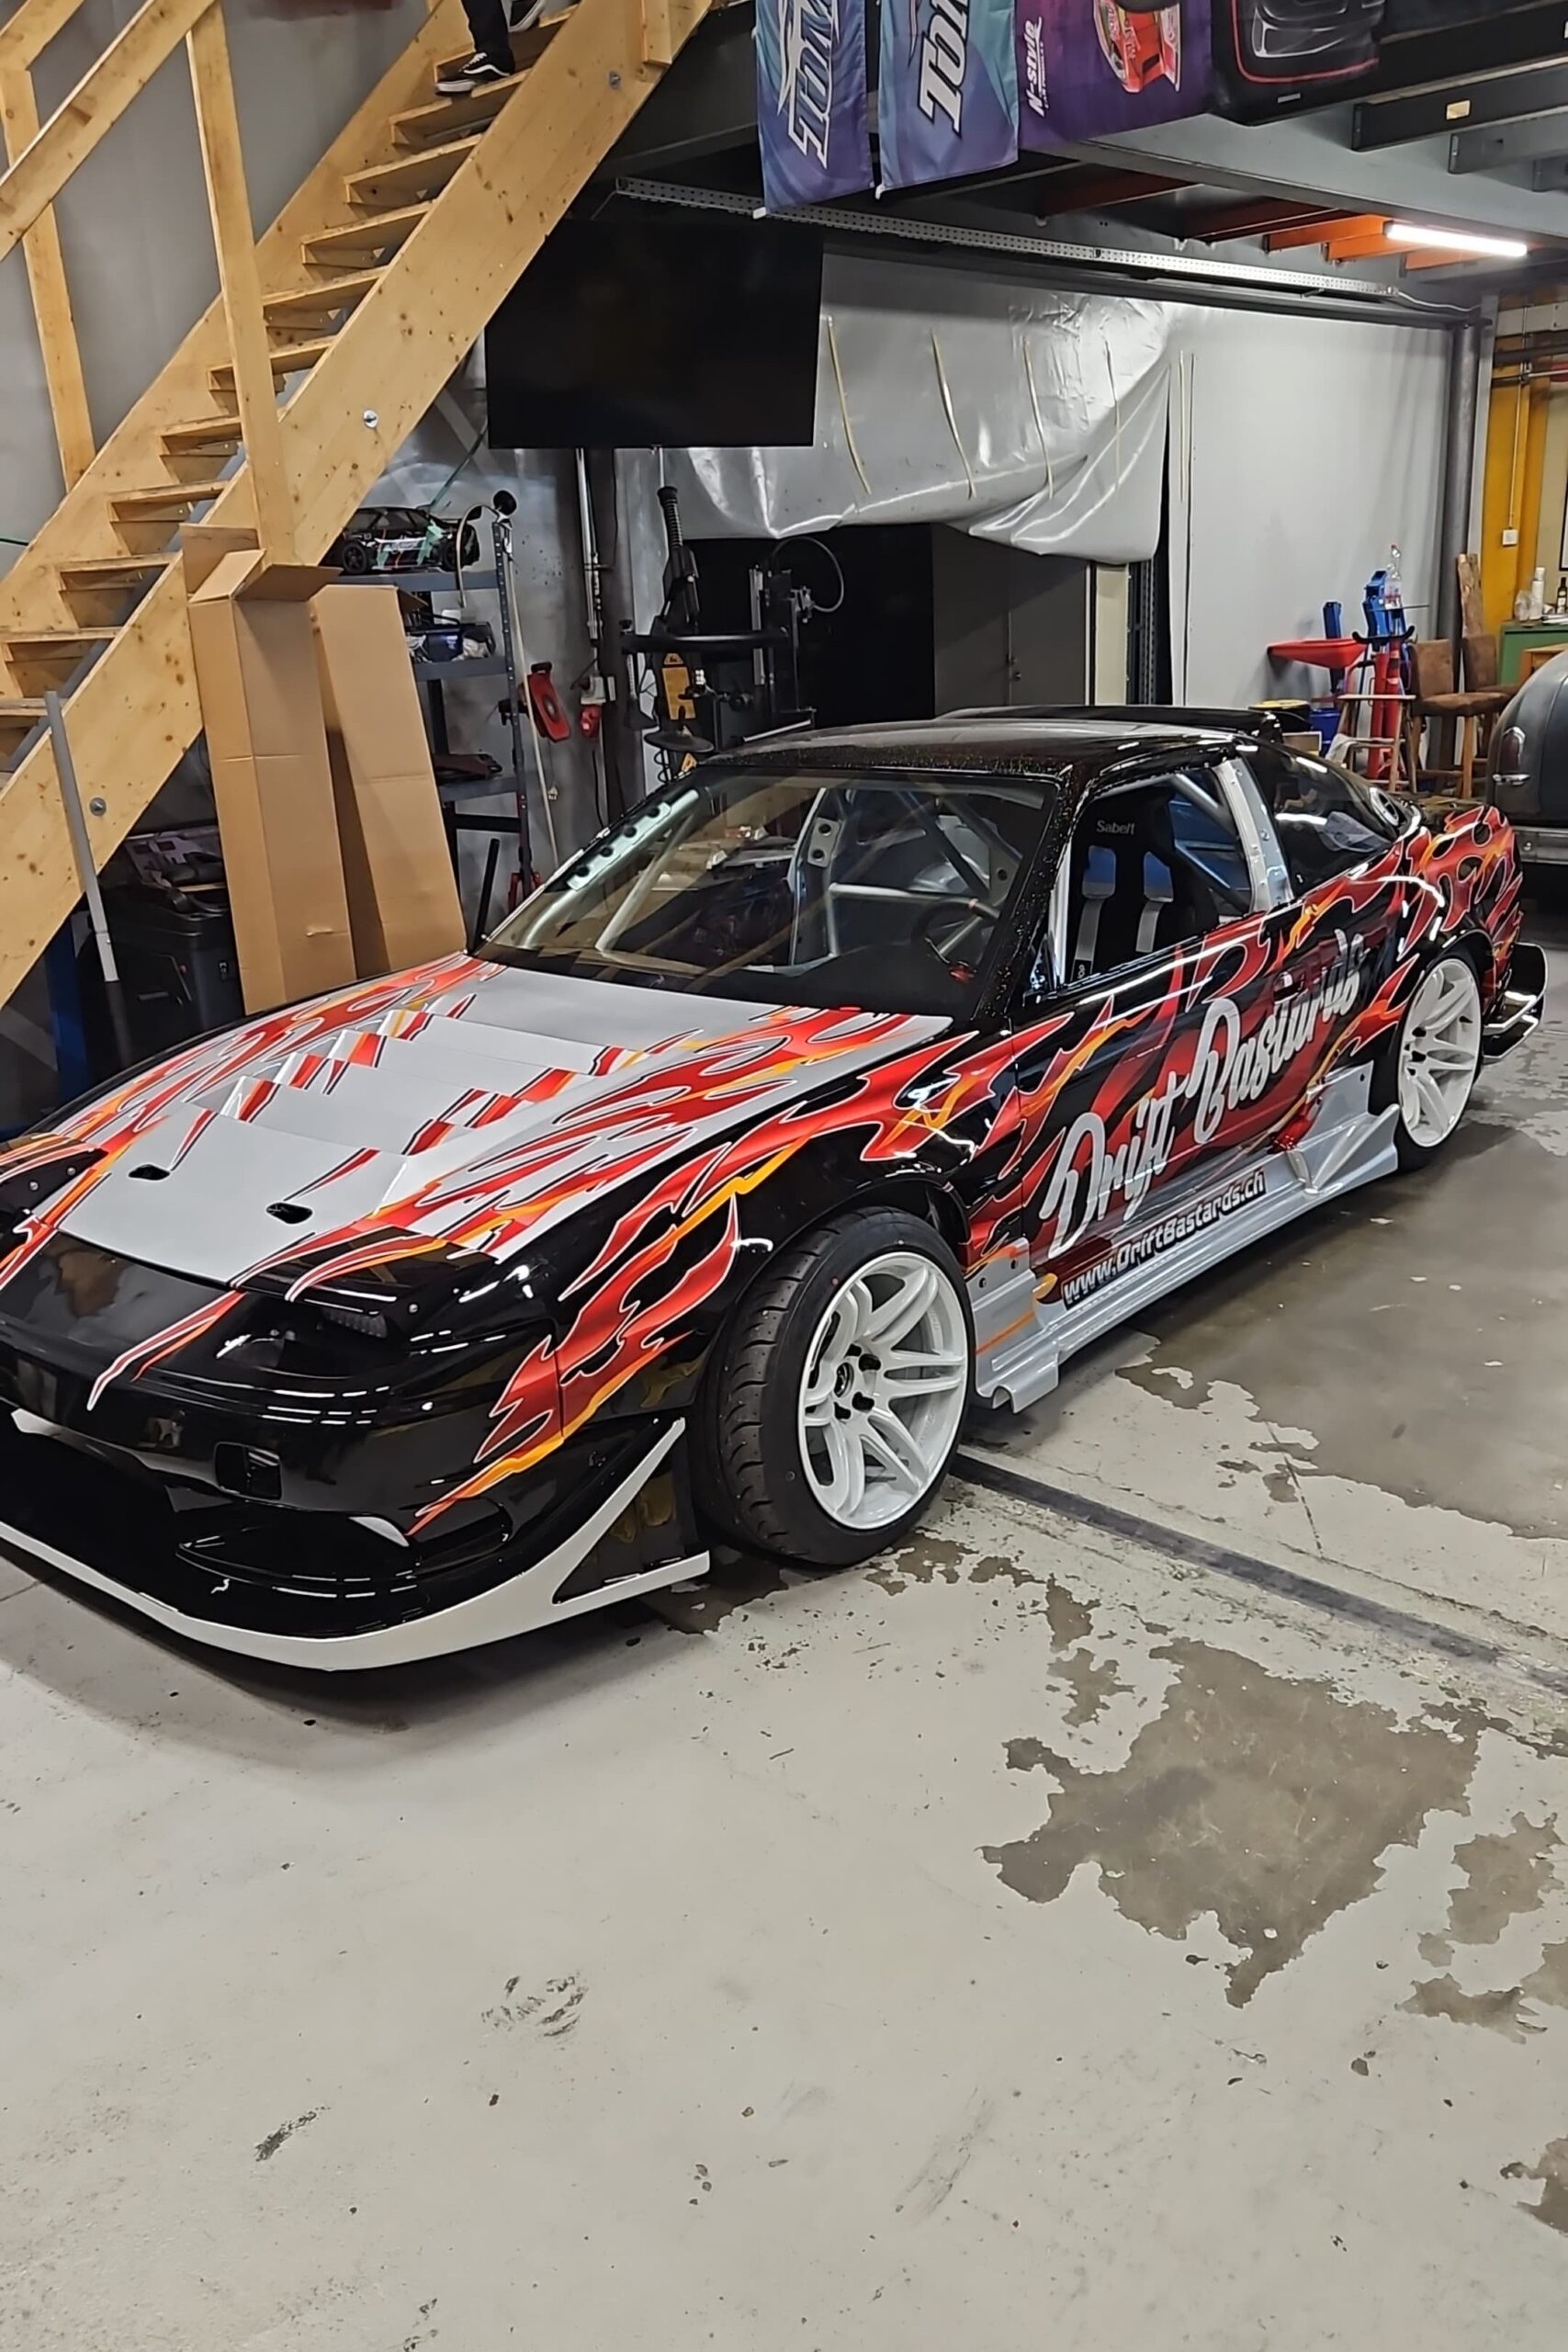
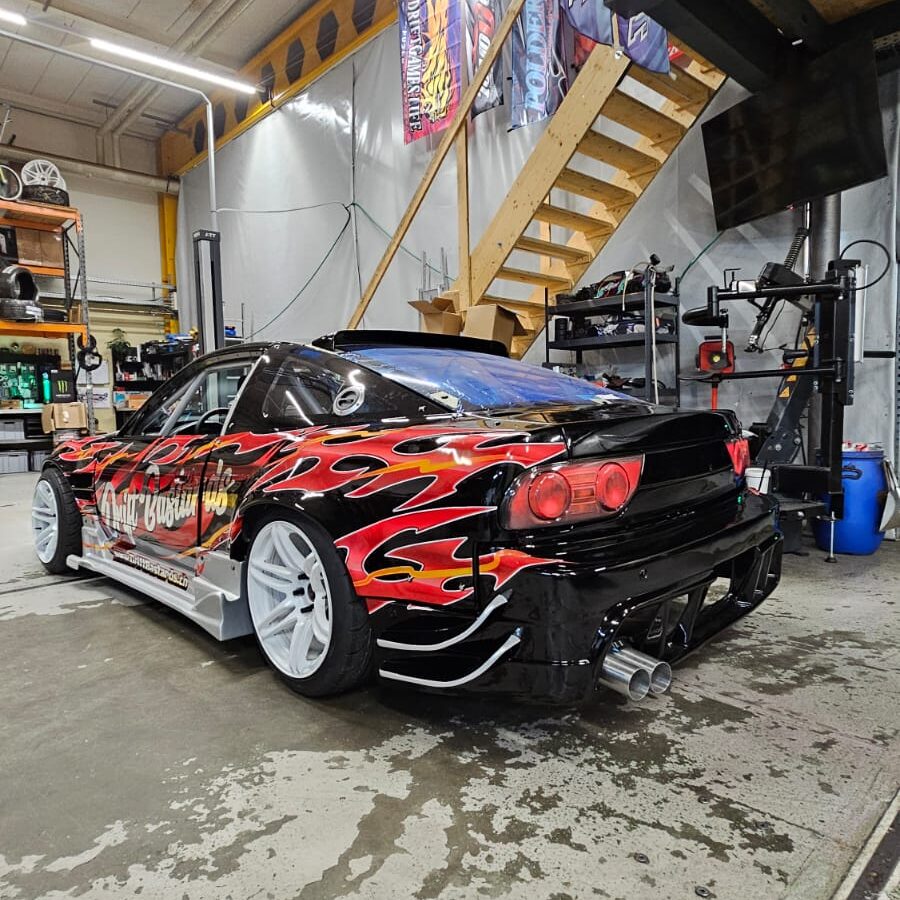
From March onward, one appointment followed another. First up was the spring exhibition at our main sponsor, Caron Fahrzeugtechnik AG. But the DriftBastards weren't there just to show off the new cars. We took over IQ Sport's in-house print shop to wrap Michael's Silvia and the new S13 over the two exhibition days.
We had already worked on the design for the 2026 livery eforehand, with graphic designer EDC and Janick putting the concept together. It took plenty of long nights and late hours to get the design where we wanted it.
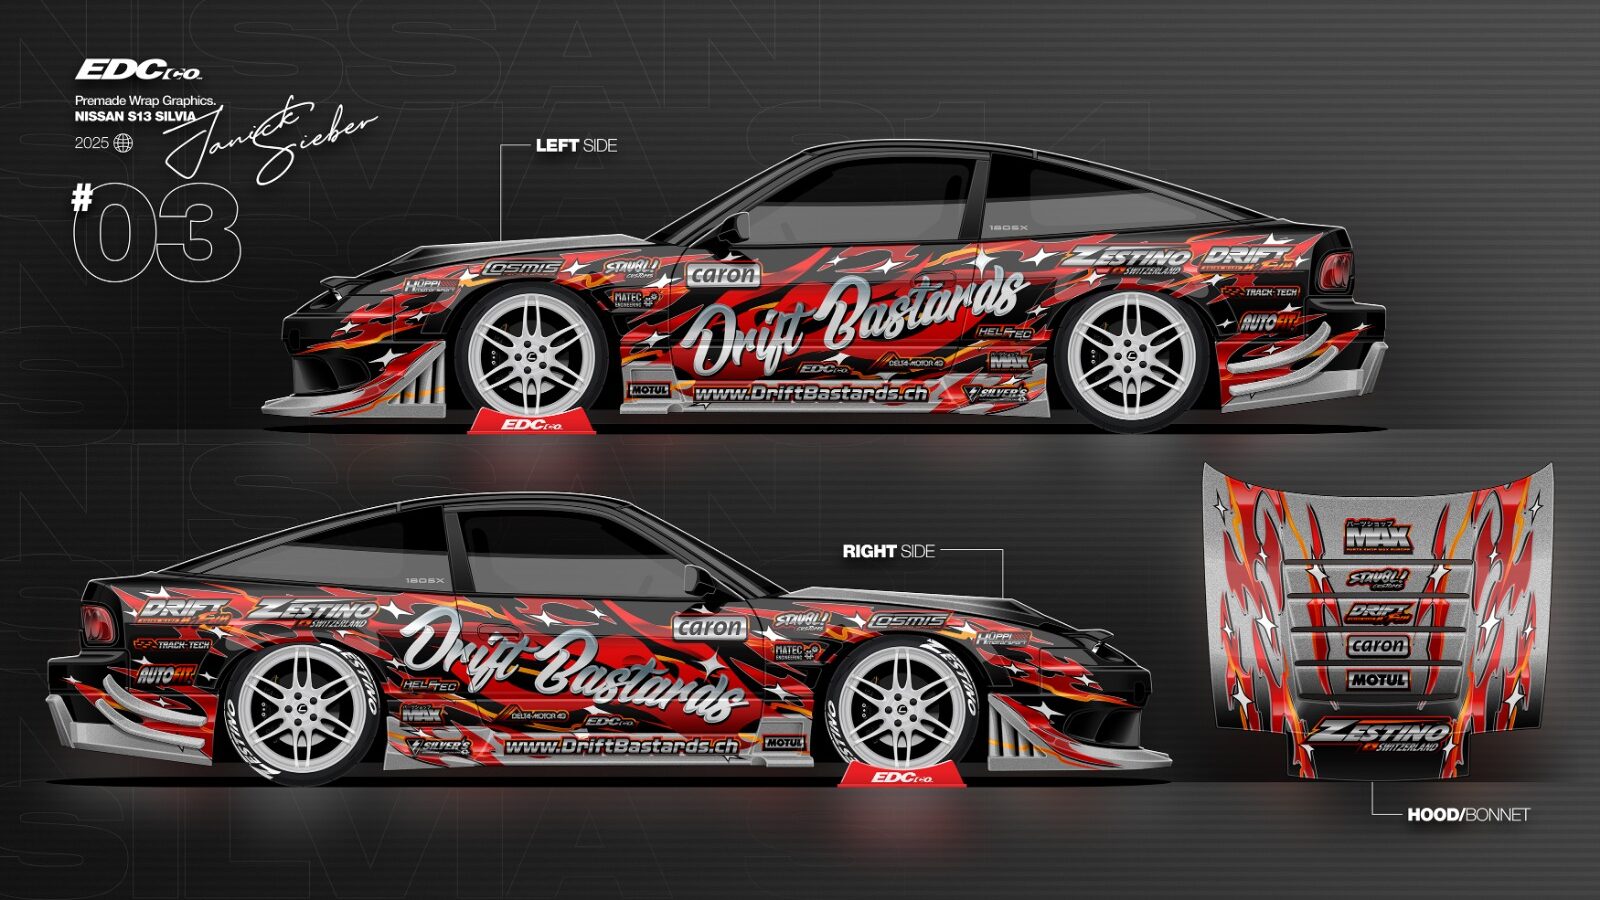
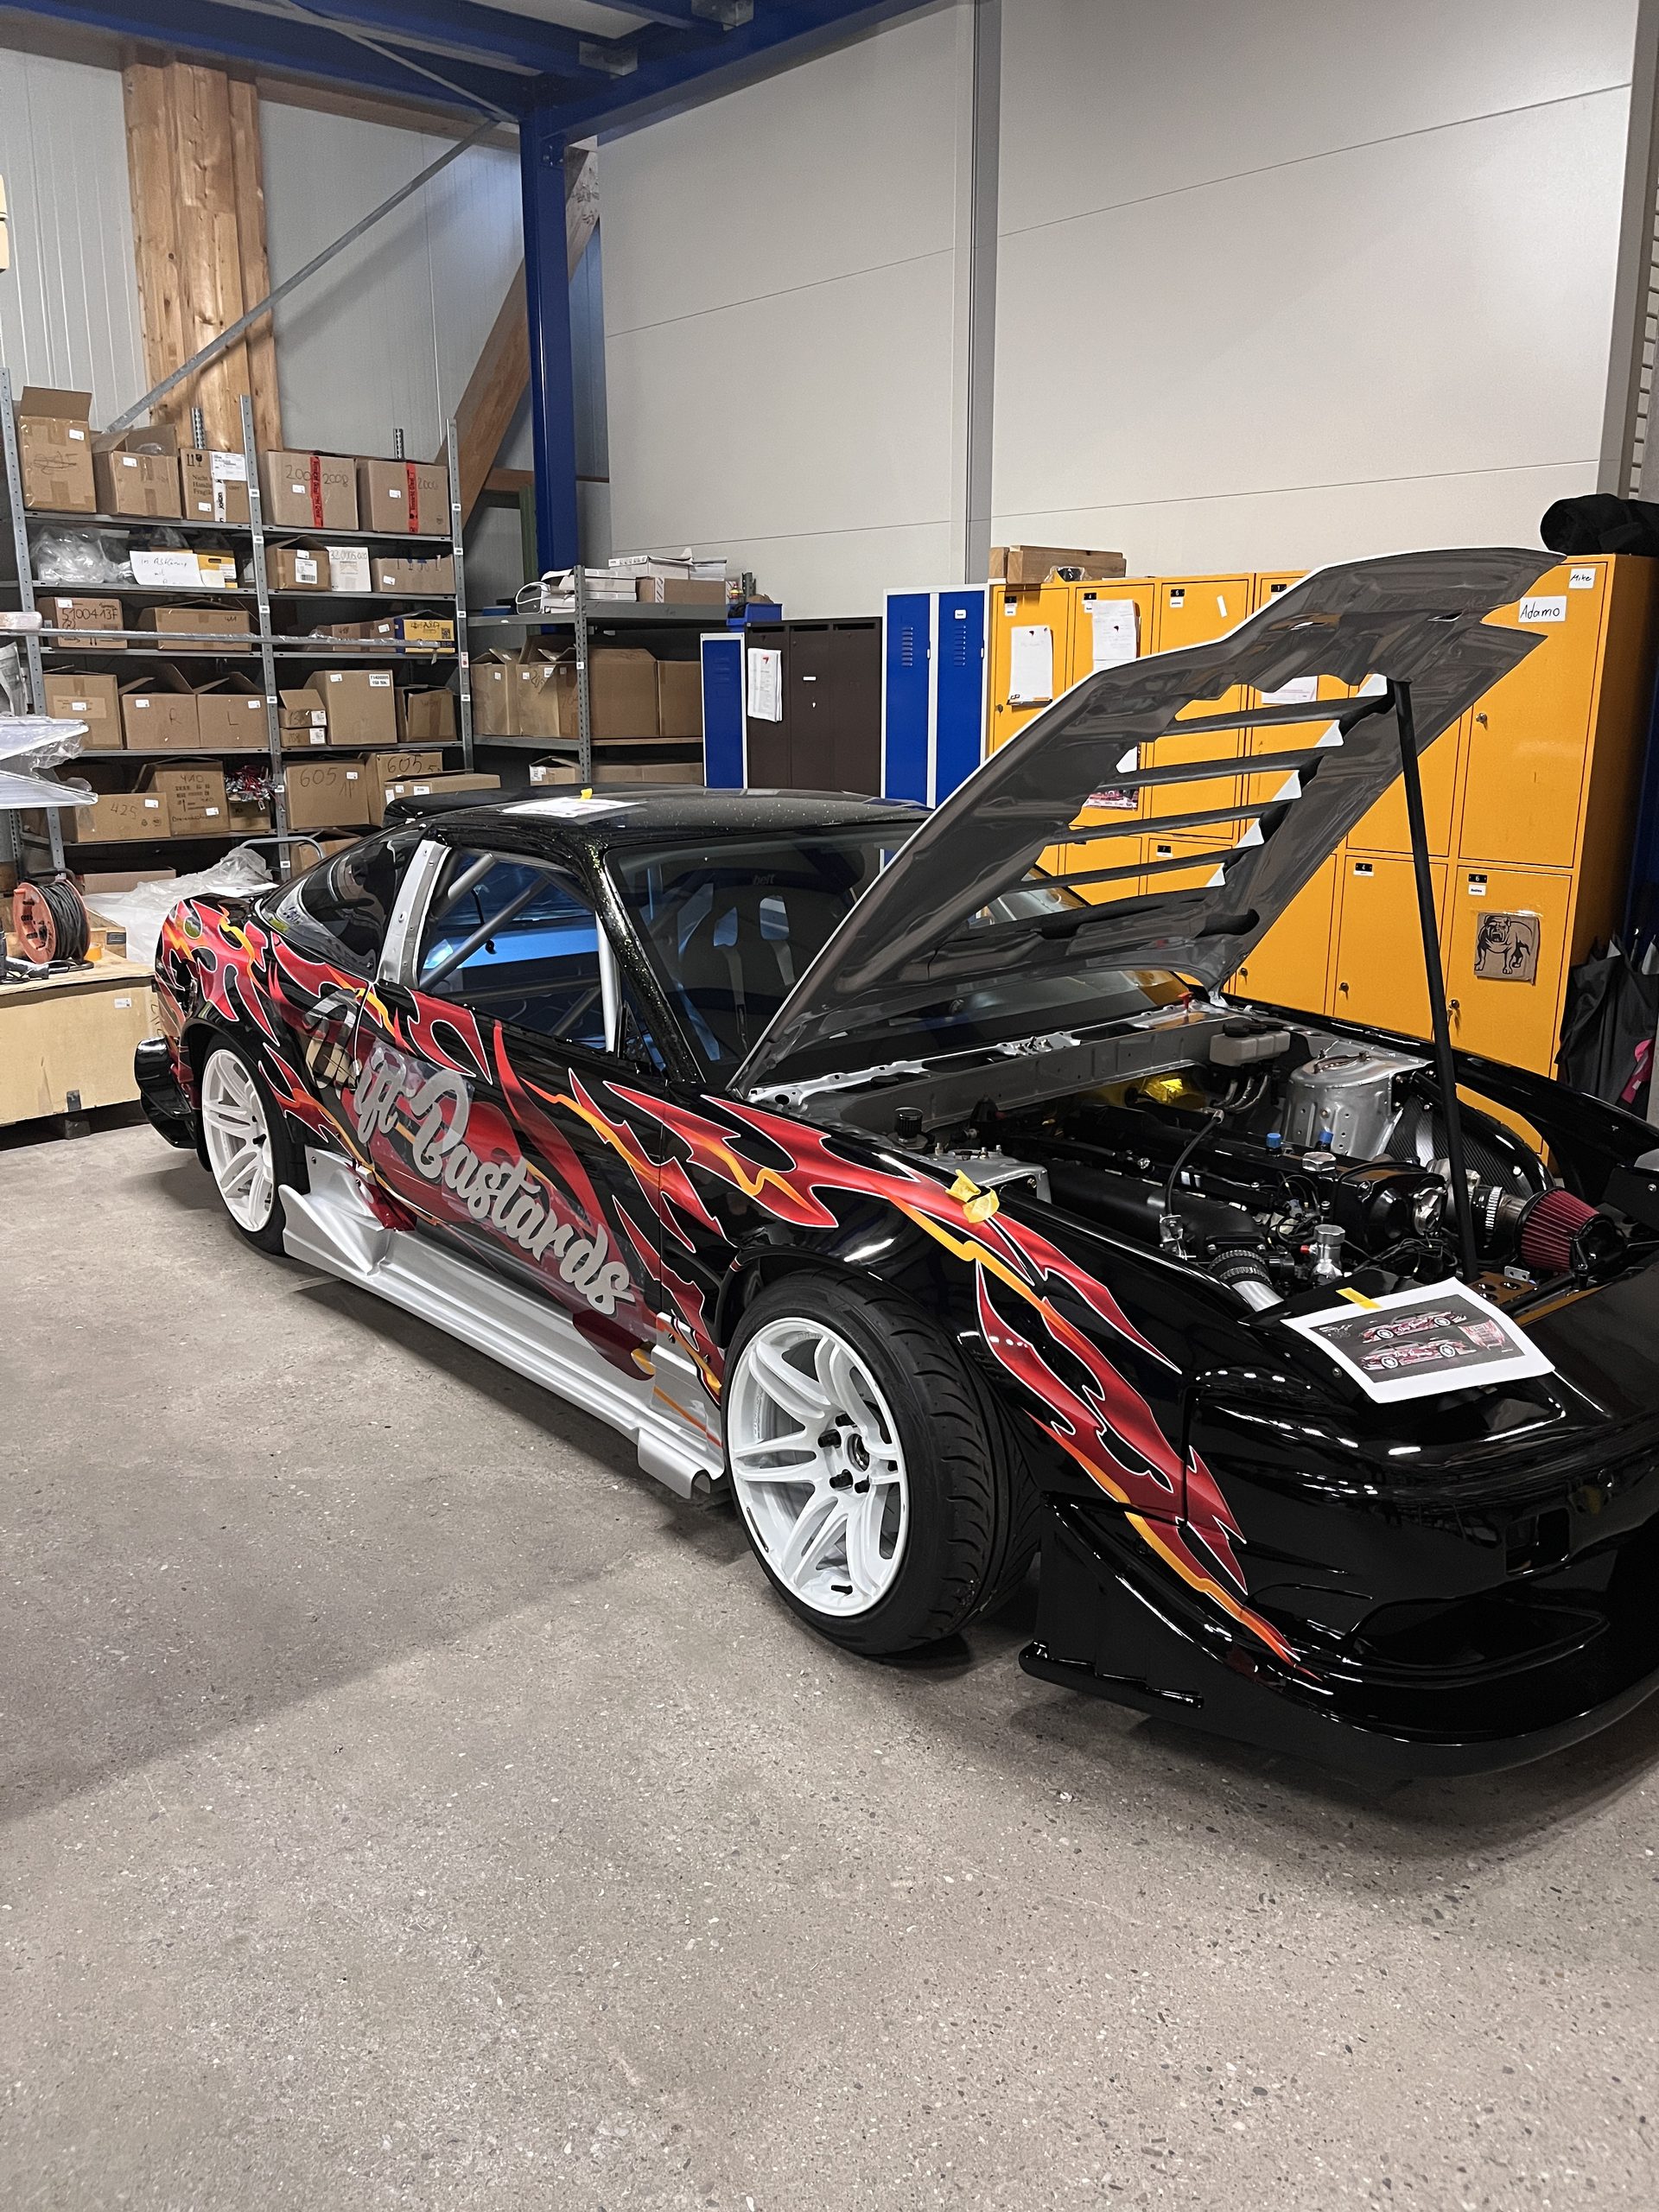
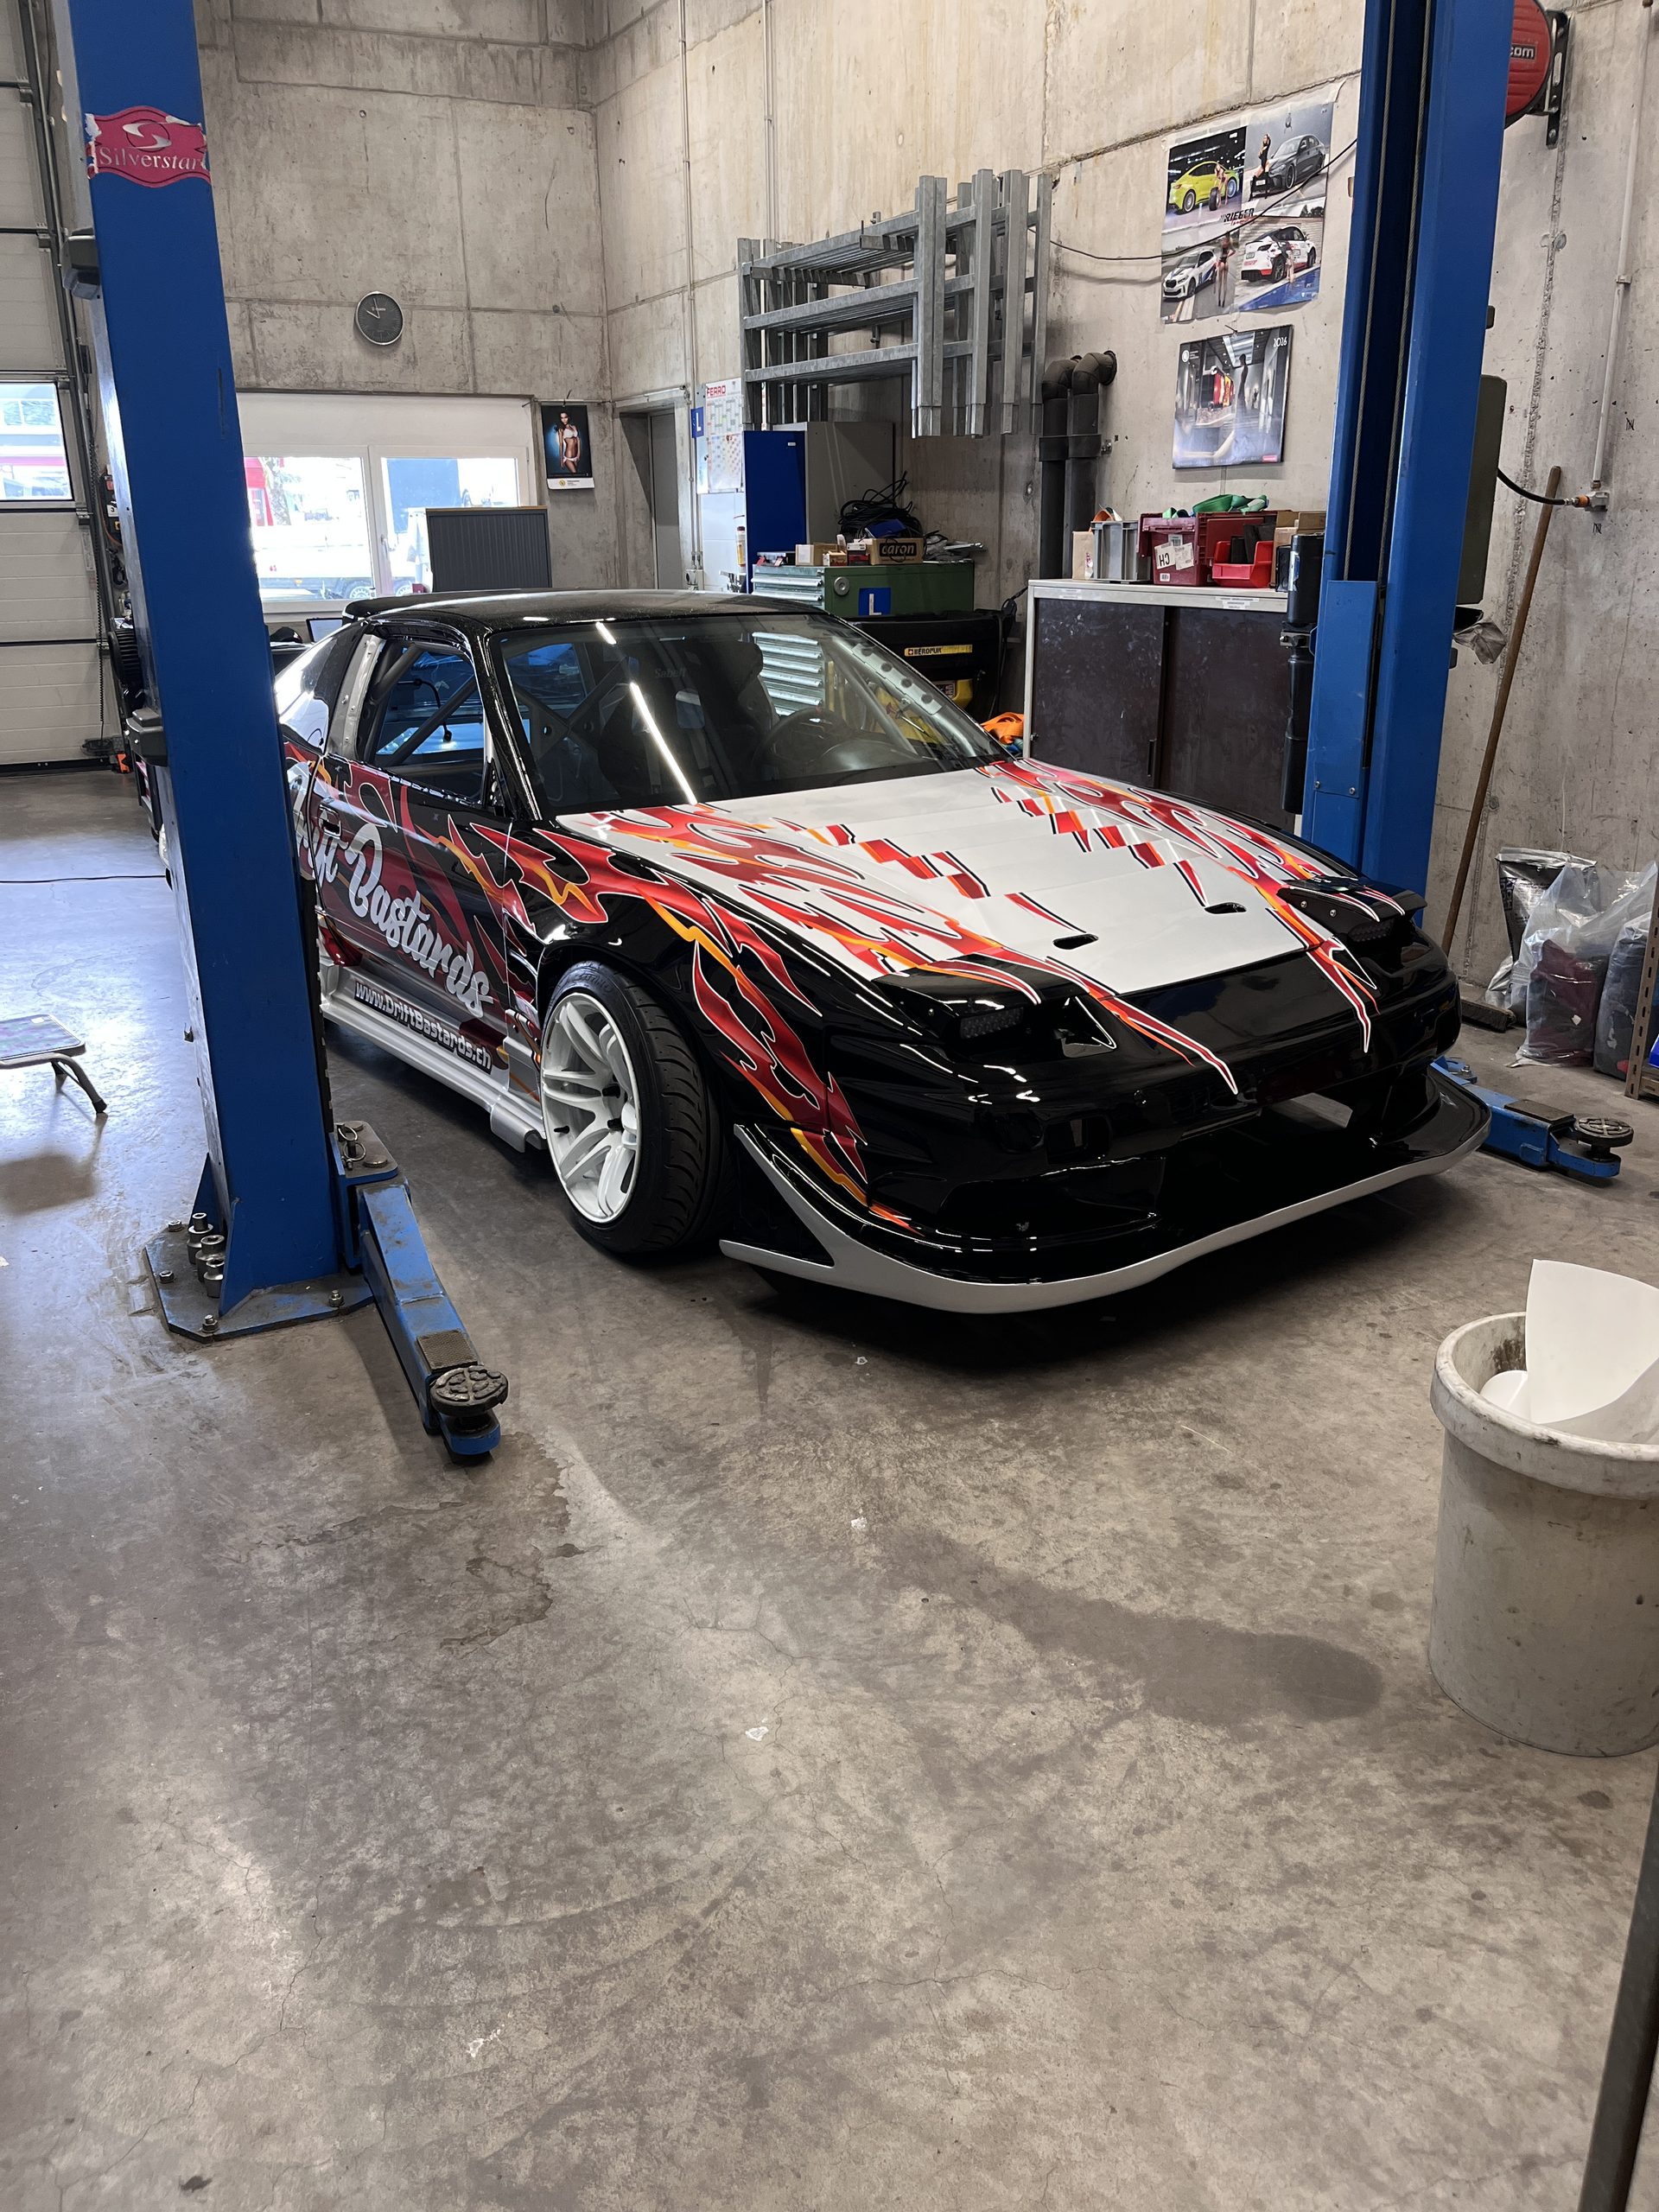
With help from Jasmin at IQ Sport, we got the base livery wrapped during the Caron exhibition. Free beer, bratwurst, and racing simulators from Event Seelisberg didn't exactly make us work any faster, though. Time flew by, and the sponsor stickers still need to be added.
Even with just the first elements in place, you can already get a feel for how good the finished car is going to look.


All the hard work over the past few weeks has definitely paid off. The finished livery looks seriously badass, and we can't wait to kick off the season with two cars wearing matching designs.
Big thanks to EDC and Caron/IQ Sport for the support!
Staubli Customs: Full Send Until the Finish Line
We kept pushing hard and made sure we also hit our appointment at Staubli Customs.
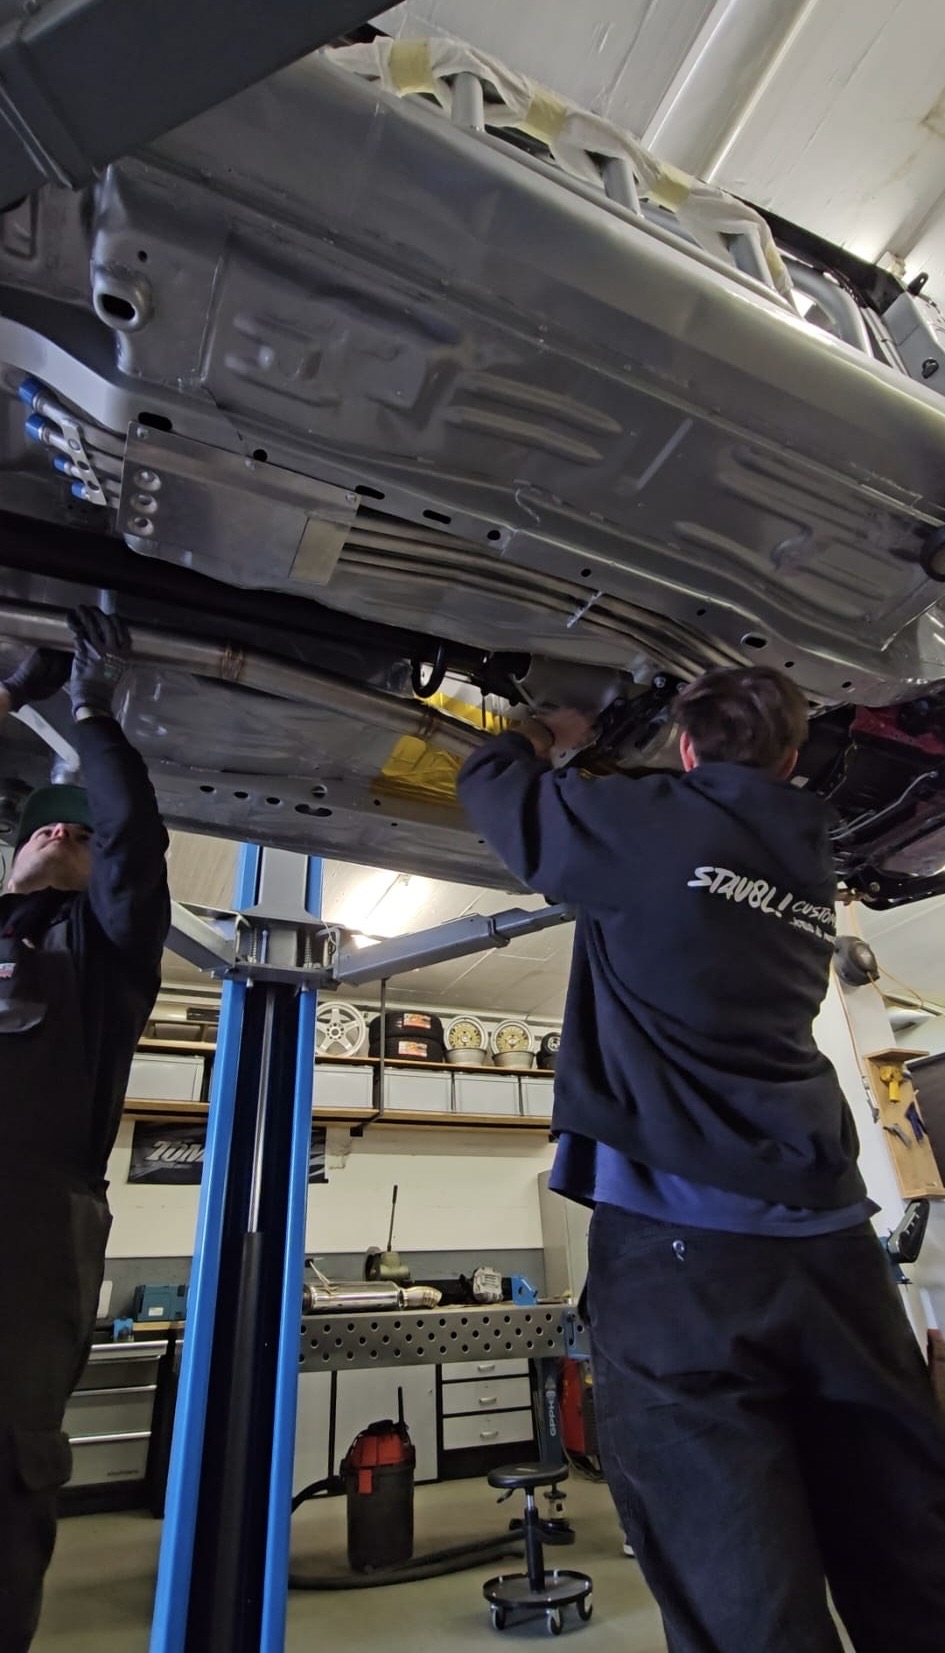
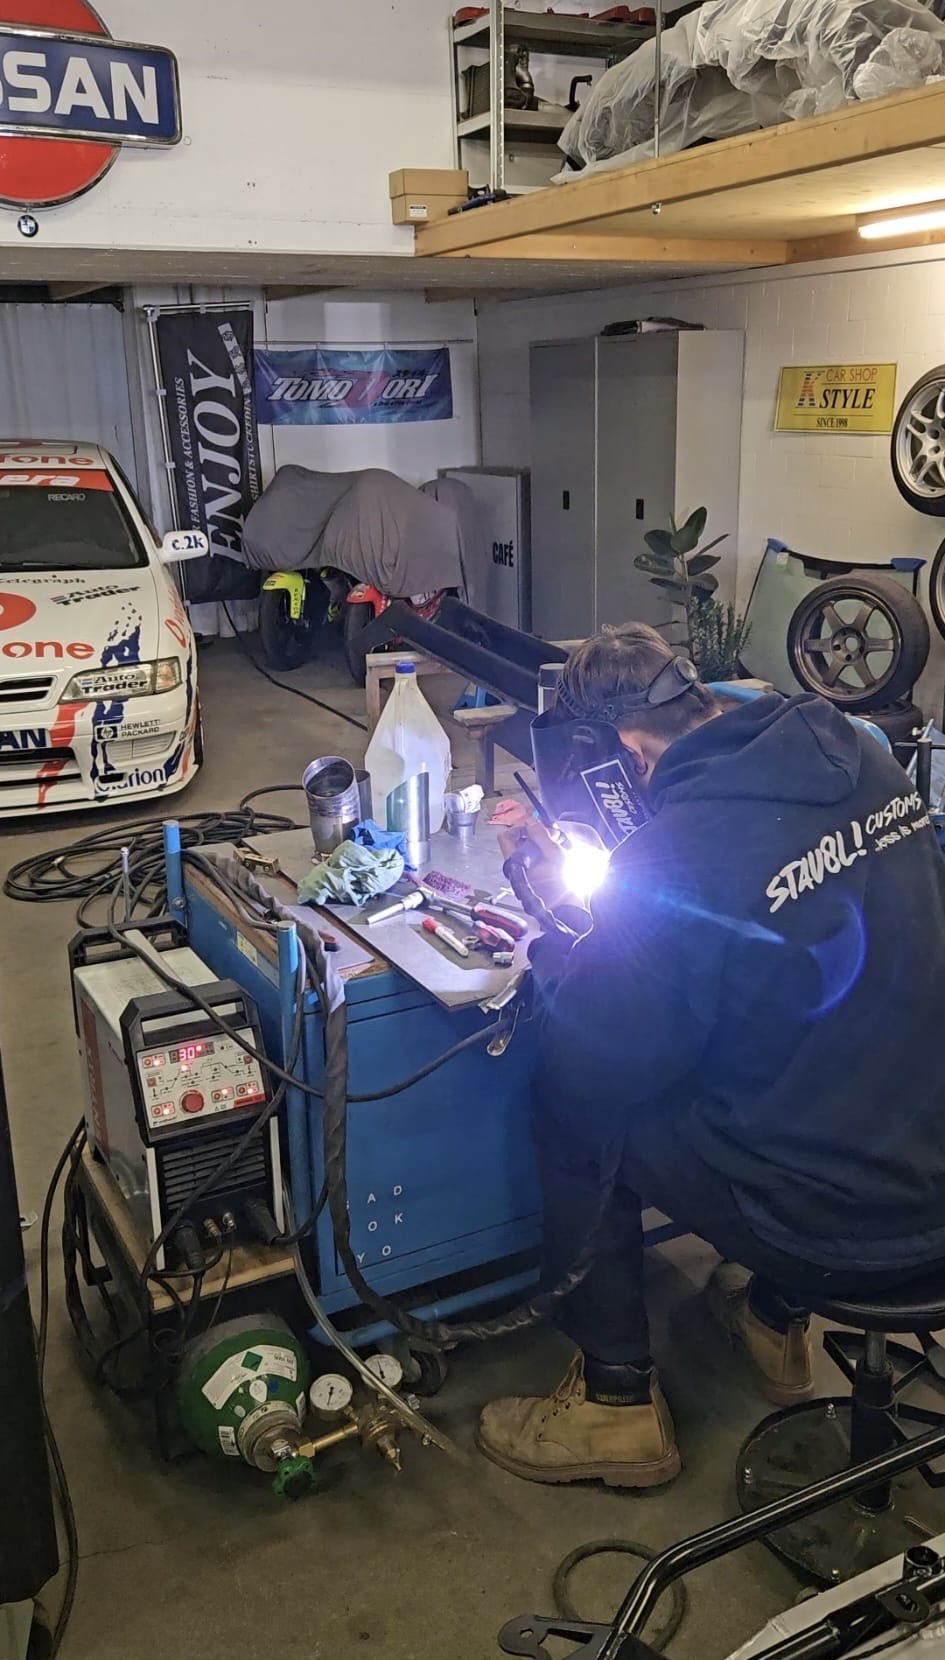
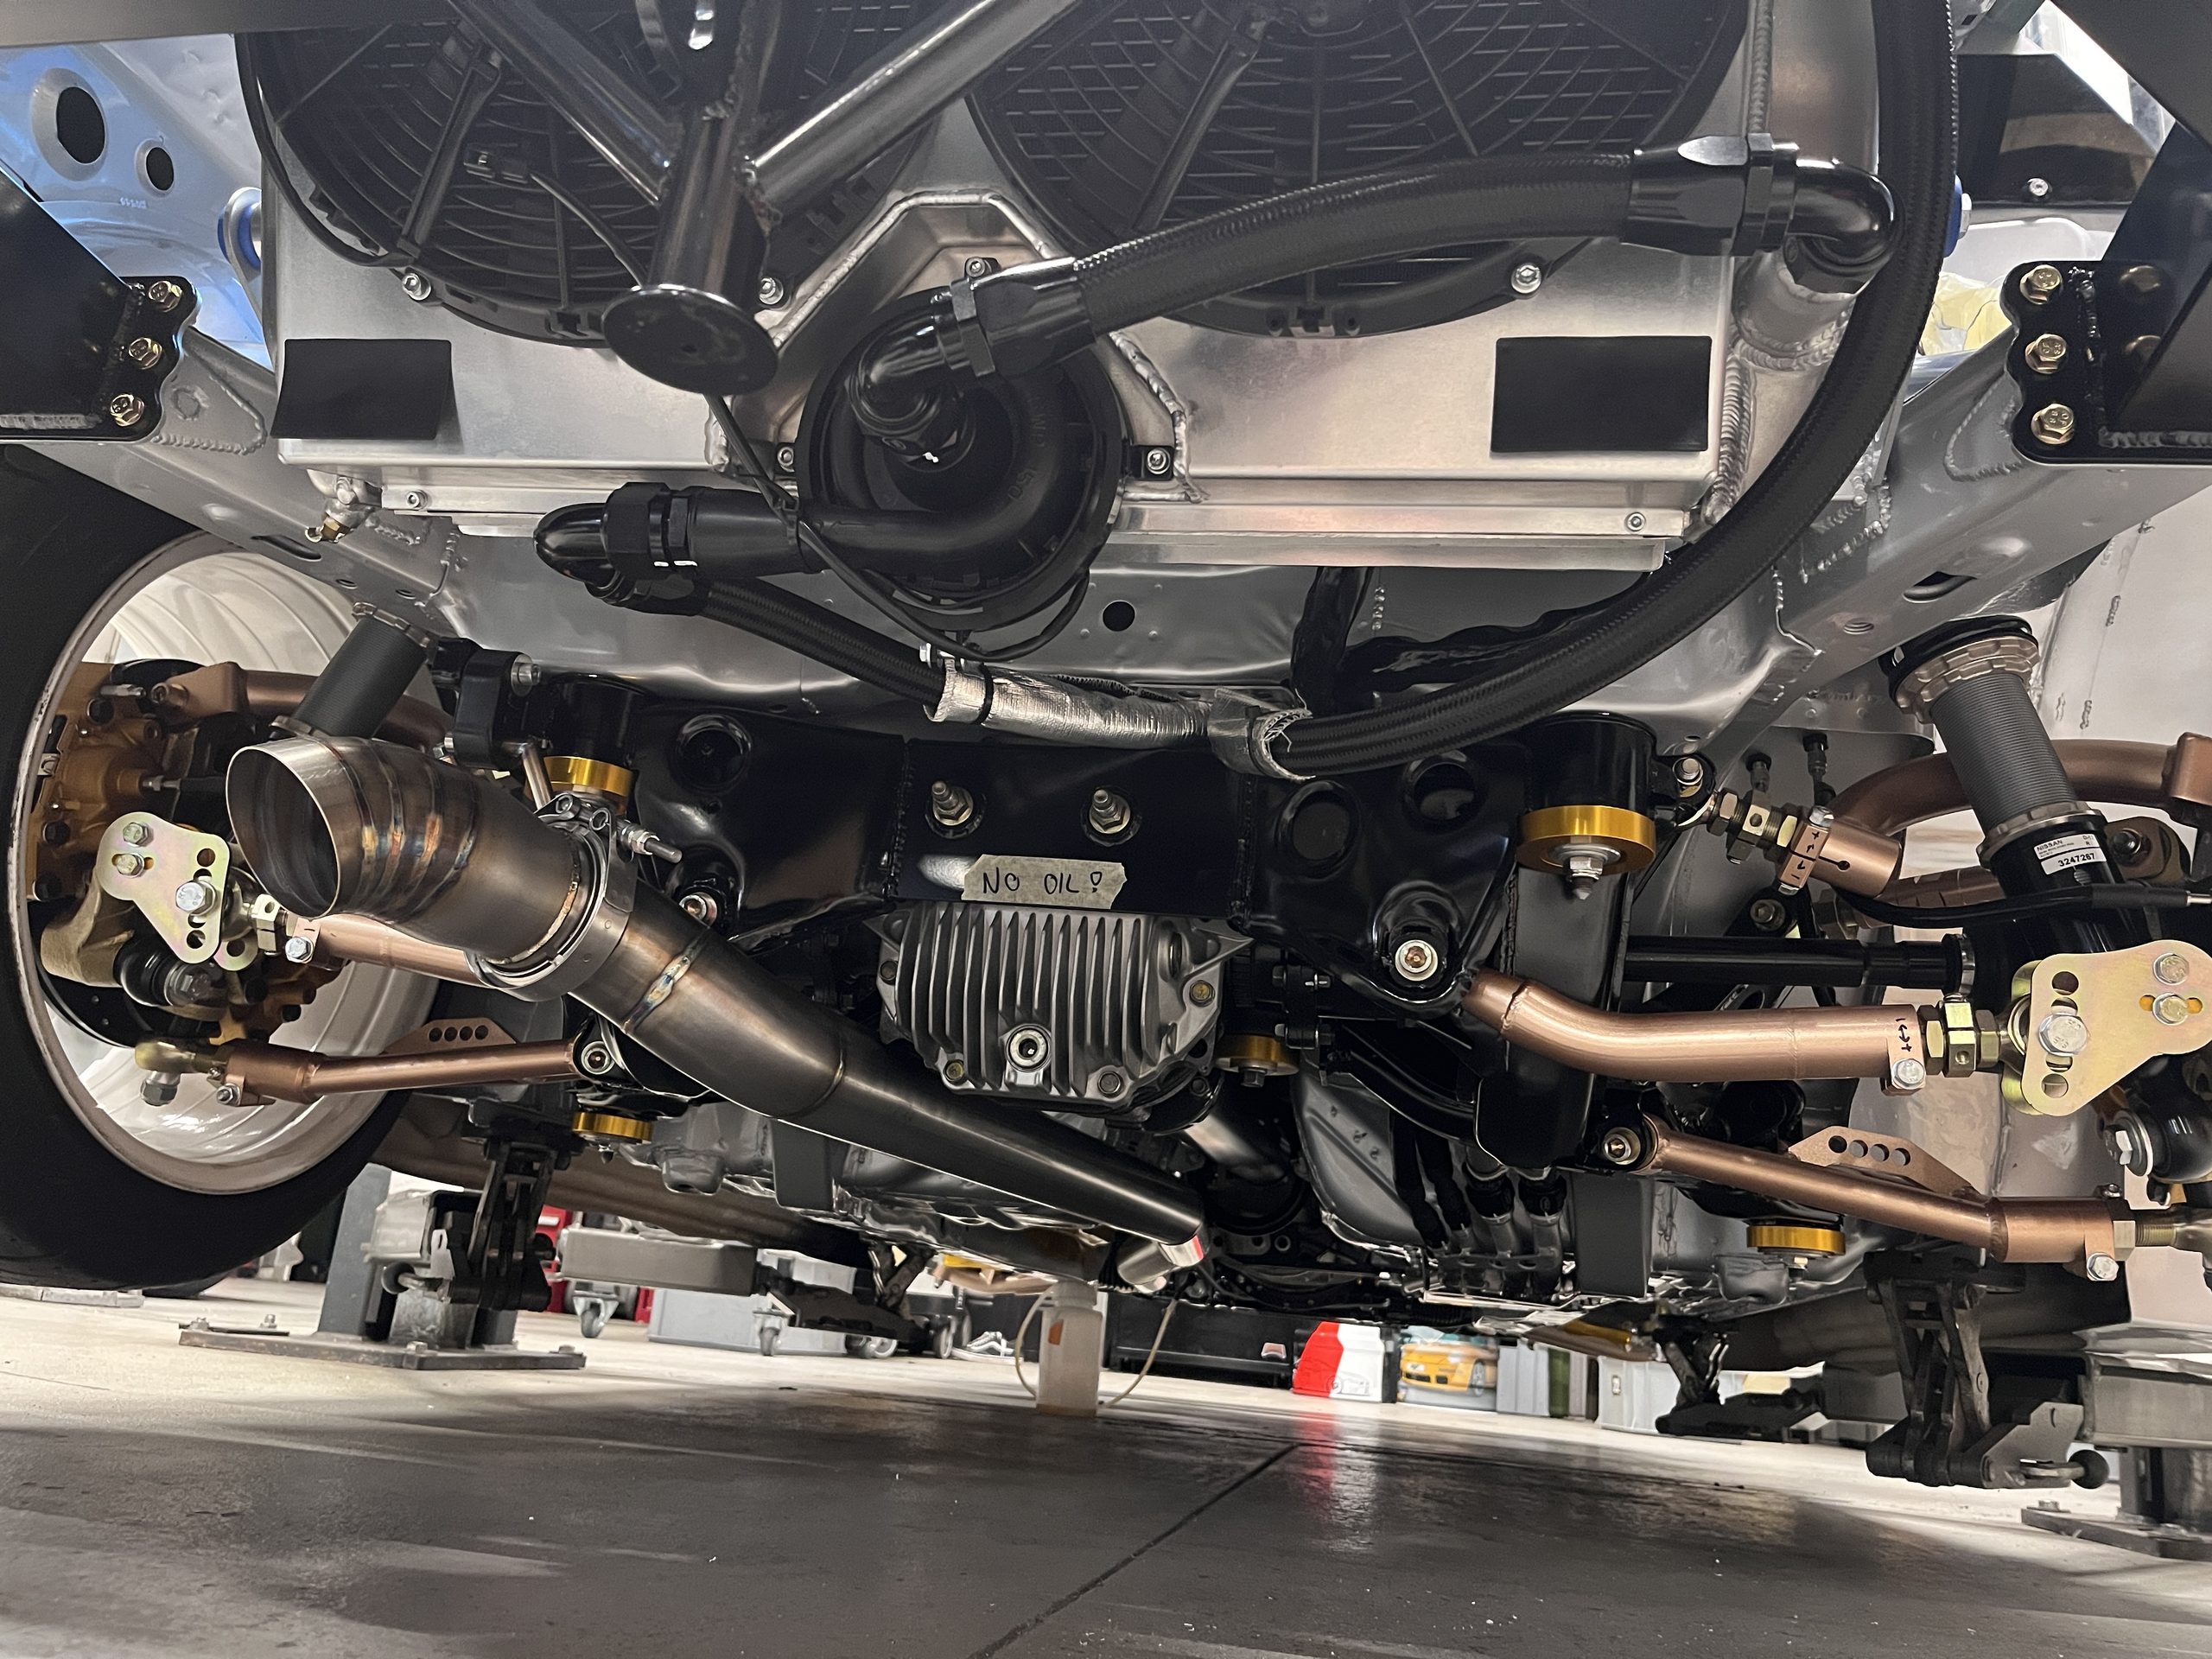
Straight after the Caron exhibition, we dropped the car off at Rafael's shop. The entire exhaust system still needed to be fabricated. Rafael had already completed a large part of the work and got some help from Janick starting Friday.
The entire system was custom-built to fit the car by Rafael. This was a job for a pro, and the craftsmanship he delivered was on another level.


Two night shifts later, the exhaust system was finished. Along with the main muffler, we also have a short tip that ends right at the differential. That gives us the option of running the ever-popular straight pipe setup with over 100 dB of noise.
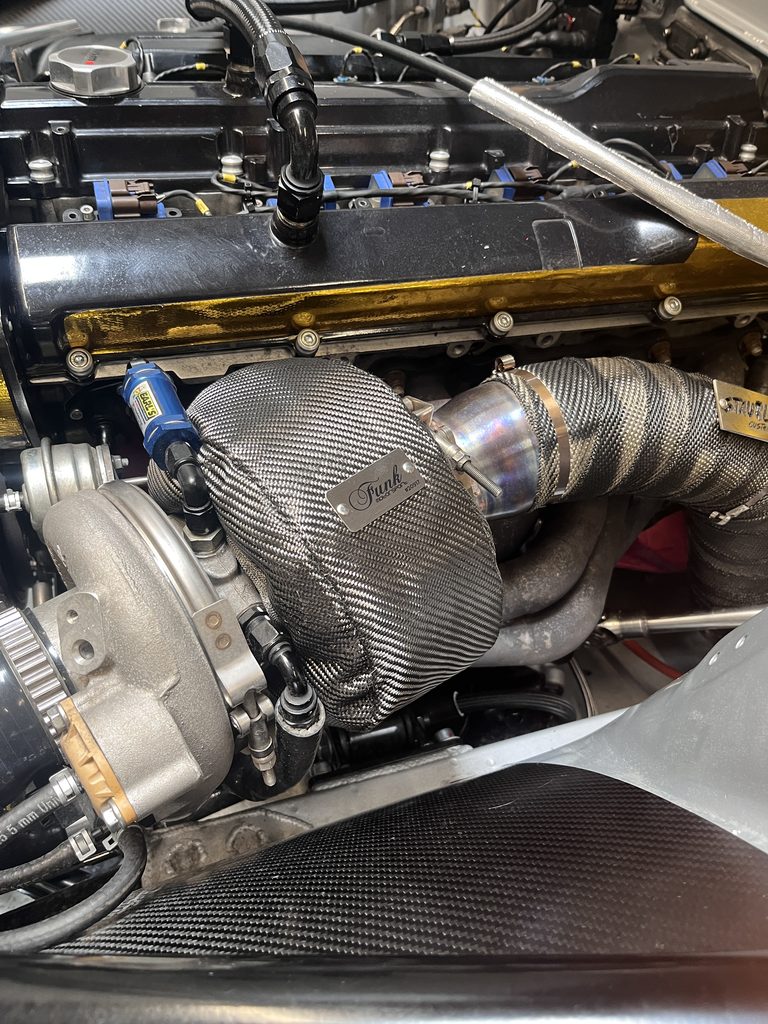
Funk Motorsport supplied a new turbo blanket and some heat wrap. The Apexi air filter that was sitting on the shelf at Staubli was a perfect fit. And of course, we couldn’t leave out a few finishing touches: stainless steel plaques from Staubli Customs tie everything together nicely.
HEL Performance: Fittings and Lines Just in Time
The fittings from HEL Performance showed up just in time. The entire plumbing setup was supplied through KAIDO Autosport, HEL Performance’s local distributor. Everything was covered, from Dash-3 brake lines all the way up to Dash-16 coolant lines.
For the fuel system, we went with PTFE lines because they’re better suited to fuels like E85. We assembled all the lines ourselves and then pressure-tested the system to check for leaks.
All that was left was routing the brake lines. Markus had them custom-made to the exact lengths we specified. The result? Proper routing, a perfect fit, and a super-clean finish!


Radiator Ducting: Fresh Air Instead of Tire Smoke
We still needed to fabricate some aluminum sheet-metal ducting for the radiator. The idea was to channel fresh air in through the rear window, which should significantly improve cooling performance. At the same time, this keeps the radiator from sucking in hot air loaded with tire debris from the rear of the car
It’s not just a smart functional solution, either. It’s a clean way to get the job done. An additional partition also keeps tire smoke from entering the cabin. This kind of separation is required by the rules in many drifting championships.


Of Course, There Had to Be Some Drama
And then, just when things were coming together, we ran into another problem. Because apparently, nothing can ever be that easy!
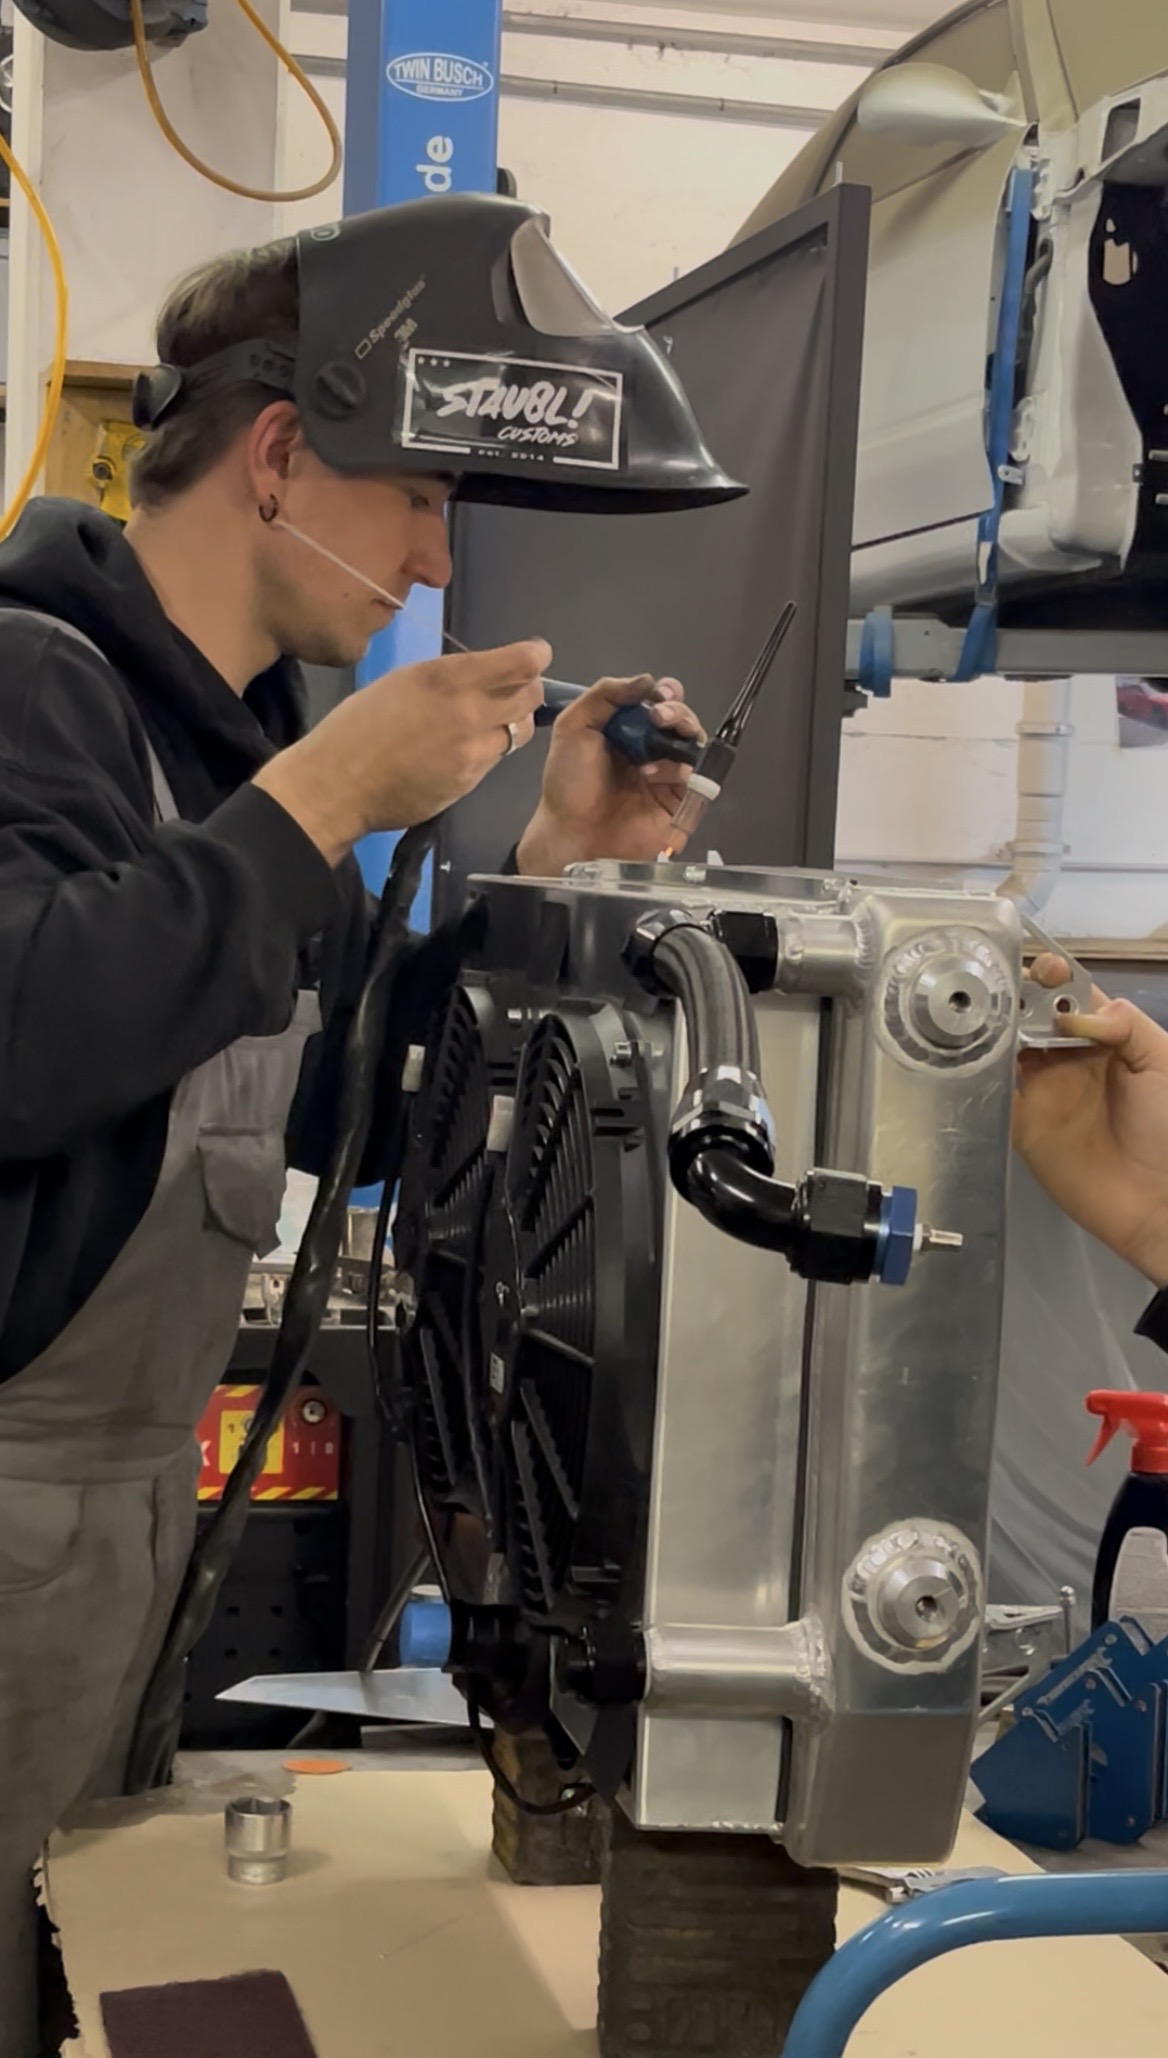
We realized we’d forgotten to leak-test the radiator. And sure enough, there was a tiny leak hiding in one of the welds that had slipped under the radar.
Our dyno appointment and new wiring harness installation were only a few days away. That meant pulling the entire radiator assembly back out and sending it straight back to Staubli Customs.
As soon as he finished work, Janick headed over to Rafael in Bremgarten to get the radiator repaired. By the time he got back to the garage and had the radiator installed again, he could pretty much turn around and head straight back to work.
Full Send – Sleep Is Overrated!
The Grand Finale Is Still to Come
That wraps up the penultimate build blog on our S13. But we’ve still got an eighth and final installment coming your way. That’s when things finally get serious: first, it’s off to the dyno at Helftec Engineering, followed by testing at our first drift events.
Stay tuned to see what went down next. One thing I can tell you already: we’re nowhere near done dealing with those inevitable teething issues
Let us know in the comments what you liked most about this build blog and what you’d like to see in the final installment.
Alright then, see you in Build Blog #8!
Editor: Janick Sieber
Recording period: approx. October to January 2025/2026
Quellen; Driftbastards Media Crew, Janick Sieber, Domenik Sieber, @domsabastard, R&M Carrossierie, Staubli Customs